18 Sharp Boyish Crop Ideas: Caesar Pixies With Micro Fringe

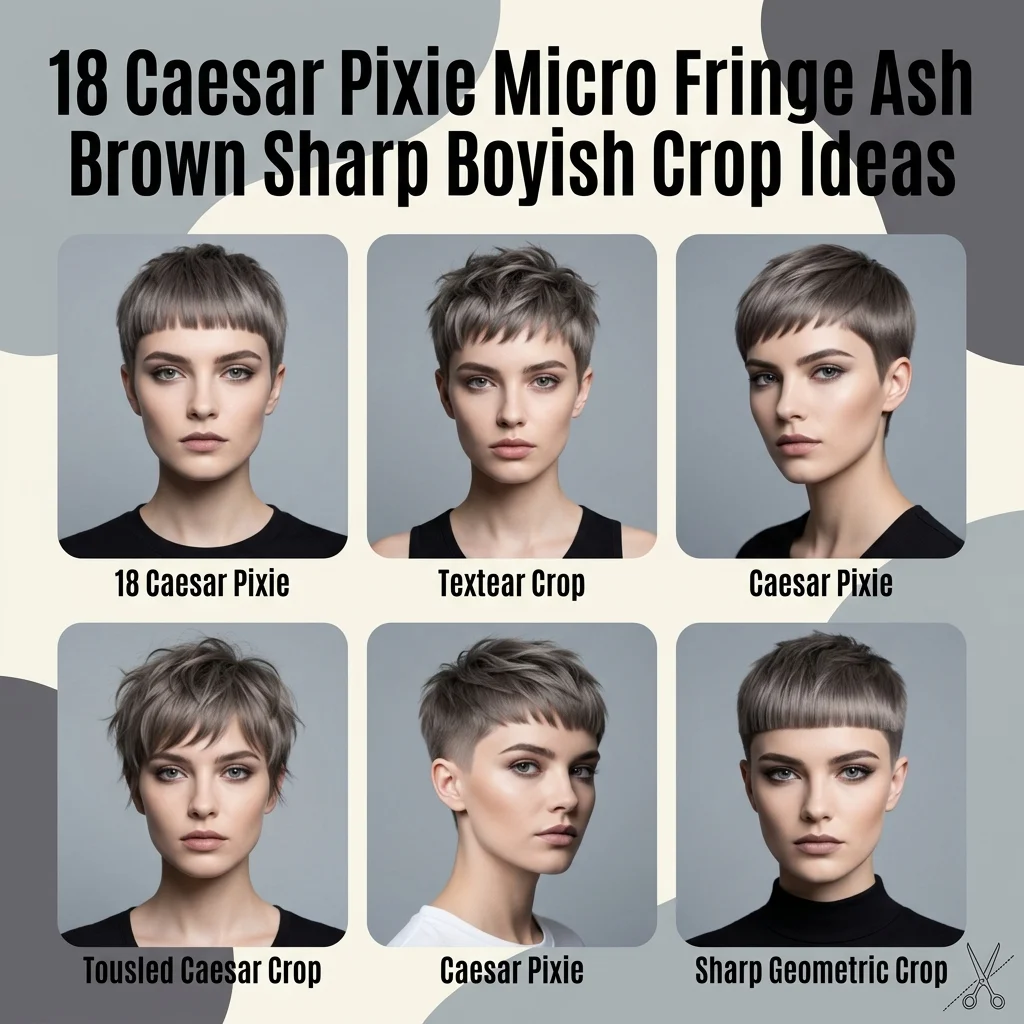
A Caesar pixie microfringe is a cropped, razor-sharp haircut with a blunt fringe grazing the brow and tapered sides that sit close to the skin. This article gives you 18 ash brown, boyish crop ideas, from cool-toned color placement to fringe shapes that actually suit your face.
There’s a stillness to a well-cut Caesar pixie that longer hair can’t offer no fuss at the mirror, no product buildup, just clean lines and quiet confidence. The ash brown base keeps it grounded and cool, never brassy, never soft. It reads structured, a little androgynous, and fully intentional. Here are 18 ideas worth saving, and stealing.
Why the Caesar Pixie Micro Fringe Works So Well
The Caesar cut traces back to short, straight-fringed Roman-inspired crops popularized in menswear in the 1990s, later adapted into womenswear as a deliberately androgynous alternative to the softer classic pixie. What separates it from a standard pixie is precision: a blunt micro fringe cut millimeters above the brow bone, paired with tapered or skin-faded sides. It’s architectural where the classic pixie is airy.
The material language here is texture, not fabric matte clay, razored ends, and skin-close tapers. Color-wise, ash brown means cool taupe-brown with zero red or gold undertone, often lifted with smoky root smudging to soften regrowth. Finishing products lean matte and dry: texturizing paste, clay pomade, and dry wax over anything glossy or wet-look for daytime wear.
Style at a Glance
| Element | Detail |
| Philosophy | Bold, low-maintenance androgyny |
| Key Techniques | Micro fringe, razored texture, tapered nape |
| Key Tones | Cool ash brown, taupe-brown, zero red or gold |
1. Cool Ash Brown Base with Zero Warmth
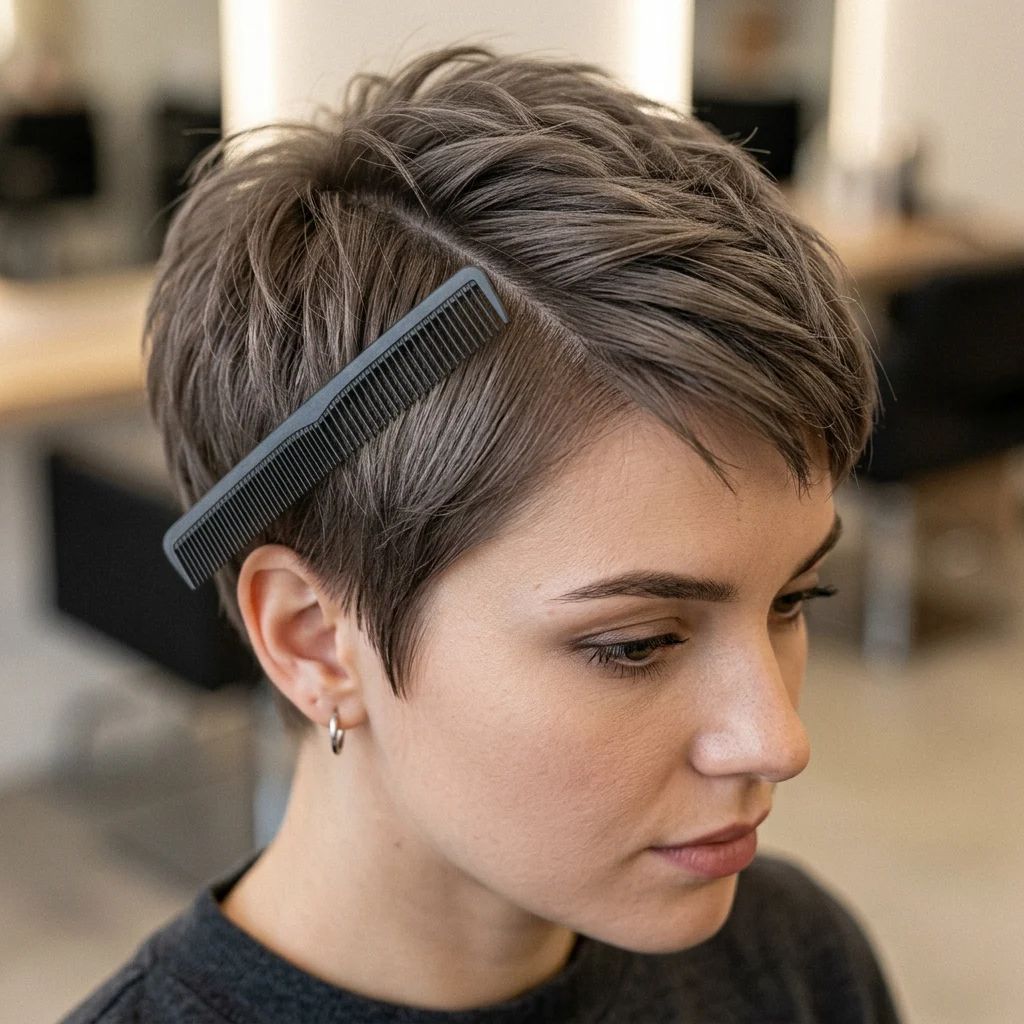
Vibe: Grounded. This base color reads calm and deliberate, never loud.
Why it works: Ash tones cancel red and orange undertones through color theory’s complementary principle, using a blue-violet base pigment to neutralize warmth as it grows out. On short hair, the flat, even tone reads more graphic since there’s no length to soften transitions. It photographs true-to-life in daylight instead of shifting warm under indoor bulbs.
How to get it: Ask your colorist for a smoky ash-brown formula built on a violet or blue base, not a beige one, since beige still carries hidden warmth. Request a gloss toner every 4–6 weeks to keep brass from creeping in between full color sessions.
💡 Quick Win: A purple-tinted toning shampoo used once weekly extends the cool cast between salon visits for under $15.
Shop The Look
| Product |
| Purple toning shampoo for brown hair |
| Cool-toned demi-permanent gloss kit |
| Matte finish styling clay travel size |
| Wide-tooth detangling comb for short hair |
| Silk pillowcase for color-treated hair |
2. Micro Fringe Cut Straight Across the Brow
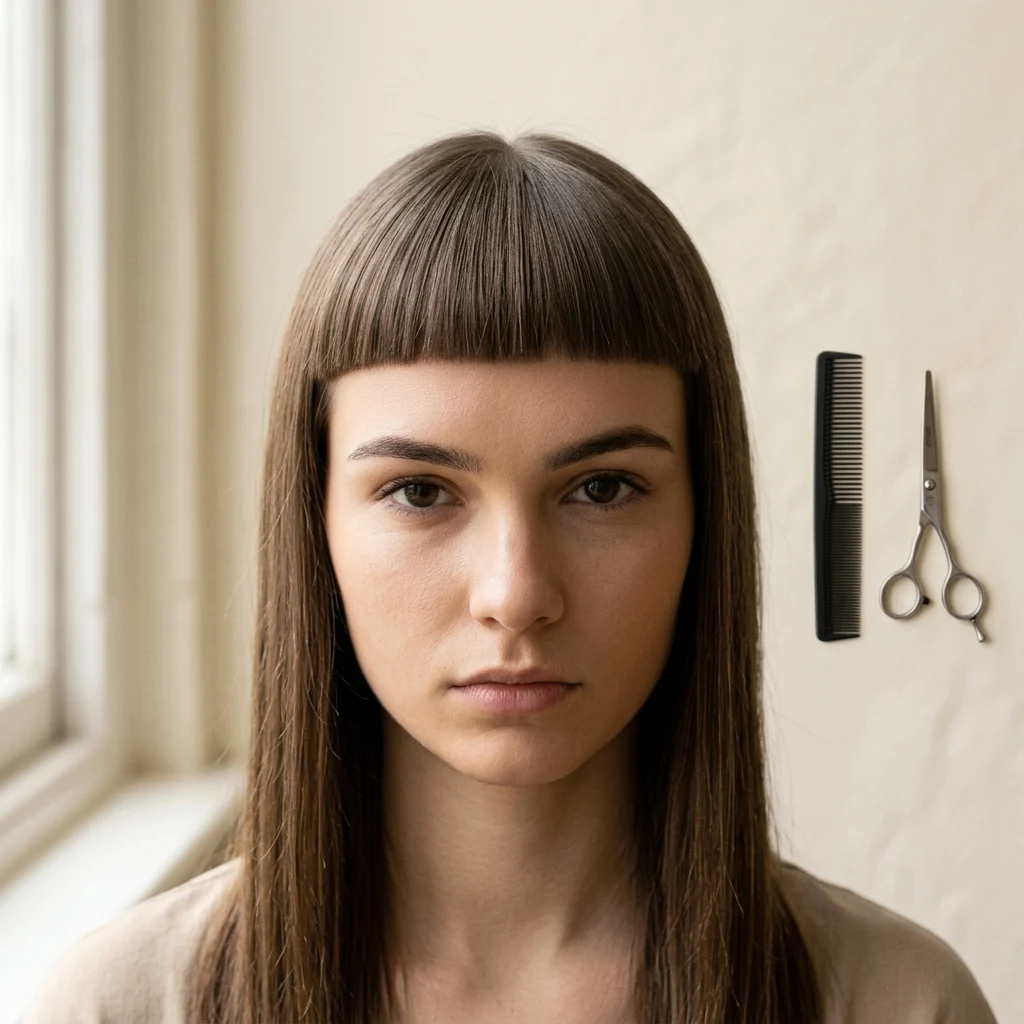
Vibe: Sharp. This fringe line feels intentional the moment you see it.
Why it works: A blunt horizontal line creates strong visual weight at the brow, using contrast between the crisp fringe and the soft, tapered sides to draw the eye upward. This principle of framing pulls focus to the eyes rather than the jaw, which is why it reads confident rather than harsh. The straightness only works because the rest of the cut stays textured, giving the eye one clean anchor point.
How to get it: Have your stylist cut the fringe dry, not wet, since hair shrinks slightly as it dries and a wet-cut fringe often ends up too short. Request the line sit at the natural brow arch, not above it.
Shop The Look
| Product |
| Precision fringe-cutting scissors |
| Fine-tooth styling comb for bangs |
| Flexible hold hairspray travel size |
| Round vent brush for fringe blow-dry |
| Ceramic flat iron mini for touch-ups |
3. Matte Textured Crop with Razored Ends
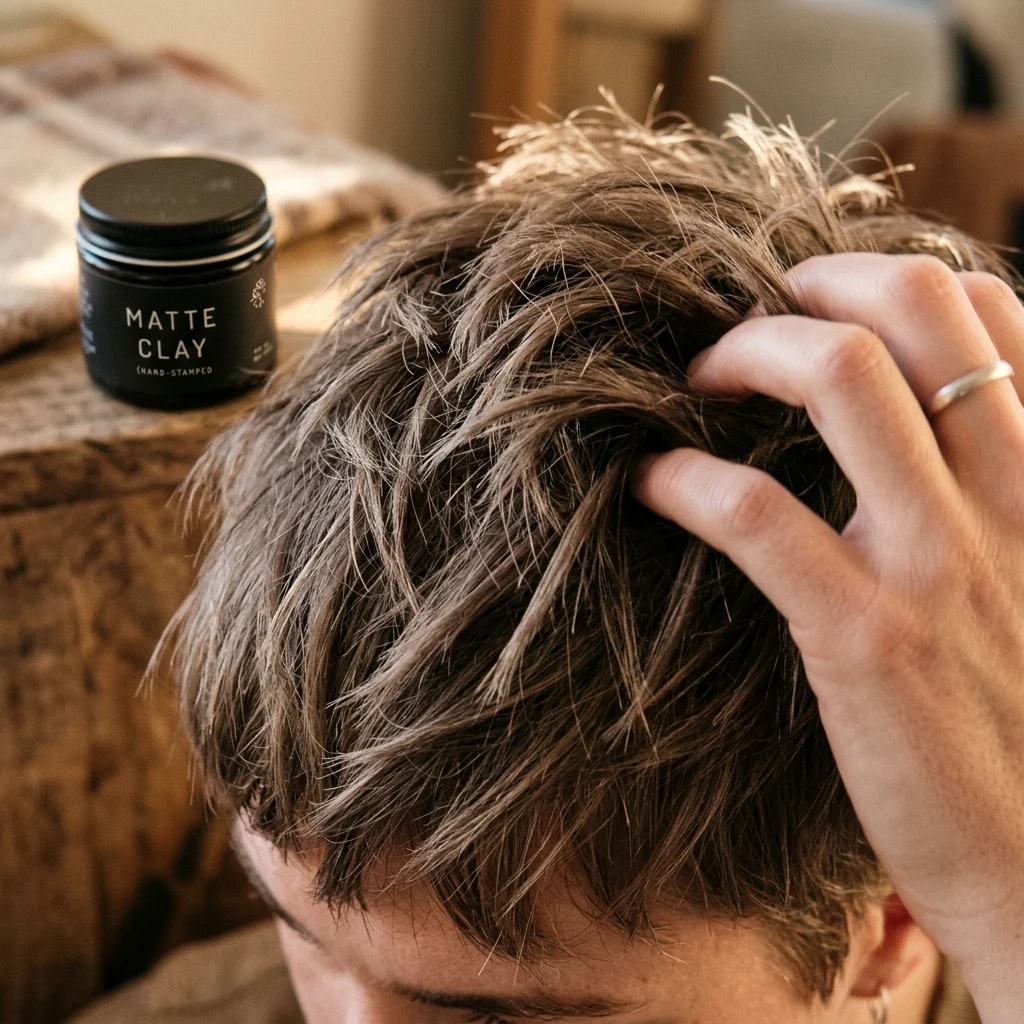
Vibe: Raw. The texture looks undone in the best way, not styled to death.
Why it works: Razoring instead of blunt-cutting removes weight unevenly along each strand, creating natural-looking texture through varied line thickness rather than layering alone. This technique gives short hair movement it wouldn’t otherwise have, since a blunt scissor cut on cropped hair can look stiff or helmet-like. The unevenness also hides regrowth longer than a uniform cut would.
How to get it: Ask specifically for a razor or point-cutting technique on the top sections, not just scissor layering, the two produce very different textures. Finish with a matte clay worked through damp hair before drying to keep pieces separated as they dry.
💡 Quick Win: Scrunching a dime-sized amount of clay into towel-dried hair, then air-drying, gives natural piece-y texture with zero heat tools.
Shop The Look
| Product |
| Matte texturizing clay for short hair |
| Microfiber hair towel for air-drying |
| Sea salt texture spray travel size |
| Wide-tooth pick comb for scrunching |
| Boar bristle small brush for polish |
4. Matte Clay Pomade for All-Day Hold
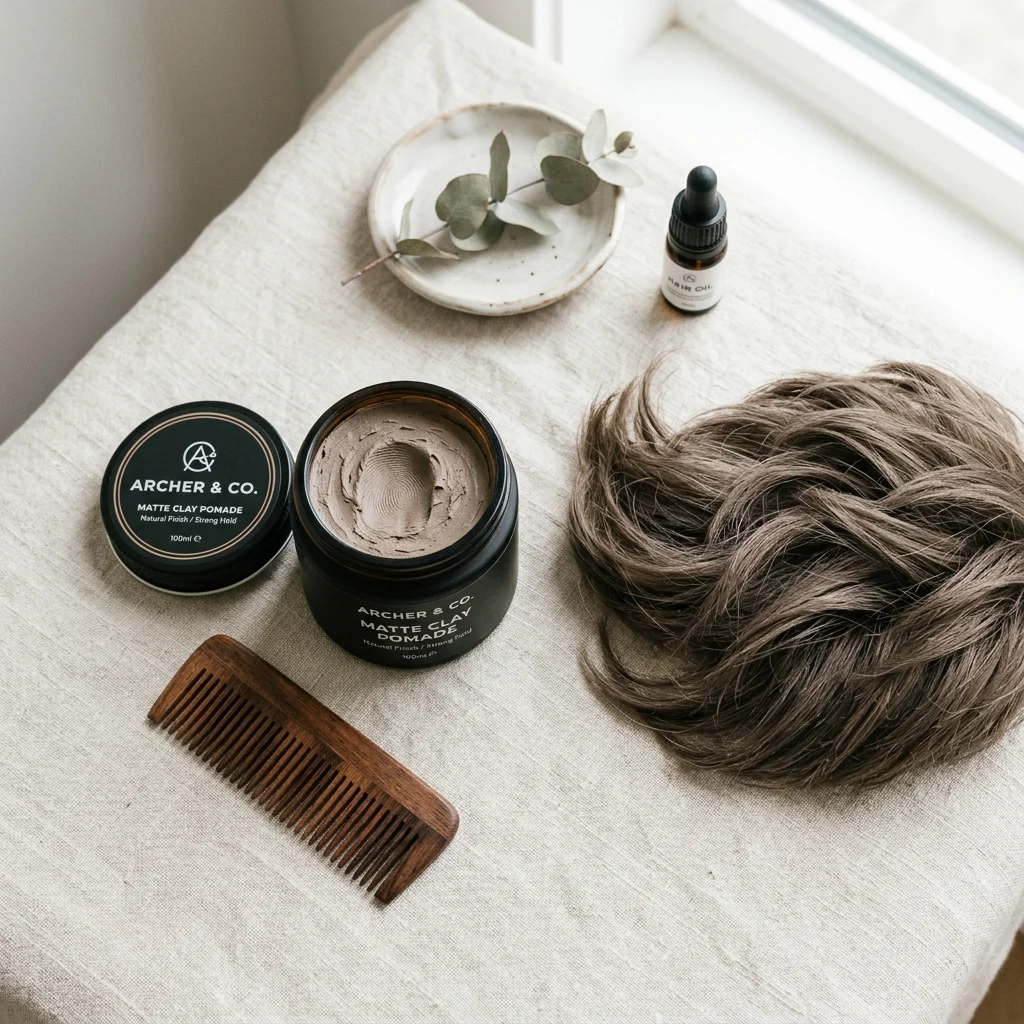
Vibe: Functional. This is a working product, not a decorative one, and it looks it.
Why it works: Clay-based products absorb oil and add friction to the strand’s surface, which is why they hold cropped hair upright and textured without the shine that wax or pomade traditionally leaves behind. On short hair specifically, matte finish matters more than hold strength alone, since any shine reads immediately across a small surface area. The friction also lets you restyle throughout the day with just your fingers.
How to get it: Warm a small amount between your palms first so it distributes evenly instead of clumping in one section. Apply to damp or dry hair depending on whether you want more lift (damp) or more definition (dry).
Shop The Look
| Product |
| Matte clay pomade for men’s or short crops |
| Small travel tin for styling product |
| Fine mist water spray bottle |
| Boar bristle detail brush |
| Anti-humidity finishing spray |
5. Smoky Ash Panels Around the Crown
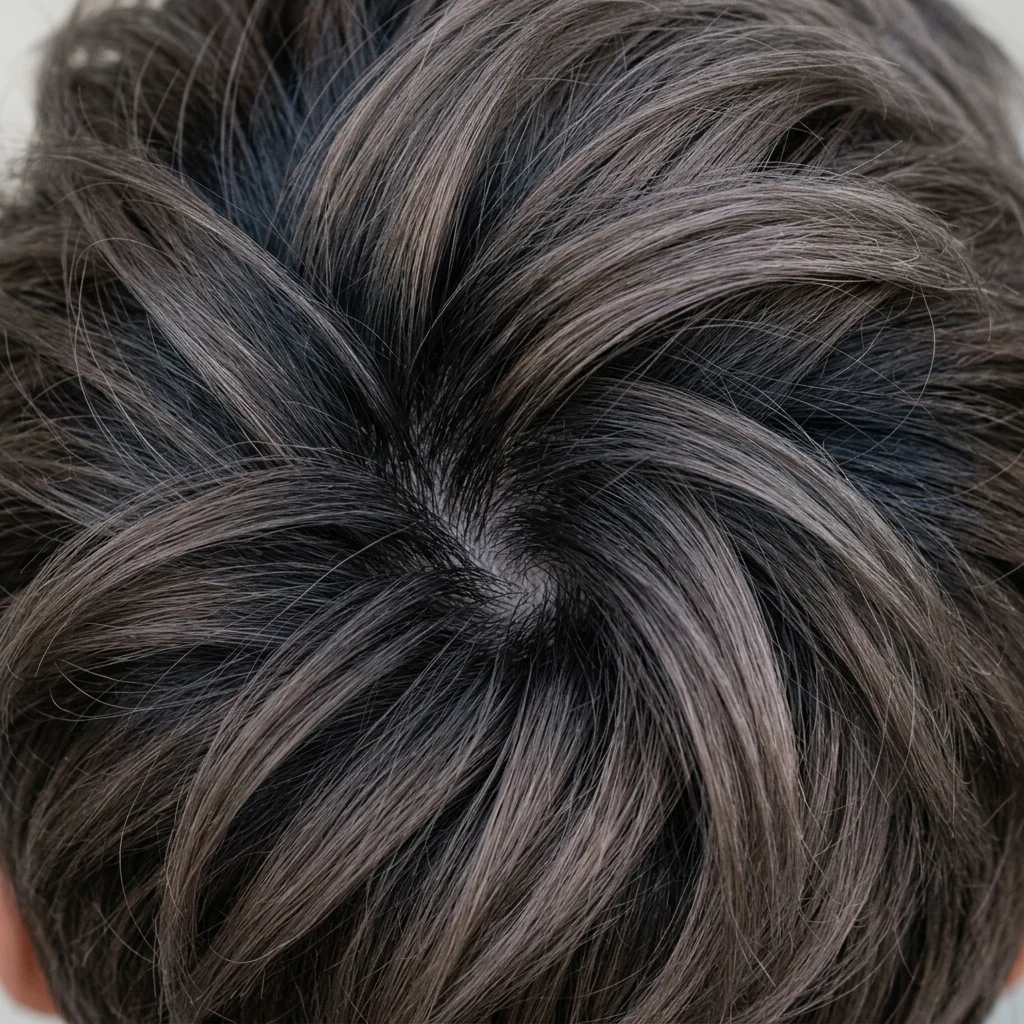
Vibe: Layered. The color has depth even though the cut itself is minimal.
Why it works: Placing slightly cooler, lighter panels around the crown while keeping the nape a touch deeper uses tonal contrast to add dimension on hair too short for traditional balayage. This technique borrows from color theory’s principle of depth through value shift rather than hue shift, so it reads sophisticated instead of striped. It also camouflages flatness that solid single-process color can create on short hair.
How to get it: Ask your colorist for “smoky panel foiling” at the crown only, leaving the sides and nape one shade deeper as a base. This costs less than full-head balayage since it targets a smaller section.
💡 Quick Win: A root-smudge glaze at your next trim blends any panel regrowth in under 20 minutes.
Shop The Look
| Product |
| Root touch-up powder in ash brown |
| Color-safe clarifying shampoo |
| Glaze or gloss treatment for brunettes |
| Tint brush for precision application |
| UV protectant spray for color-treated hair |
6. Blow-Dry Finish for Soft Volume at the Crown
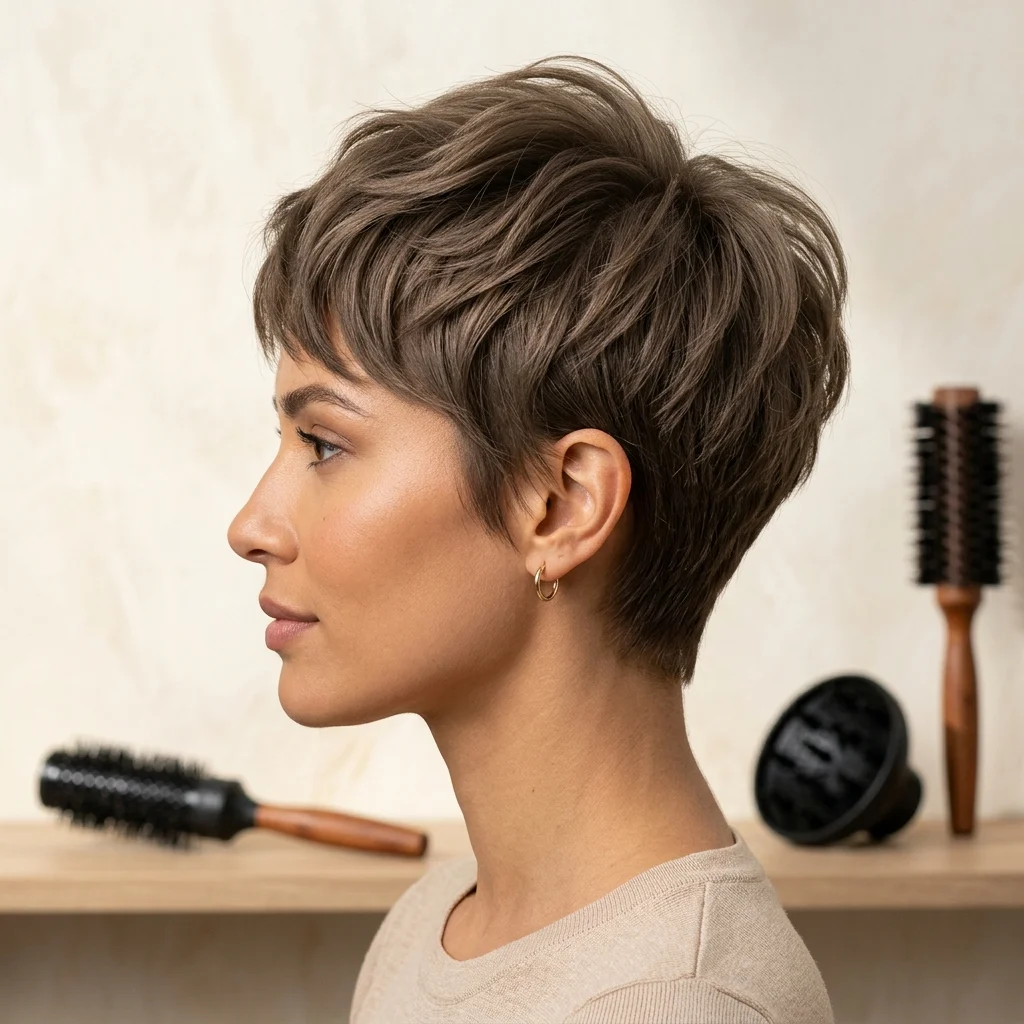
Vibe: Airy. The crown lifts just enough to keep the crop from sitting flat.
Why it works: Directing airflow against the natural growth pattern at the root, rather than with it, creates lift through mechanical tension rather than product alone. This matters most on short hair since there’s no length or weight to fake volume with. The technique has to do the work. The result balances the density of the razored sides with visible height on top.
How to get it: Blow-dry the crown section upward and against the grain using a small round brush, then let it cool in place before touching it. Heat-set hair holds shape once it drops below body temperature.
Shop The Look
| Product |
| Small round boar bristle brush |
| Lightweight volumizing mousse |
| Compact travel hair dryer with diffuser |
| Heat protectant spray for fine hair |
| Root-lift powder for volume |
7. Tapered Nape with Clean Caesar Shape
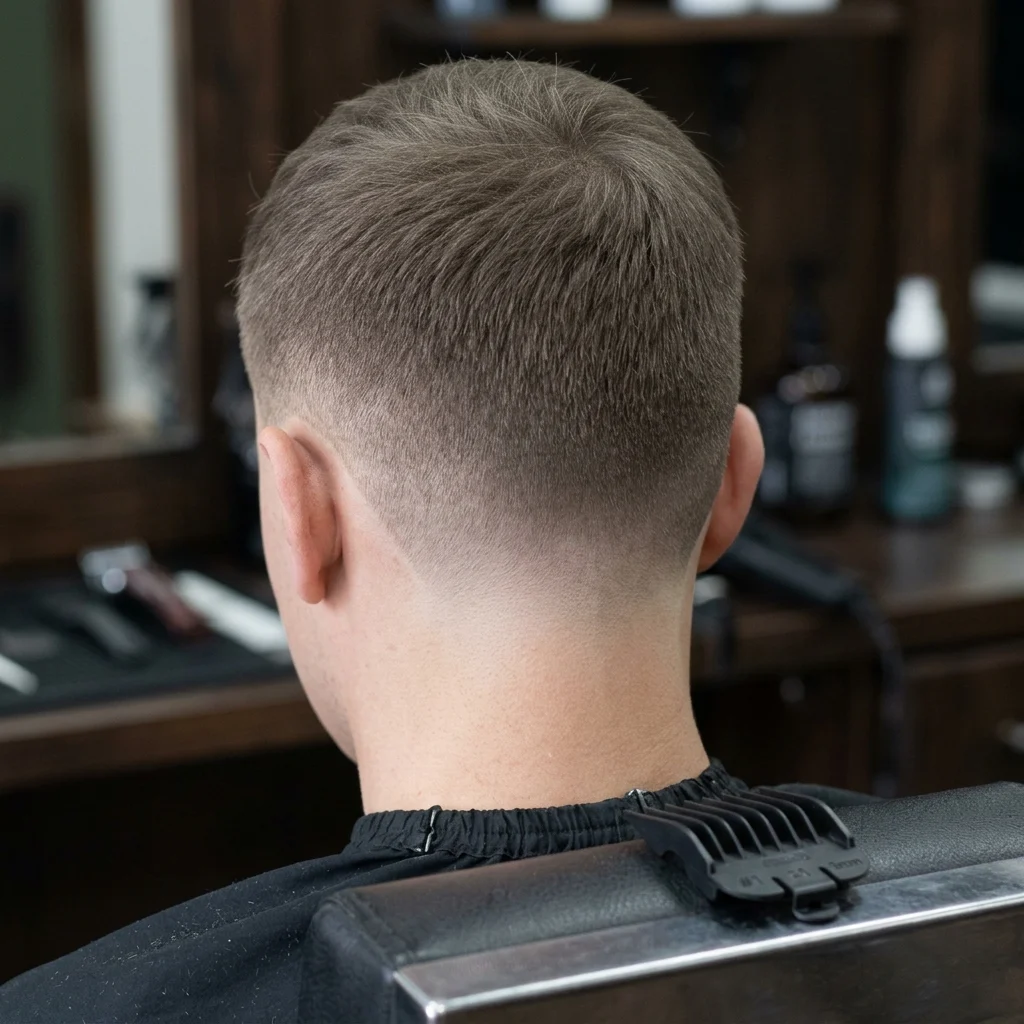
Vibe: Structured. The nape alone tells you this cut was done with intention.
Why it works: A tapered nape uses graduated length to create negative space between the hair and the neckline, applying the same design principle interior stylists use with clean sightlines, nothing competes for attention at the edges. It keeps the silhouette compact from behind, which is what separates a true Caesar shape from a looser pixie. The taper also extends the time between trims since regrowth is less visible against skin.
How to get it: Request a fade or taper with clippers at the nape specifically, blended into scissor-cut length above, mixing tools this way avoids a harsh visible line where clipper work stops.
💡 Quick Win: Between salon visits, a beard-trimmer touch-up on just the nape keeps the shape sharp for weeks longer.
Shop The Look
| Product |
| Cordless precision hair trimmer |
| Neck duster brush for at-home touch-ups |
| Clipper guard set for tapering |
| Barber cape or towel for touch-ups |
| Aftershave-style neck balm for sensitive skin |
8. Piece-y Texture with Point-Cut Layers
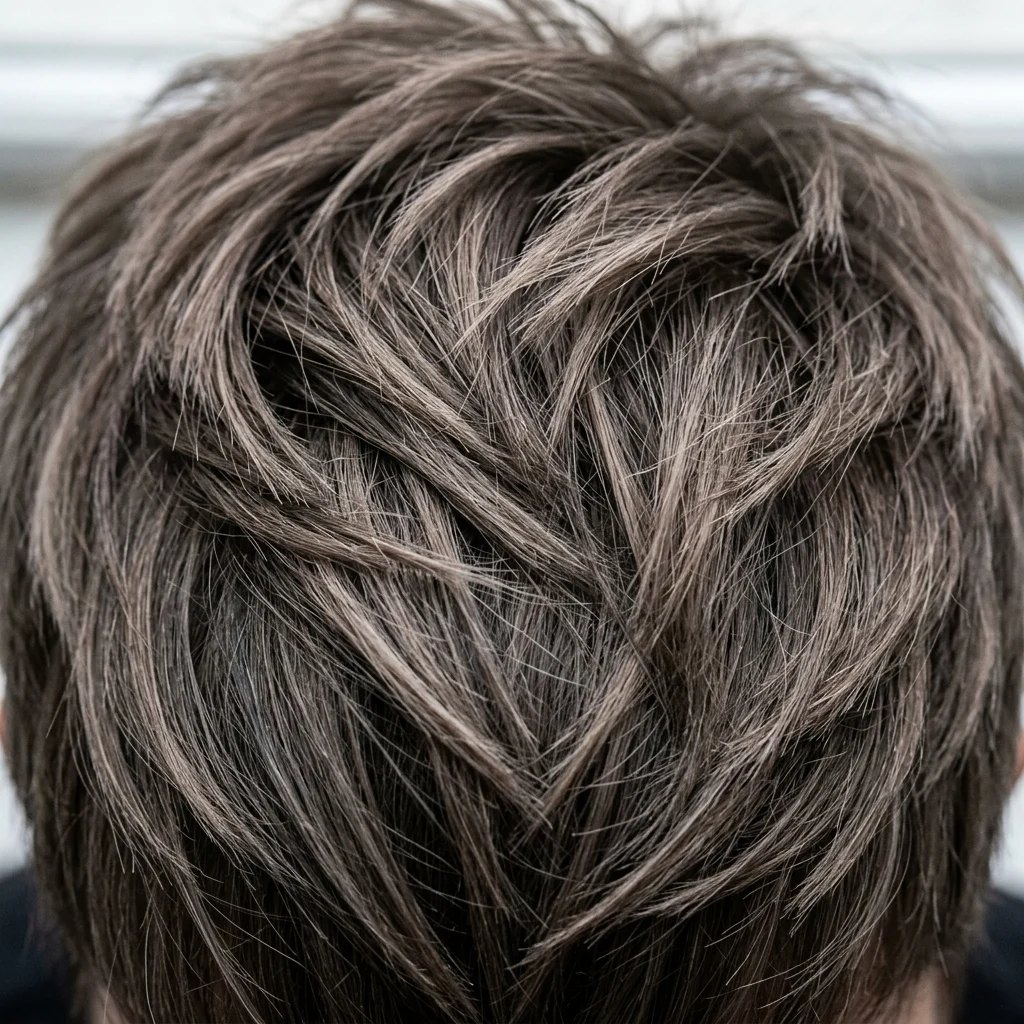
Vibe: Dynamic. Every piece seems to sit at a slightly different angle on purpose.
Why it works: Point-cutting into the ends removes bulk in small triangular sections rather than straight across, softening the transition between the blunt fringe and the choppier crown. This layering principle keeps the eye moving instead of resting on one flat plane. It’s especially useful on thicker hair where a solid blunt crop can look heavy.
How to get it: Ask your stylist to point-cut just the top and crown sections while keeping the fringe blunt, mixing techniques within one cut is what creates contrast instead of uniform texture.
Shop The Look
| Product |
| Texturizing spray for definition |
| Fine-point styling comb |
| Lightweight dry oil for ends |
| Sectioning clips for styling |
| Anti-frizz serum for short hair |
9. Cool-Toned Root Blend to Hide Grow-Out
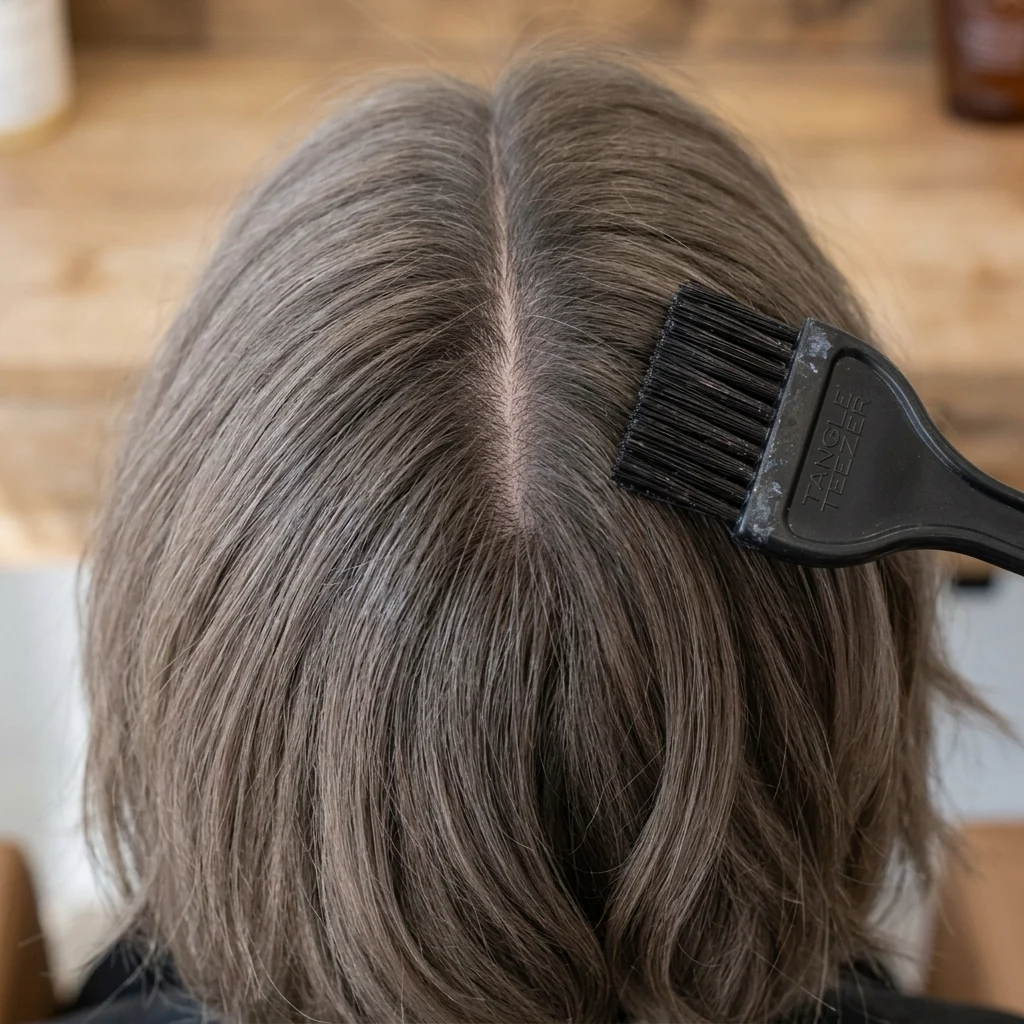
Vibe: Seamless. You genuinely can’t tell where the color session ended.
Why it works: Root shadowing softens the line of demarcation between natural regrowth and processed color using a gradient rather than a hard edge, which is why it extends the life of a color appointment. On short hair this matters more than on long hair, since there’s simply less distance for the eye to travel before hitting the root. It’s a maintenance-driven technique as much as an aesthetic one.
How to get it: Ask specifically for a “root melt” or “shadow root” service rather than a full-head single-process color. It takes less time in the chair and costs less per visit.
💡 Quick Win: A tinted root touch-up spray in ash brown bridges the gap for a week or two past when you’d normally book a color appointment.
Shop The Look
| Product |
| Tinted root touch-up spray in brown |
| Color-depositing dry shampoo |
| Tint brush for root application |
| Foil sheets for at-home touch-ups |
| Sulfate-free shampoo for treated hair |
10. Texture Spray for Second-Day Definition
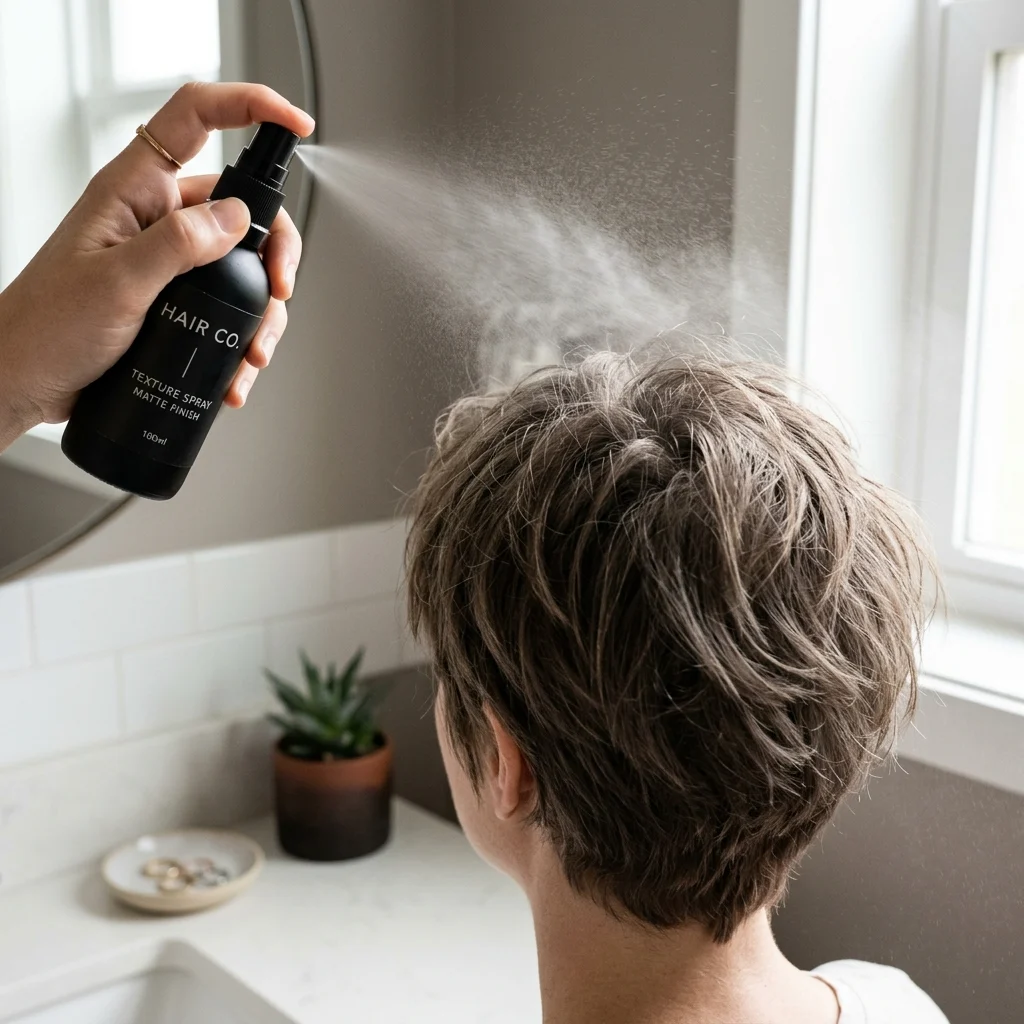
Vibe: Effortless. Second-day hair looks more finished than the first here.
Why it works: Sea salt and starch-based texture sprays roughen the strand’s surface, which increases friction between hairs and helps pieces hold their shape without a fresh blow-dry. This is especially useful on a crop this short, where even one day of natural oil buildup can actually improve texture rather than flatten it. The principle at play is working with the hair’s existing state instead of resetting it every morning.
How to get it: Spray directly onto dry roots and scrunch upward with fingertips rather than brushing through, which would smooth out the texture you’re trying to build.
Shop The Look
| Product |
| Sea salt texture spray |
| Dry shampoo for oil control |
| Volumizing root spray |
| Small travel-size spray bottle |
| Texturizing powder for extra grip |
11. Wet-Look Finish for Sharp Definition

Vibe: Sleek. This finish looks almost architectural against the matte styles around it.
Why it works: Gel creates a hard, reflective film over each strand rather than absorbing into it, which is the opposite finishing principle from the matte clay used elsewhere in this cut. The contrast between the two options is part of what makes the style versatile. Comb lines stay visible because gel dries in place rather than settling naturally, which is exactly the point for this particular look.
How to get it: Apply a clear, alcohol-free styling gel to damp hair and comb through immediately with a fine-tooth comb before it starts to set, since gel becomes difficult to reshape once dry.
Shop The Look
| Product |
| Clear alcohol-free styling gel |
| Fine-tooth metal comb |
| Shine-enhancing hair oil, small amount |
| Blow dryer with concentrator nozzle |
| Anti-flake finishing spray |
12. Sharp Side Part with Disconnected Sideburns
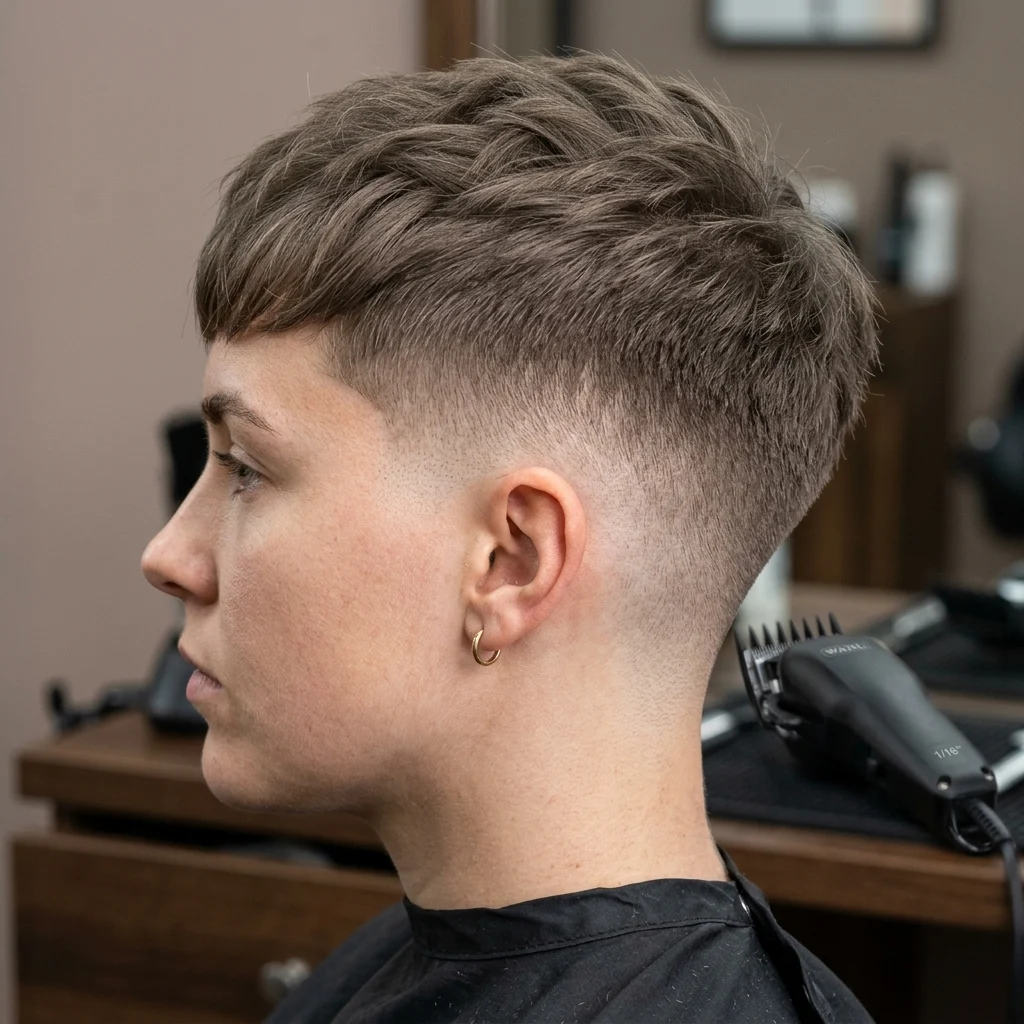
Vibe: Bold. This styling choice reads assertive rather than default.
Why it works: A disconnected sideburn uses a deliberate visible line as a design feature rather than something to blend away, borrowing from the same principle as exposed structural beams in architecture, showing the construction instead of hiding it. Paired with a hard side part, it creates two intersecting geometric lines that give an otherwise soft crop real edge.
How to get it: Ask your barber or stylist to shave a clean line separating the sideburn from the taper with a straight razor, then part hair with a fine comb using a light gel to lock the line in place.
💡 Quick Win: A precision trimmer with a razor-edge guard lets you refresh the sideburn line yourself between salon visits.
Shop The Look
| Product |
| Precision edge trimmer |
| Straight razor for line work |
| Fine-tooth parting comb |
| Light hold styling gel |
| Small handheld mirror for touch-ups |
13. Cropped Sides with Skin-Fade Texture
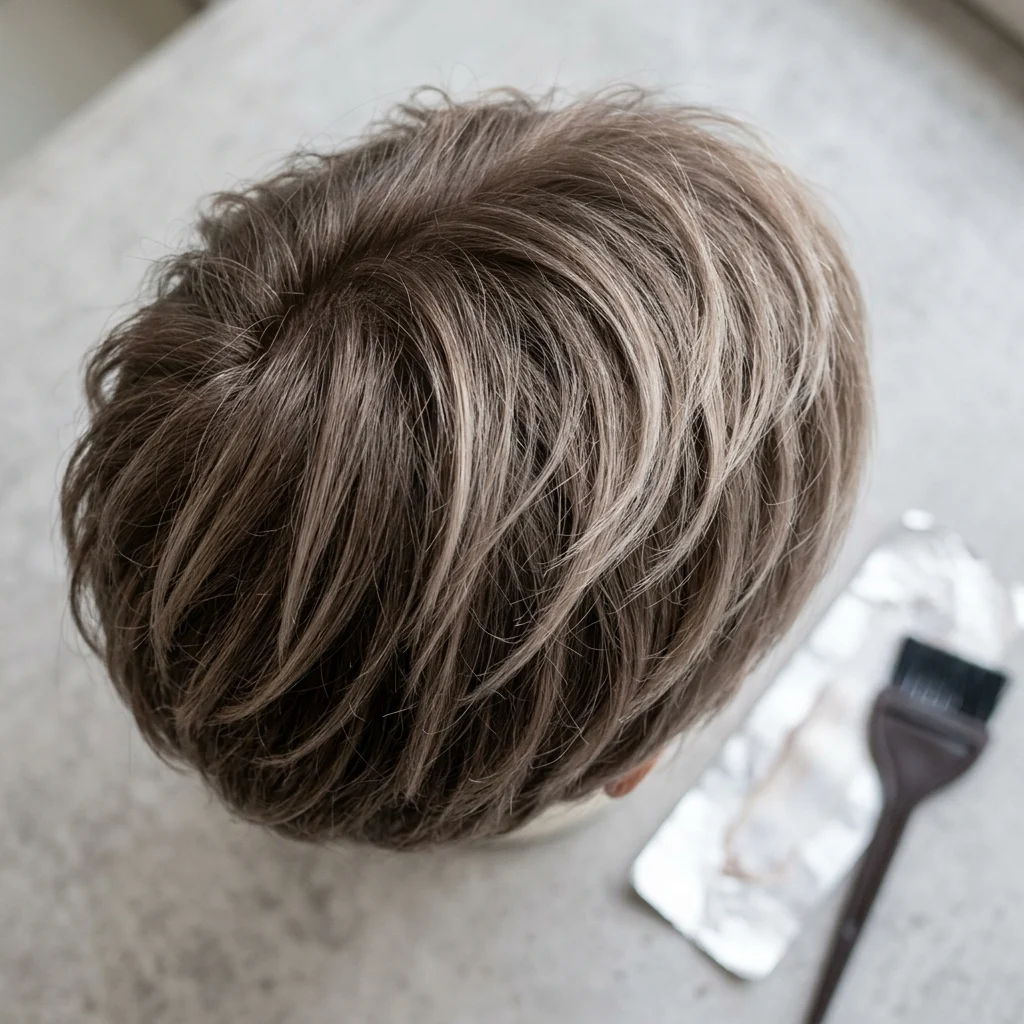
Vibe: Graduated. The fade does the transitional work so nothing looks abrupt.
Why it works: A skin fade uses continuous gradation rather than stepped lengths, which is a more technical execution than a simple tapered side and requires blending several clipper guards in sequence. This graduated approach carries the eye smoothly from scalp to the fuller crown texture, making the top read fuller by contrast even without added volume product.
How to get it: Request a “skin fade” specifically rather than a “taper,” since the two terms describe different levels of closeness at the shortest point. A skin fade goes down to bare skin at the temple.
Shop The Look
| Product |
| Professional-grade hair clippers with guard set |
| Fade comb for blending |
| Talc-free finishing powder |
| Barber neck strip or cape |
| Cooling aftershave balm for sensitive skin |
14. Ash Brown with Subtle Cool Balayage Ends
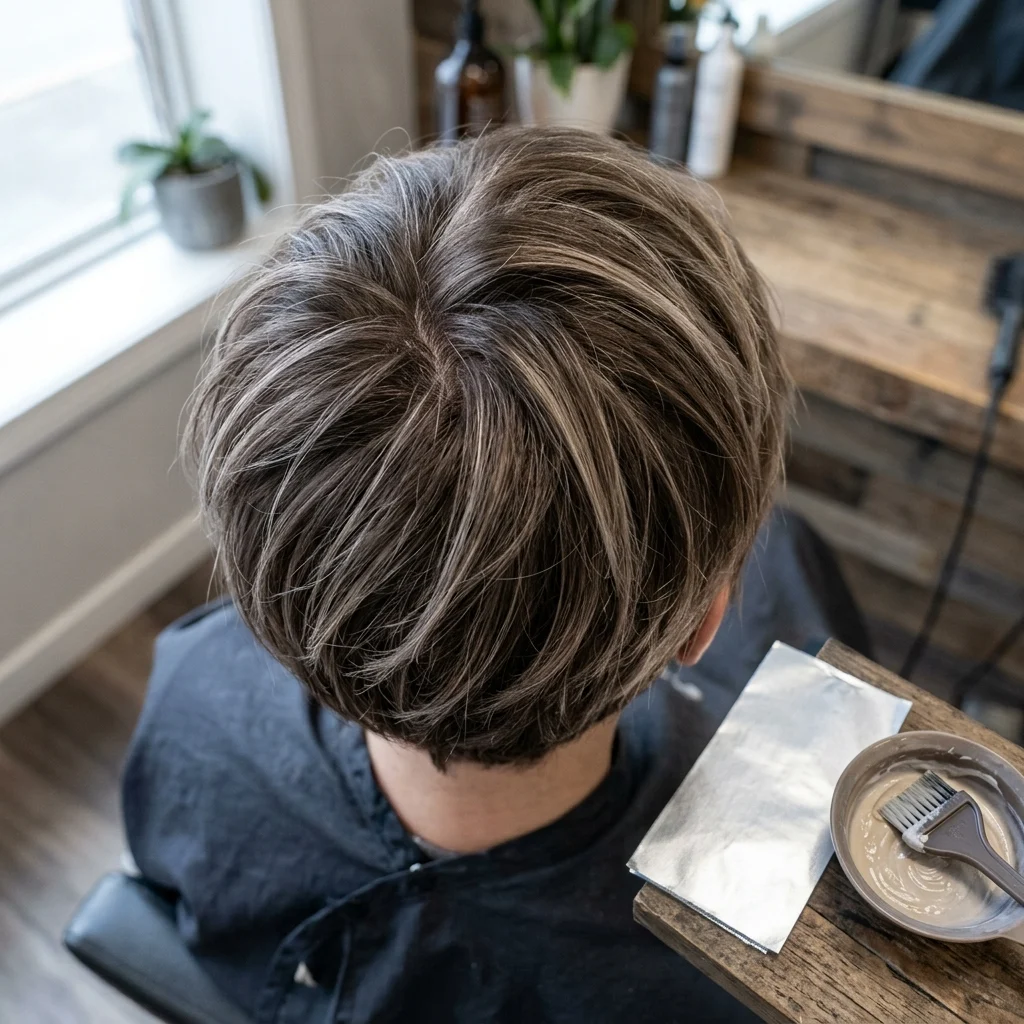
Vibe: Dimensional. The ends catch light in a way the base color alone doesn’t.
Why it works: Hand-painting lightener only onto the topmost, most visible pieces uses selective placement rather than all-over coverage, which keeps maintenance low since the sides and nape never need re-lightening. This technique relies on the principle that short hair shows color placement more literally than long hair, so precision matters more than volume of highlights.
How to get it: Ask for “baby lights” or fine balayage limited to the crown and fringe pieces only, using a cool ash-toned lightener to avoid warm yellow tones showing through.
💡 Quick Win: A single toning gloss applied to just the lightened pieces at home keeps them cool between salon color sessions.
Shop The Look
| Product |
| At-home toning gloss for blonde pieces |
| Purple-pigmented conditioning mask |
| Small foil sheets for touch-ups |
| Fine tint brush |
| UV-protectant leave-in spray |
15. Edge Control Wax for Baby Hair Definition
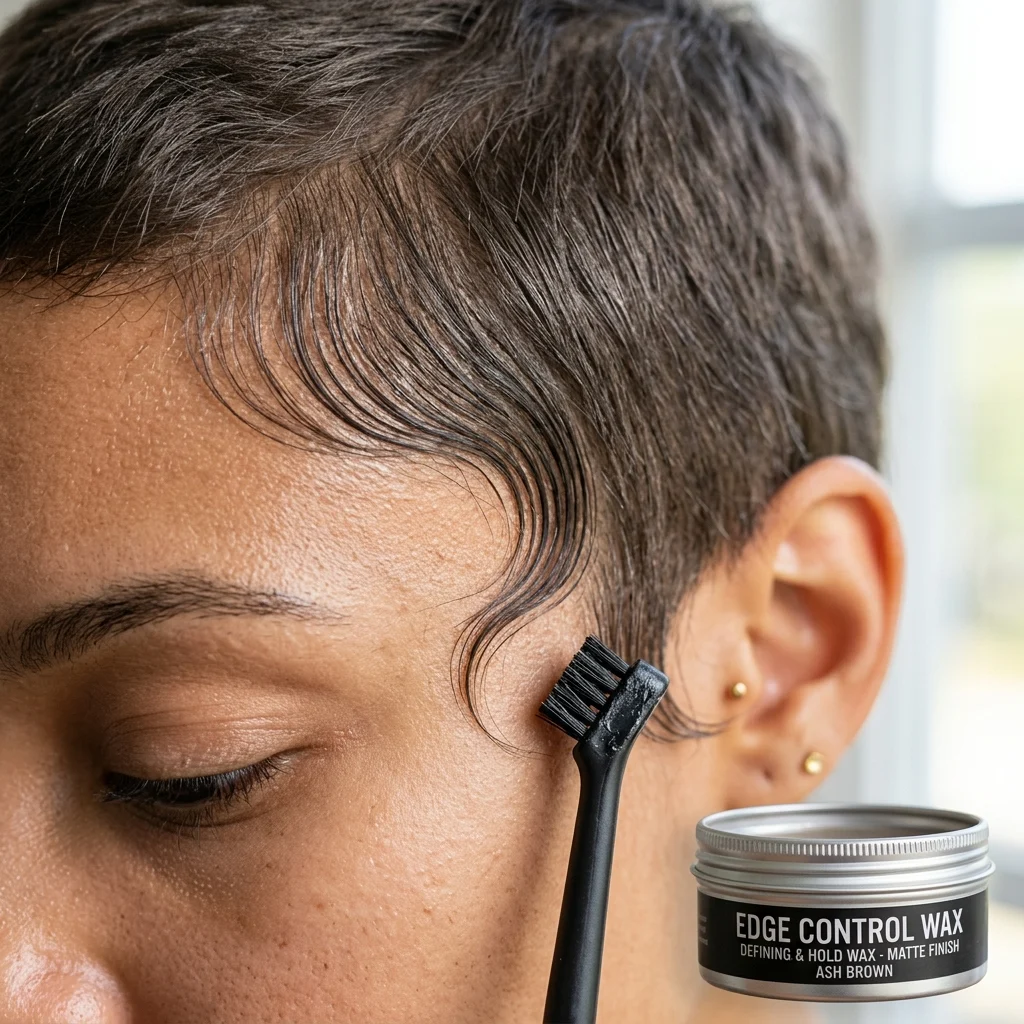
Vibe: Polished. This small detail finishes the whole look at the hairline.
Why it works: Edge control wax has a firmer hold than standard styling gel, which is necessary for shaping the shortest, finest hairs along the temple where regular product simply slides off. This finishing step uses the same logic as a picture frame. A defined edge makes the entire composition read more intentional, even though it covers the smallest surface area of the cut.
How to get it: Use a small, stiff-bristled edge brush with a tiny amount of firm-hold wax, working in the direction you want the hairline to lay rather than against it.
Shop The Look
| Product |
| Firm-hold edge control wax |
| Small stiff-bristled edge brush |
| Mini precision comb for hairline |
| Lightweight setting spray |
| Travel-size mirror for touch-ups |
16. Air-Dry Finish for Natural Movement
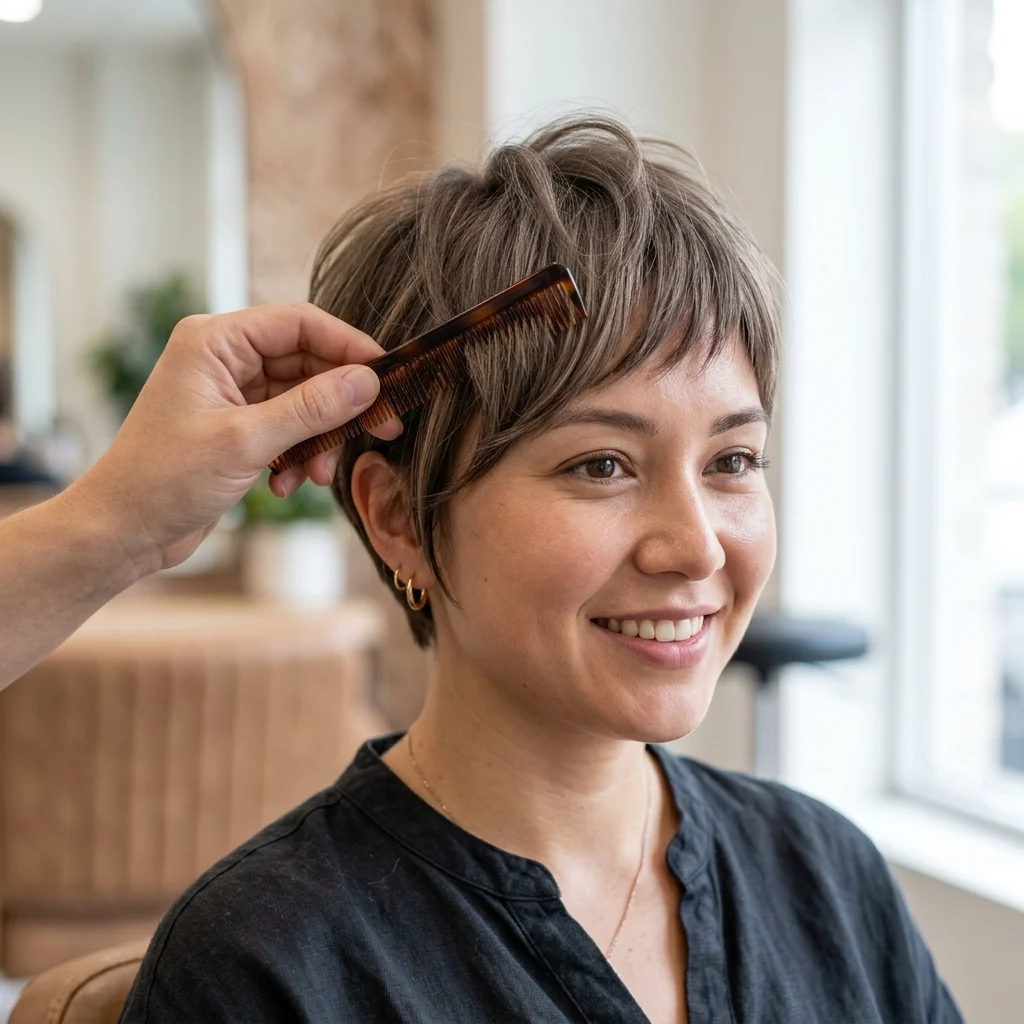
Vibe: Unforced. This version looks like it took no time at all, because it didn’t.
Why it works: Letting hair dry without heat tools preserves its natural pattern and reduces the porosity damage that repeated blow-drying causes over time, which matters on a cut this short since damaged texture is much more visible with less length to disguise it. This low-effort approach is also the fastest route from shower to done, which is part of the broader appeal of the style.
How to get it: Apply a light leave-in cream to damp hair, scrunch gently, and let it dry undisturbed rather than touching or restyling it partway through the drying process.
💡 Quick Win: Sleeping on a silk or satin pillowcase preserves air-dried texture overnight instead of flattening it.
Shop The Look
| Product |
| Lightweight leave-in styling cream |
| Silk or satin pillowcase |
| Microfiber towel for gentle drying |
| Curl-defining light-hold mousse |
| Wide-tooth comb for damp detangling |
17. Adapting the Micro Fringe to Round Face Shapes
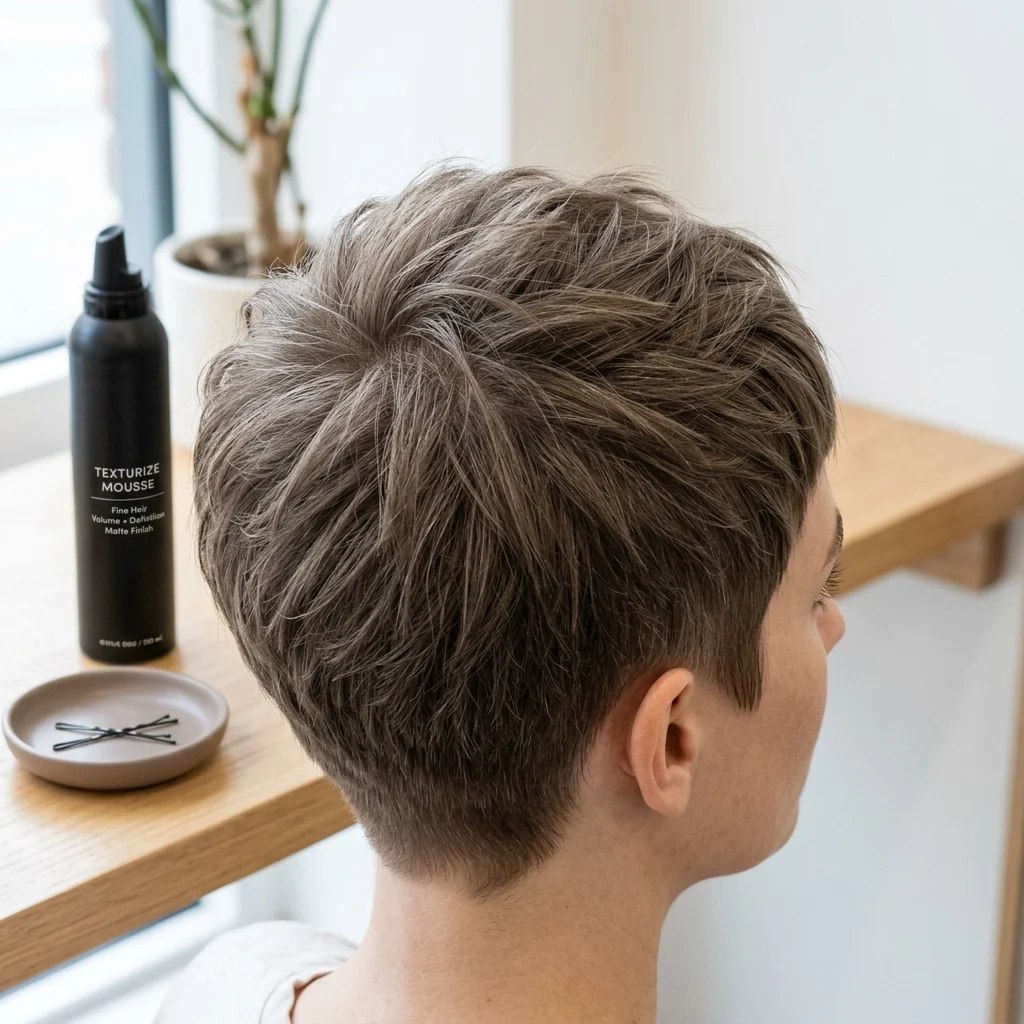
Vibe: Balanced, the small angle change reshapes how the whole face reads.
Why it works: A perfectly straight, blunt fringe adds visual width at its widest point, which can emphasize roundness rather than counter it, so angling the fringe longer at the outer corners introduces a diagonal line that elongates instead. This is a proportion principle borrowed directly from tailoring: diagonal lines read taller than horizontal ones. Added height at the crown reinforces the same effect.
How to get it: Request a fringe that’s cut on a slight diagonal, shorter at the center and gradually longer toward the temples, rather than one straight horizontal line across the brow.
Shop The Look
| Product |
| Root-lift volumizing spray |
| Angled styling comb for diagonal fringe |
| Flexible-hold hairspray |
| Small round brush for crown lift |
| Heat protectant for fringe styling |
18. Styling the Sharp Crop for Fine, Thin Hair
Vibe: Light. This version proves fine hair can still hold structure.
Why it works: Fine hair has less mass per strand, so heavy pomades and waxes weigh it down instead of adding texture, which is why lightweight, root-focused products matter more here than technique alone. Keeping the cut shorter overall also helps, since less length means less weight pulling against the natural lift fine hair already struggles to hold. This is the fine-hair equivalent of choosing a smaller, lighter piece of furniture in a tight room. Scale has to match what the space can actually support.
How to get it: Ask for a shorter overall length than you’d typically choose, since extra length on fine hair tends to look thin rather than sleek, and finish styling with a lightweight mousse applied at the root only.
💡 Quick Win: A volumizing dry shampoo doubles as texture and lift in one step, skipping a separate mousse application entirely.
Shop The Look
| Product |
| Volumizing dry shampoo with texture |
| Lightweight root-lift mousse |
| Small boar bristle round brush |
| Fine-tooth teasing comb |
| Featherweight finishing spray for fine hair |
How to Start Your Caesar Pixie Micro Fringe Transformation
Start with the fringe. Book the cut around the exact brow-grazing length you want first, since every other decision (sides, nape, color placement) gets built around how that fringe frames your face. Everything else can be adjusted at a follow-up appointment; the fringe is the anchor.
The most common mistake is going too warm with the ash-brown formula. Colorists sometimes lift with a beige or neutral base that still carries hidden gold, which shows up brassy under indoor lighting within a few weeks. Ask specifically for a violet- or blue-based ash formula, and request a cool-toned gloss at your next visit if you notice warmth creeping in.
Three items under $50 build immediate impact: a matte clay pomade in a small travel tin, a purple-toning dry shampoo, and a fine-tooth precision styling comb. All three cost less than a single salon blowout and get used daily.
A full cut and color transformation takes one to two salon visits over roughly a month, plus trims every four to six weeks to keep the fringe and nape sharp. A starter version the cut alone, gradually toned over time. Runs $60–$150. A full color correction with maintenance runs closer to $200–$350 across the first two months.
Frequently Asked Questions About Caesar Pixie Haircuts
What’s the difference between a Caesar cut and a regular pixie cut?
A Caesar cut is defined by a blunt, straight fringe cut close to the brow and uniformly short length all over, while a classic pixie usually has longer, more textured layers and a swept or side-parted fringe. The Caesar reads more structured and androgynous, closer to a men’s crop adapted for any gender. Both are short, but the fringe treatment is the real distinguishing feature. A stylist can usually convert one into the other within a single haircut.
Will ash brown color fade or turn brassy on a short crop?
Yes, without maintenance, ash brown color naturally fades toward warmth as the cool violet-based pigment washes out faster than the underlying brown. A purple-toning shampoo used once a week slows this process significantly. Most people need a gloss refresh every four to six weeks to maintain the true ash tone. Hard water and frequent hot-tool use both accelerate brassiness.
How much does it cost to get and maintain this haircut and color?
An initial cut and ash brown color service typically runs $80–$200 depending on your area and whether you need lightening first. Maintenance trims every four to six weeks run $30–$60 each, and toning glosses add another $25–$40 per visit. Budget roughly $150–$300 for the first two months combined, tapering to $50–$80 monthly after that for upkeep alone.
Does this style work for round or square face shapes?
It can, but the fringe needs adjusting: a perfectly straight, blunt fringe tends to widen a round or square face, so angling it slightly longer at the outer corners and adding crown height helps elongate instead. Oval and heart-shaped faces generally handle the straight blunt version without any modification. Ask your stylist to assess your face shape before committing to the exact fringe angle.
How often does the micro fringe need trimming to stay sharp?
Every two to three weeks, since fringe hair grows faster relative to its short length than the rest of the cut and loses its crisp line quickly. Many people trim their own fringe between salon visits using small precision scissors and a fine-tooth comb for guidance. Waiting longer than four weeks usually means the fringe has grown past the brow and started curling or falling into the eyes.
Ready to Create Your Caesar Pixie Micro Fringe?
Between the cool ash brown color work, the razored texture, and the fringe adjustments for different face shapes, there’s more than one way into this crop. You don’t need to nail every detail on the first visit. Starting with just the cut and letting the color evolve over a few appointments is a completely reasonable way to ease in. Today, book a consultation and bring one clear reference photo of the fringe length you want, since that single decision shapes everything else. Once it’s dialed in, this is the kind of haircut that gets you out the door in five minutes feeling put-together rather than rushed. Pin your favorite fringe angle and color panel now, before your next trim, so you walk into the salon with the exact ash brown crop already in mind.