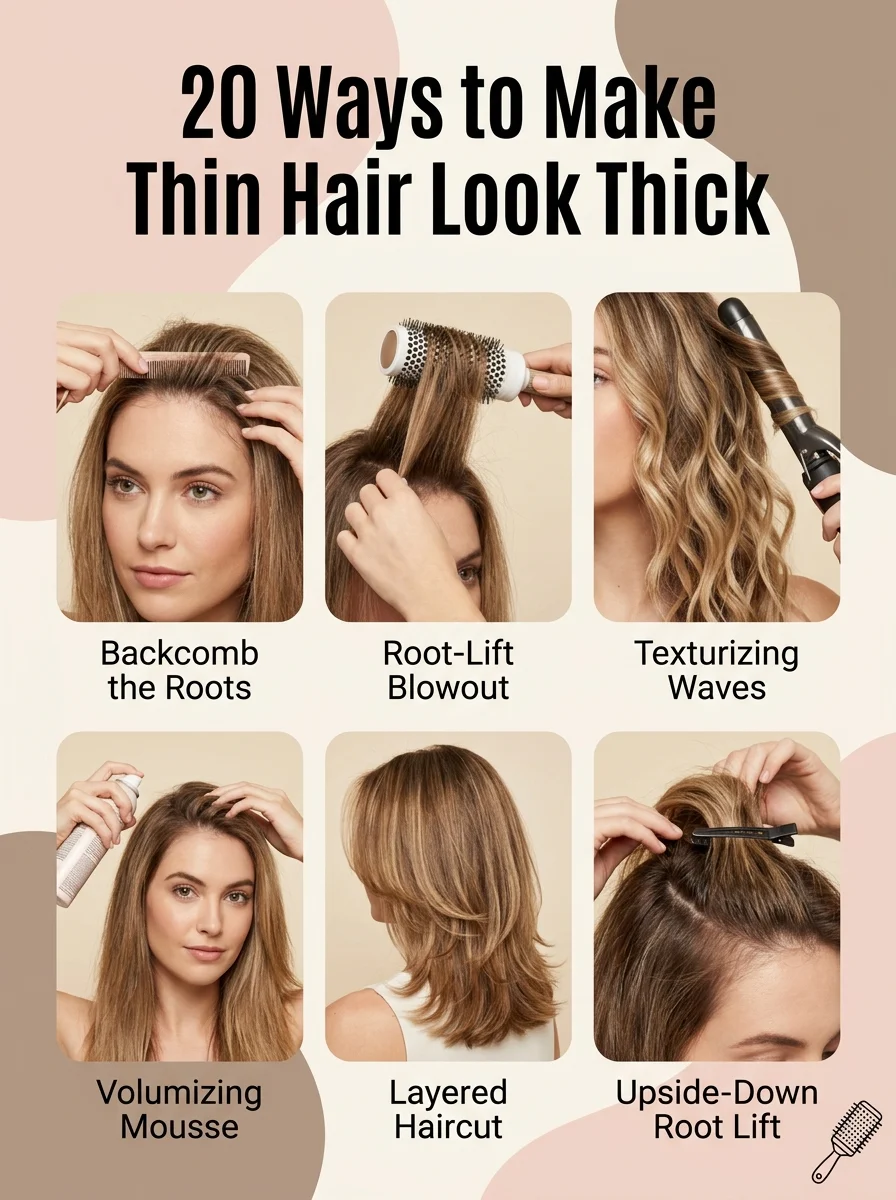
20 Ways to Make Thin Hair Look Thick

Making thin hair look thick is the art of using color, cut, product, and styling technique to create the visual illusion of density without adding a single extra strand. This article gives you 20 ways to make thin hair look thick, covering color placement, root-lifting products, strategic cuts, and quick styling fixes you can use starting today.
The goal isn’t more hair; it’s the right kind of contrast, lift, and movement so what you have reads as full. Fine hair can still feel weightless and airy while looking dense from the outside; the two aren’t opposites. There’s a real confidence in knowing exactly which technique to reach for, whether that’s a root spray before a blowout or a low-contrast balayage that fakes fullness at a glance. Here are 20 ideas worth saving, and stealing.
Why These Thin Hair Techniques Work So Well
Thin hair looks sparse for two separate reasons: either the strands themselves are fine in diameter or there are fewer strands per square inch, and most people have some combination of both. The techniques that create the illusion of thickness work by manipulating light, contrast, and root lift rather than trying to physically add volume, which is why color and cut matter as much as product. This is distinct from generic “volumizing” advice because it targets the specific optical tricks that make hair read as dense on camera and in person.
The most effective tools are root-lifting sprays and mousses applied at the scalp, textured sea salt sprays for grip on the mid-lengths, and color techniques like low-contrast balayage or reverse ombre that avoid harsh, flat single-process color. Blunt, one-length cuts create denser-looking ends than heavily layered ones, since layering removes weight exactly where fine hair needs it most.
Search interest in thin hair volumizing has grown alongside a broader shift toward hair health content, as more people move away from damaging heat styling and toward techniques that build the appearance of thickness without compromising strand integrity. Root-focused, scalp-first routines have become the dominant approach replacing old-school teasing and heavy product buildup.
Approach to Volume
| Element | Root-Focused | Length-Focused |
|---|---|---|
| Philosophy | Lift and contrast at the scalp | Movement and texture through the ends |
| Materials | Mousse, root spray, dry shampoo | Sea salt spray, texturizing cream, rollers |
| Best For | Overall crown fullness | Ends that look thin or wispy |
20 Ways to Make Thin Hair Look Thick
1. Root Shadowing for Depth
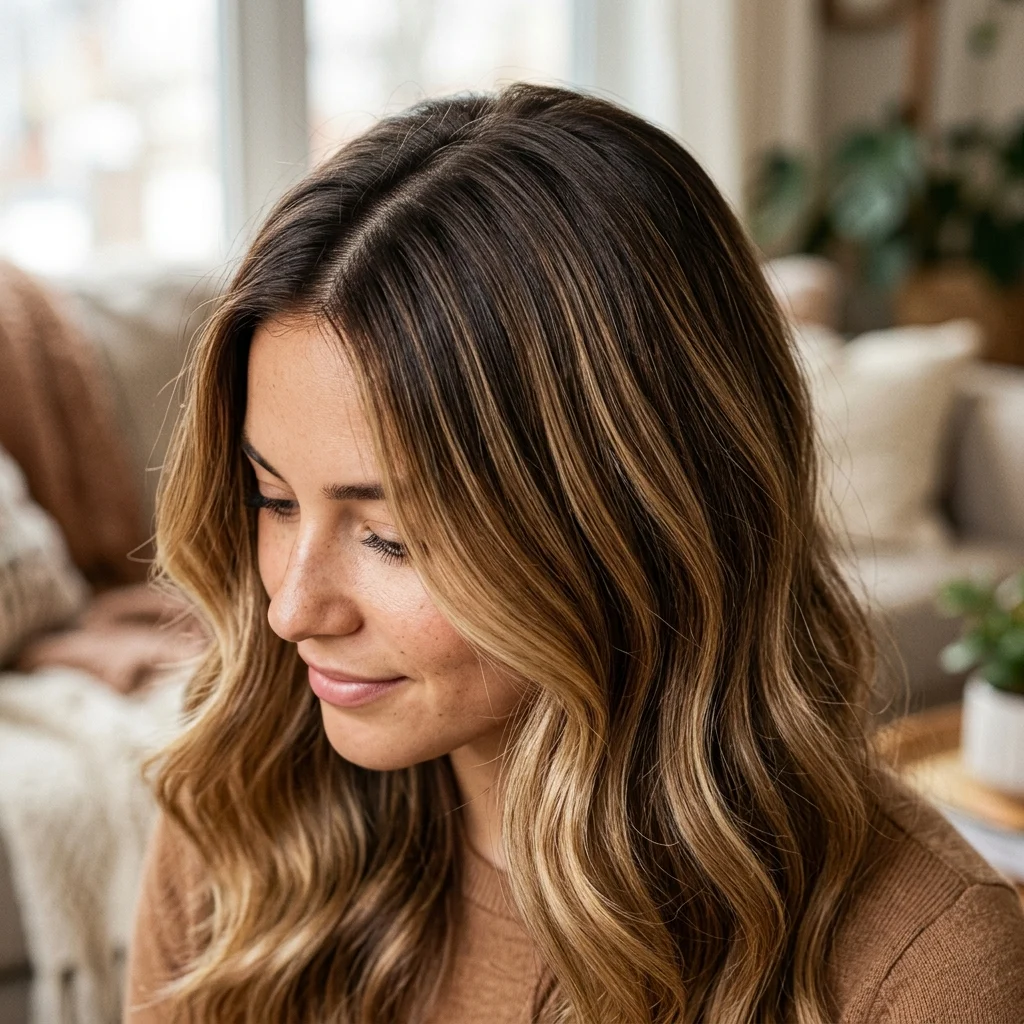
Vibe: Grounded, with depth that fools the eye into seeing more hair than there is.
Why it works: A shadow root uses tonal contrast, a darker value directly at the scalp against lighter lengths, which creates a shadow effect that visually thickens the base of each strand. This works because shadows read as mass, the same principle used in painting to suggest volume that isn’t physically there.
How to get it: Ask your colorist for a root shadow one to two shades deeper than your overall color, blended two inches down with a soft brush so there’s no hard line.
💡 Quick Win: A root touch-up powder in a matching shade extends this shadow effect between salon visits at almost no cost.
Shop the Look
| Root touch-up powder in matching brown shade |
| Color-depositing root spray |
| Wide-tooth detangling comb |
| Color-safe sulfate-free shampoo |
| Glossing hair oil for shine |
2. Volumizing Mousse at the Root
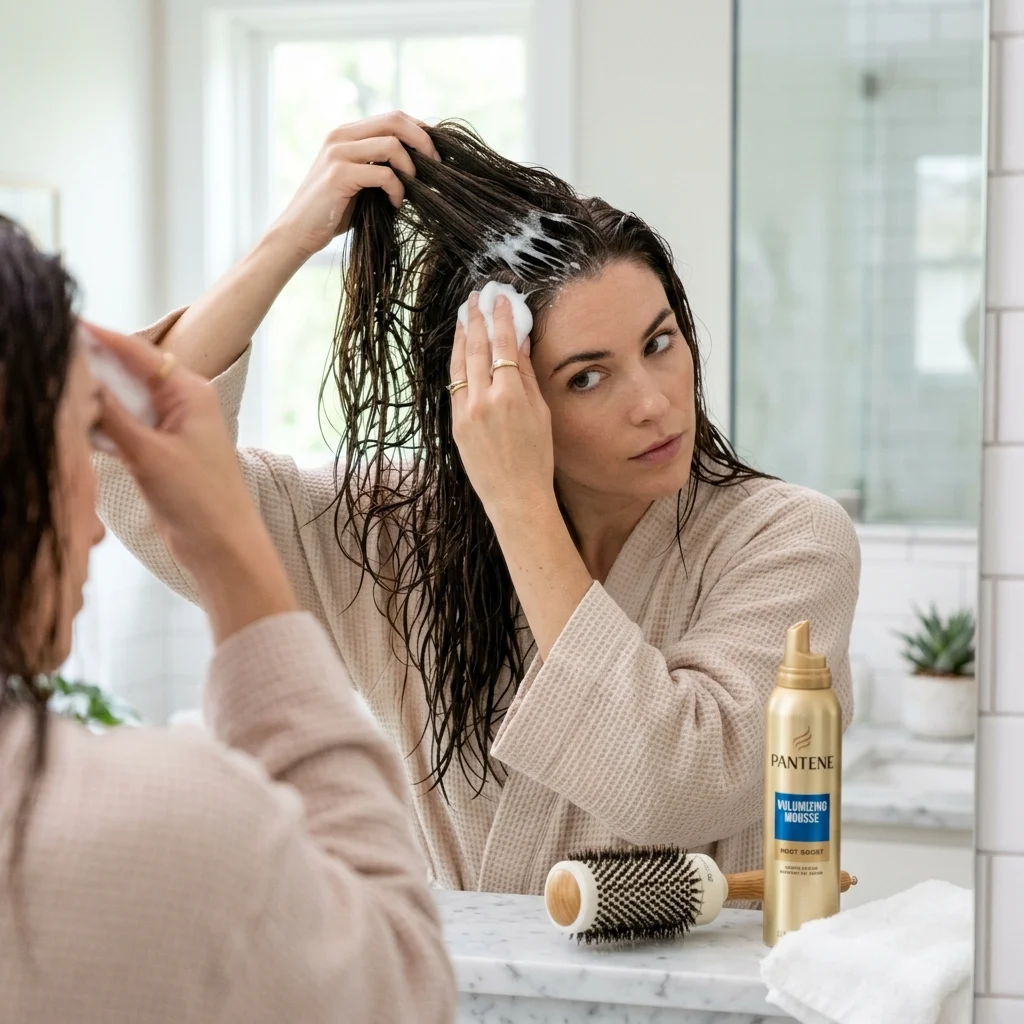
Vibe: Fresh and practical, the first five minutes that set up the whole style.
Why it works: Mousse contains polymers that coat each strand and stiffen slightly as they dry, which increases the strand’s effective diameter. Applied only at the root and blow-dried in an upward direction, it creates lift exactly where fine hair collapses fastest under its own weight.
How to get it: Work a golf-ball-sized amount of mousse into damp roots only, then blow-dry with your head flipped upside down, using a round brush to lift each section away from the scalp before it dries.
Shop the Look
| Root-lifting volumizing mousse |
| Round boar bristle brush for lift |
| Ionic blow dryer with concentrator nozzle |
| Heat protectant spray |
| Wide-tooth comb for even mousse distribution |
3. Blunt Ends for Density Illusion
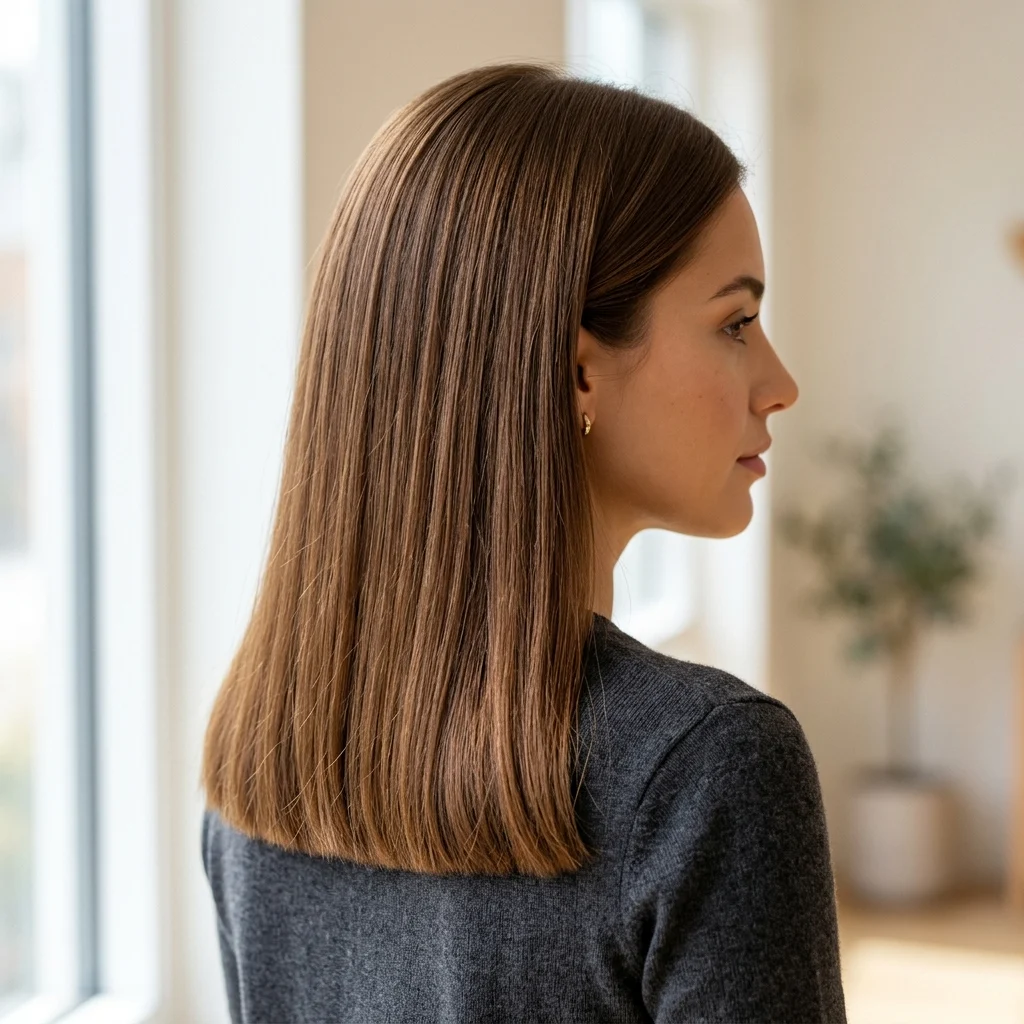
Vibe: Crisp and structured, with weight concentrated exactly where it counts.
Why it works: Layering removes hair mass progressively up the length, which is the opposite of what fine hair needs. A single blunt line at the ends keeps maximum density at the perimeter, using visual weight the way a solid hemline reads heavier than a frayed one.
How to get it: Ask your stylist for a one-length cut with minimal to no layers, and if you want face-framing pieces, request they be cut long rather than short so they don’t thin out the overall perimeter.
Shop the Look
| Straightening flat iron for a sleek blunt line |
| Shine serum for polished ends |
| Precision styling comb |
| Anti-frizz smoothing cream |
| Silk pillowcase to protect blunt ends |
4. Diffusing at the Root
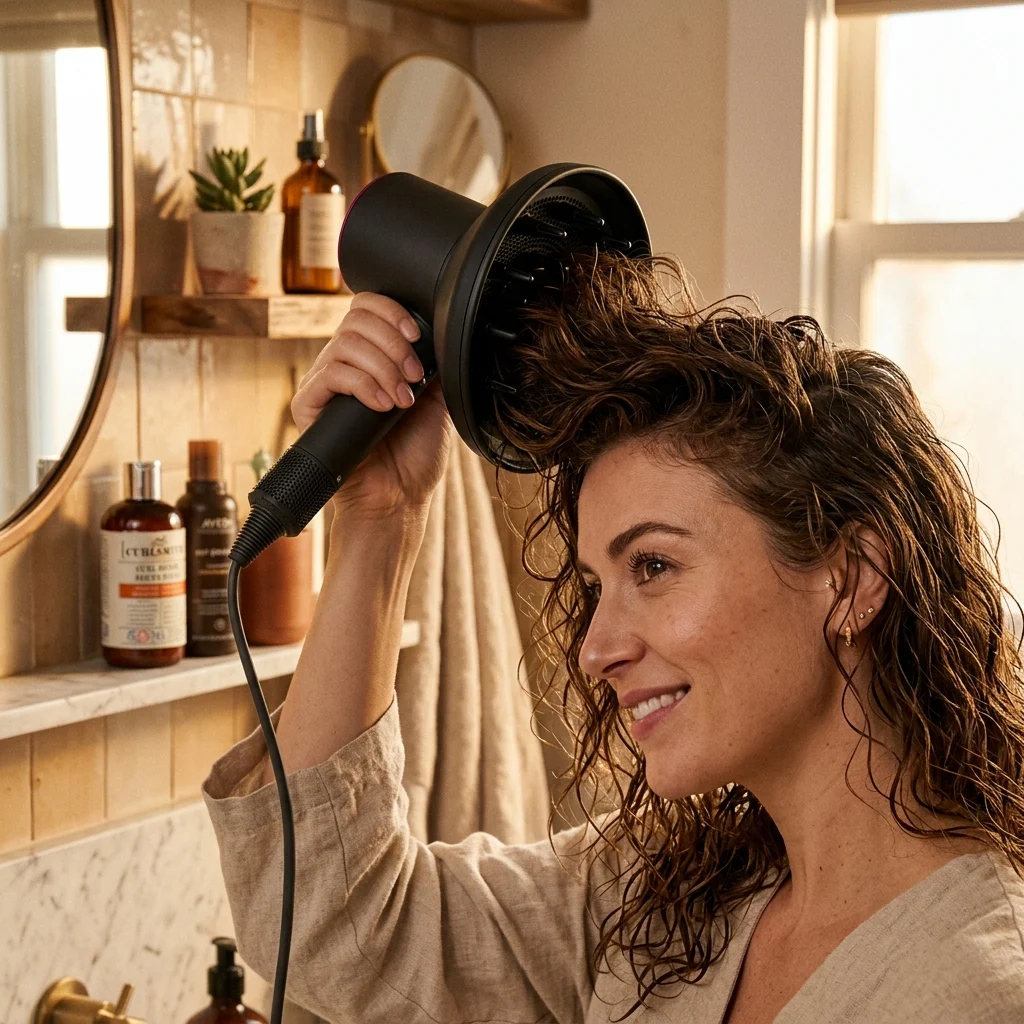
Vibe: Warm and textured, with lift built in through gentle, cupped motion.
Why it works: A diffuser distributes airflow over a wider surface rather than a direct blast, which dries hair in place without disturbing the shape you’ve scrunched into it. This preserves the root lift created by scrunching upward, a technique that relies on drying hair in a lifted position so it sets that way.
How to get it: Flip your head over, cup sections of damp hair in the diffuser bowl, and press upward toward the scalp in a scrunching motion while drying on medium heat until roots are fully set.
Shop the Look
| Diffuser dryer attachment |
| Curl and volume-enhancing mousse |
| Sea salt texturizing spray |
| Microfiber towel for pre-drying |
| Lightweight curl cream |
5. Clip-In Volumizing Wefts
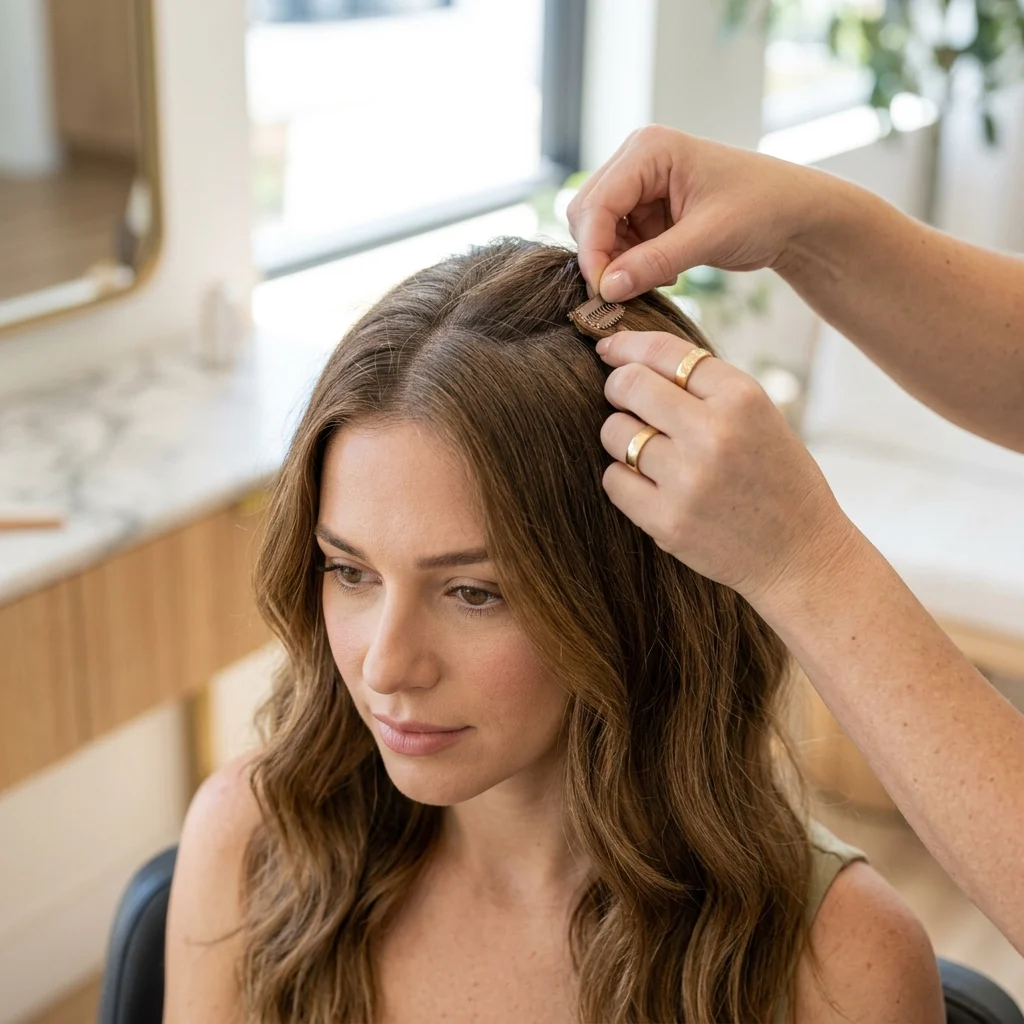
Vibe: Transformative, an instant fix for the crown’s flattest section.
Why it works: A single volumizing weft adds mass directly to the crown, the area most visible from above and most prone to looking thin under overhead lighting. Because it’s added rather than optical, this is the one technique on the list that increases actual density, not just its appearance.
How to get it: Section hair horizontally at the crown, backcomb the base slightly for grip, and clip in a weft that matches your color and length, blending the edges with a curling iron so the seam disappears.
💡 Quick Win: A single small crown weft, rather than a full set, is the fastest and least expensive way to test whether clip-ins work for your routine.
Shop the Look
| Single crown volumizing hair weft |
| Color-matching swatch ring for weft shopping |
| Fine-tooth rat tail comb for sectioning |
| Small curling iron for blending seams |
| Weft storage case |
6. Balayage to Fake Fullness
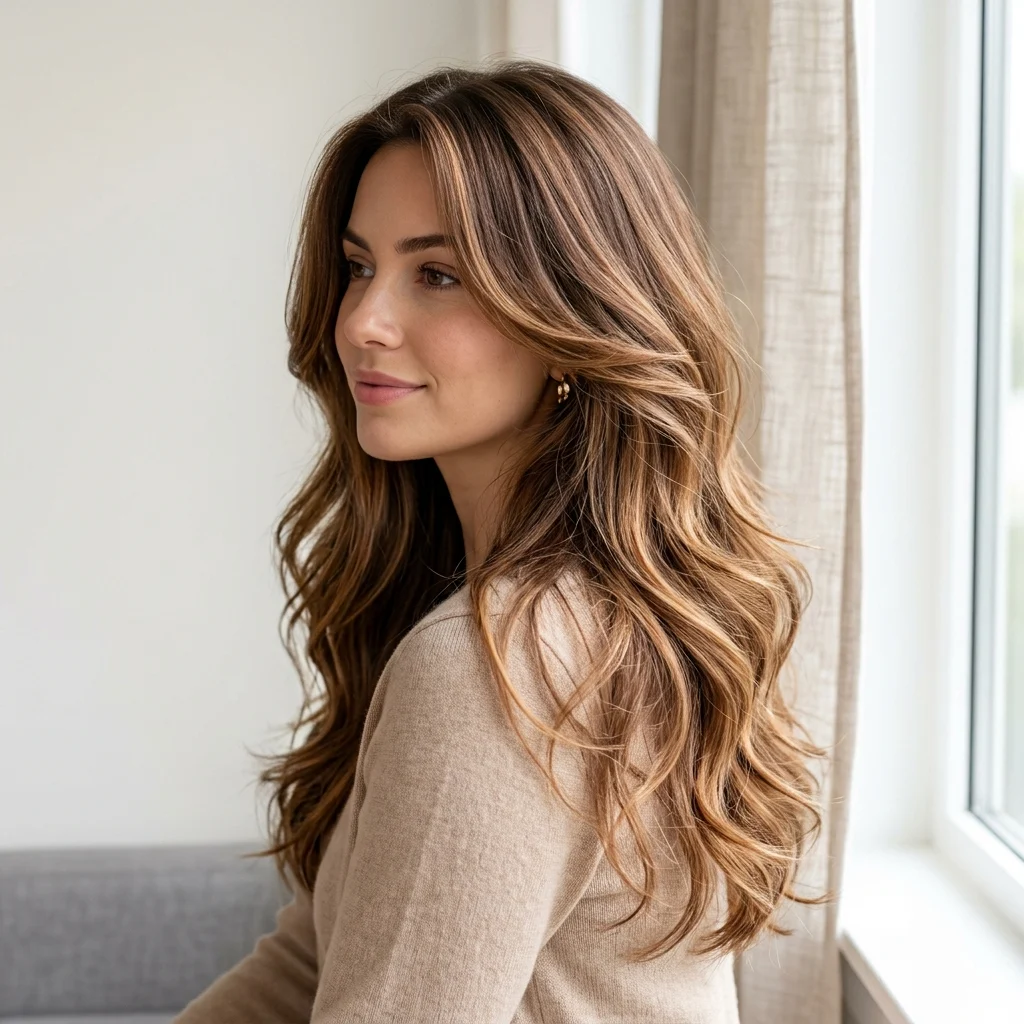
Vibe: Layered and airy, with color doing the work density alone can’t.
Why it works: Multi-tonal color creates the appearance of separate, individual pieces of hair moving independently, an effect called dimensional layering that tricks the eye into perceiving more strands than actually exist. Flat, single-process color does the opposite, it flattens hair into one visual mass with no perceived depth.
How to get it: Ask for a low-contrast balayage using two to three tones no more than one to two levels apart, painted in thin, varied-width sections rather than broad chunks.
Shop the Look
| Multi-tonal glossing treatment |
| Color-safe volumizing shampoo |
| Texturizing spray to separate colored pieces |
| Heat protectant for color-treated hair |
| Wide barrel curling wand for dimension |
7. Dry Shampoo as a Volumizer
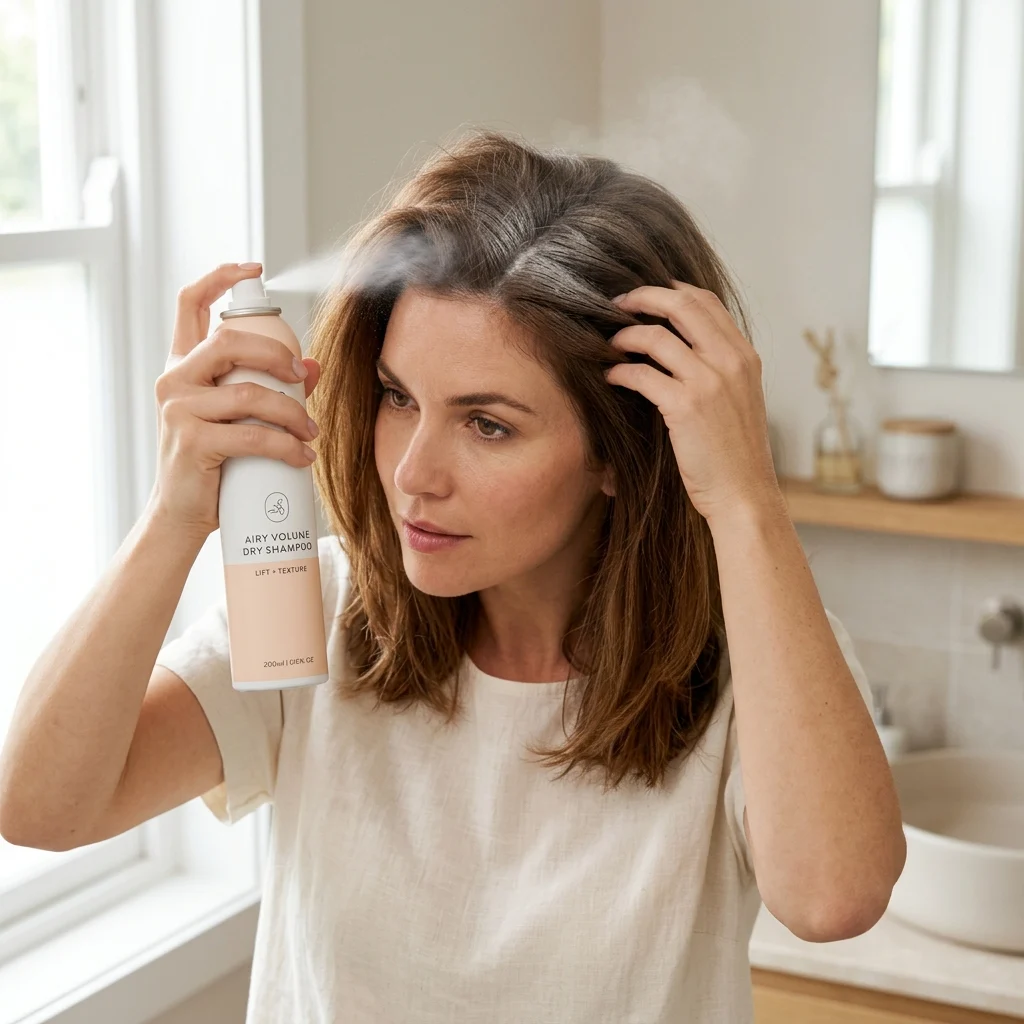
Vibe: Practical and fresh, second-day hair that looks fuller than day one.
Why it works: Dry shampoo absorbs oil at the scalp, and oil is what causes fine hair strands to clump together and lie flat. Removing that oil restores friction between individual strands, a texture effect that separates hair and makes it stand away from the scalp rather than sitting in a smooth, thin sheet.
How to get it: Spray dry shampoo directly at the roots on freshly washed, fully dry hair, wait one minute, then massage it in with your fingertips and flip your head upside down before styling.
💡 Quick Win: Using dry shampoo on clean, dry hair rather than only on second-day hair builds volume from the very first style of the week.
Shop the Look
| Volumizing tinted dry shampoo |
| Root-teasing comb |
| Texturizing root powder |
| Boar bristle brush for even distribution |
| Travel-size dry shampoo for touch-ups |
8. Long Layers to Add Movement

Vibe: Flowing and light, with just enough movement to avoid looking stiff.
Why it works: Unlike short, choppy layers that remove too much weight, long internal layers cut only within the interior of the hair, leaving the perimeter blunt and dense. This uses selective weight removal, taking bulk out where it won’t be visually missed while preserving it where the eye registers fullness.
How to get it: Ask your stylist for “invisible layers” cut only on the interior sections, starting no higher than chin length, so the outermost layer of hair stays at full length and density.
Shop the Look
| Lightweight texturizing spray |
| Large barrel curling iron for soft waves |
| Bond-building leave-in treatment |
| Flexible-hold hairspray |
| Silk hair ties to prevent breakage |
9. Scalp Exfoliation for Lift
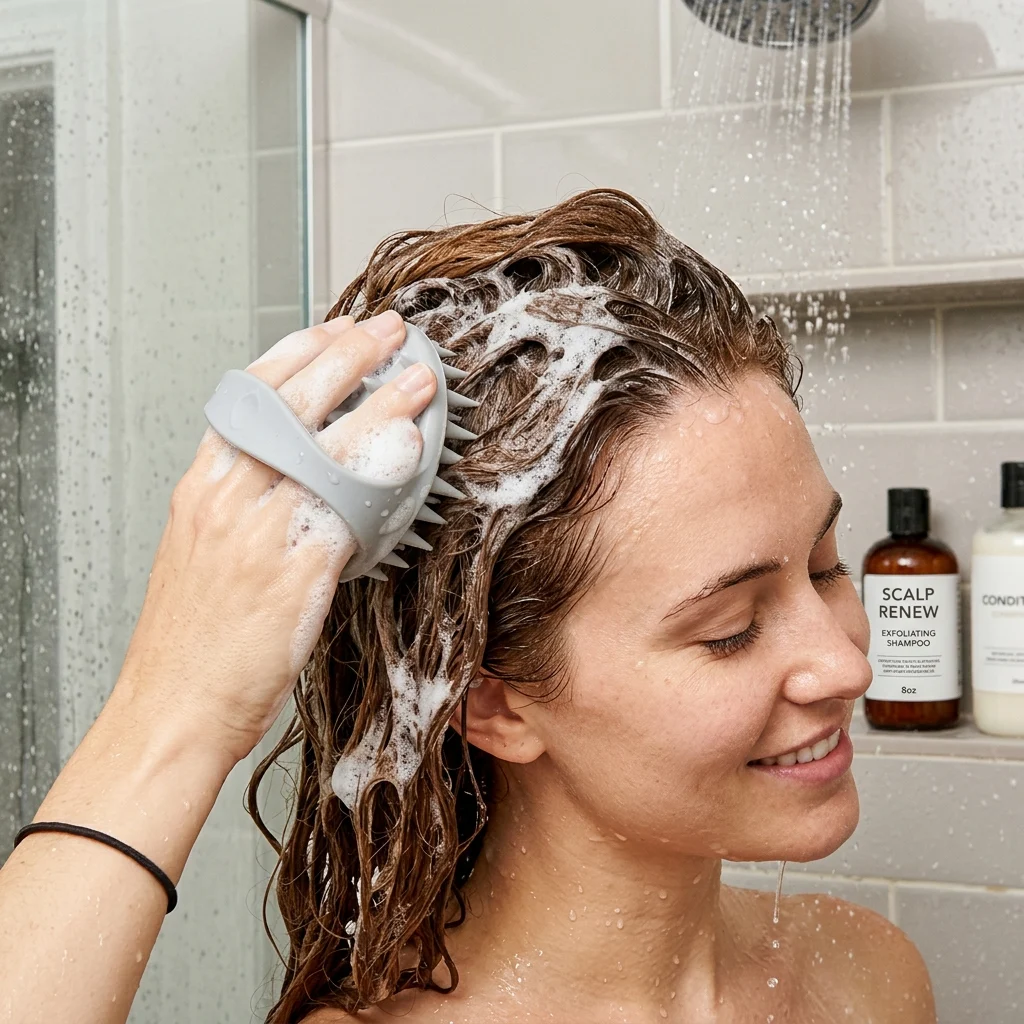
Vibe: Restorative and fresh, the maintenance step that supports every other trick.
Why it works: Product buildup and excess oil at the scalp weigh hair down before styling even begins, flattening the root before any mousse or spray is applied. Regular exfoliation clears this buildup, which is a foundational step, not a styling trick, that makes every other volumizing technique perform better.
How to get it: Use a silicone scalp massaging brush with your regular shampoo once or twice a week, working in small circles for two minutes before rinsing thoroughly.
Shop the Look
| Silicone scalp massaging brush |
| Clarifying shampoo for buildup removal |
| Scalp exfoliating scrub treatment |
| Wide-tooth comb for post-wash detangling |
| Lightweight leave-in conditioner |
10. Backcombing at the Crown
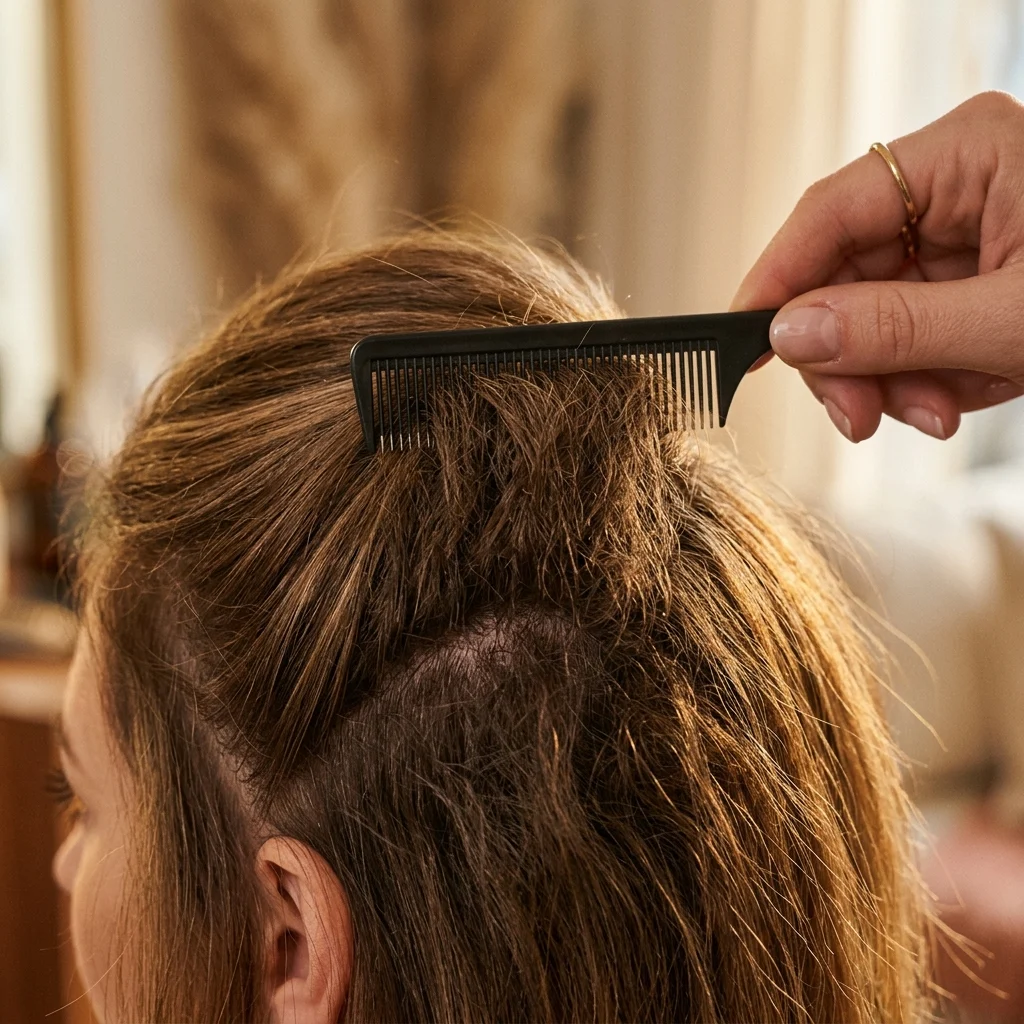
Vibe: Precise and structured, an old technique that still outperforms most products.
Why it works: Backcombing pushes strands against their natural direction, creating a tangled base layer that physically holds more air and space than smooth hair can. This structural lift, when the top layer is smoothed back over it, reads as natural volume rather than an obvious styling trick.
How to get it: Section off the top layer of your crown, comb the underneath section backward in short strokes with a fine-tooth comb, then smooth the top layer back over it and set with a light-hold spray.
Shop the Look
| Fine-tooth teasing comb |
| Light-hold finishing hairspray |
| Smoothing paddle brush |
| Root-lifting spray |
| Bristle brush for post-backcombing smoothing |
11. Hair Fibers for Root Coverage
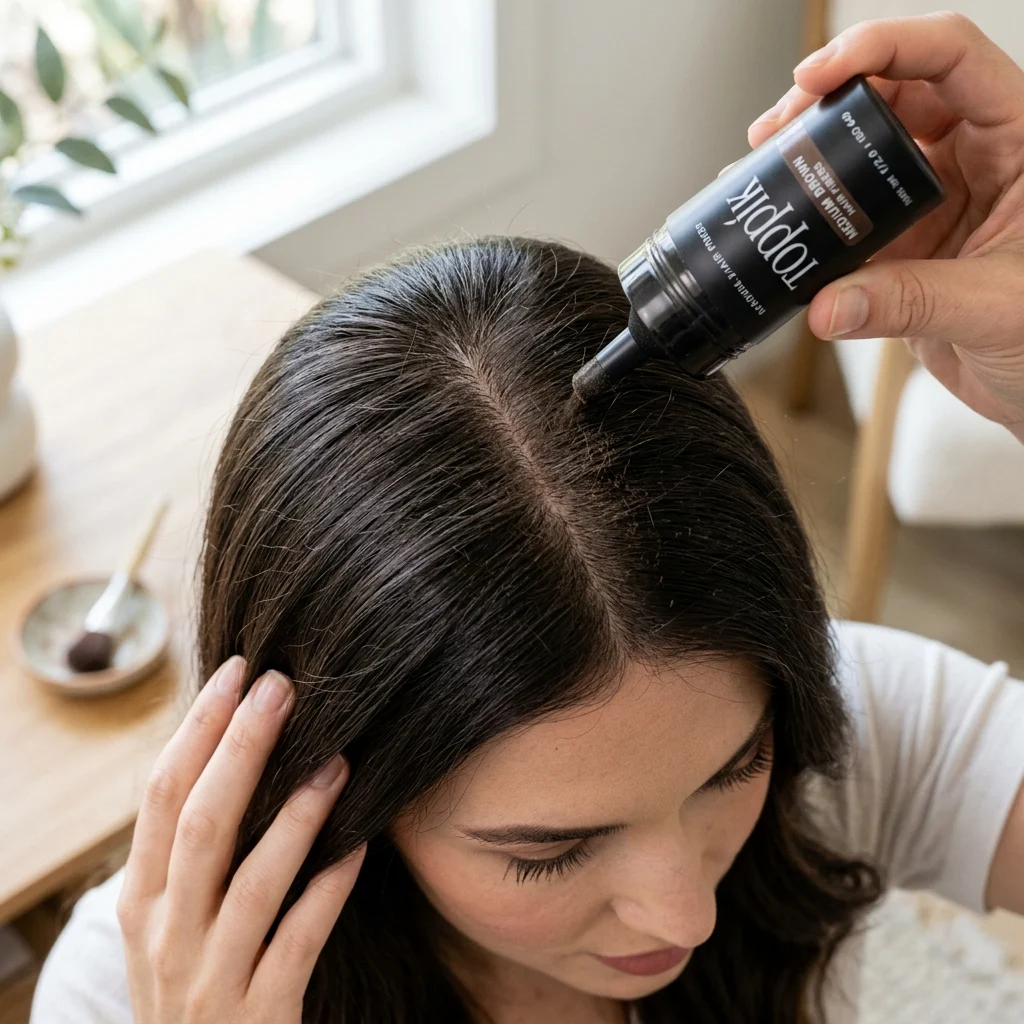
Vibe: Restorative and precise, a part-line fix that works in under a minute.
Why it works: Keratin hair fibers cling to existing strands using static electricity, thickening each individual hair’s visible diameter rather than trying to add volume through lift alone. This targets the part line and scalp show-through directly, which is often the single biggest giveaway of thin hair.
How to get it: Shake a color-matched fiber powder along your part line and any areas of visible scalp, then pat gently with your fingers to distribute evenly before styling as usual.
💡 Quick Win: Keep a travel-size fiber powder in your bag for quick part-line touch-ups after workouts or humid weather flattens your roots.
Shop the Look
| Keratin hair fiber powder matched to hair color |
| Fiber powder applicator puff |
| Setting spray to lock fibers in place |
| Fine-tooth comb for even part styling |
| Travel-size fiber powder container |
12. Low-Contrast Highlights Throughout
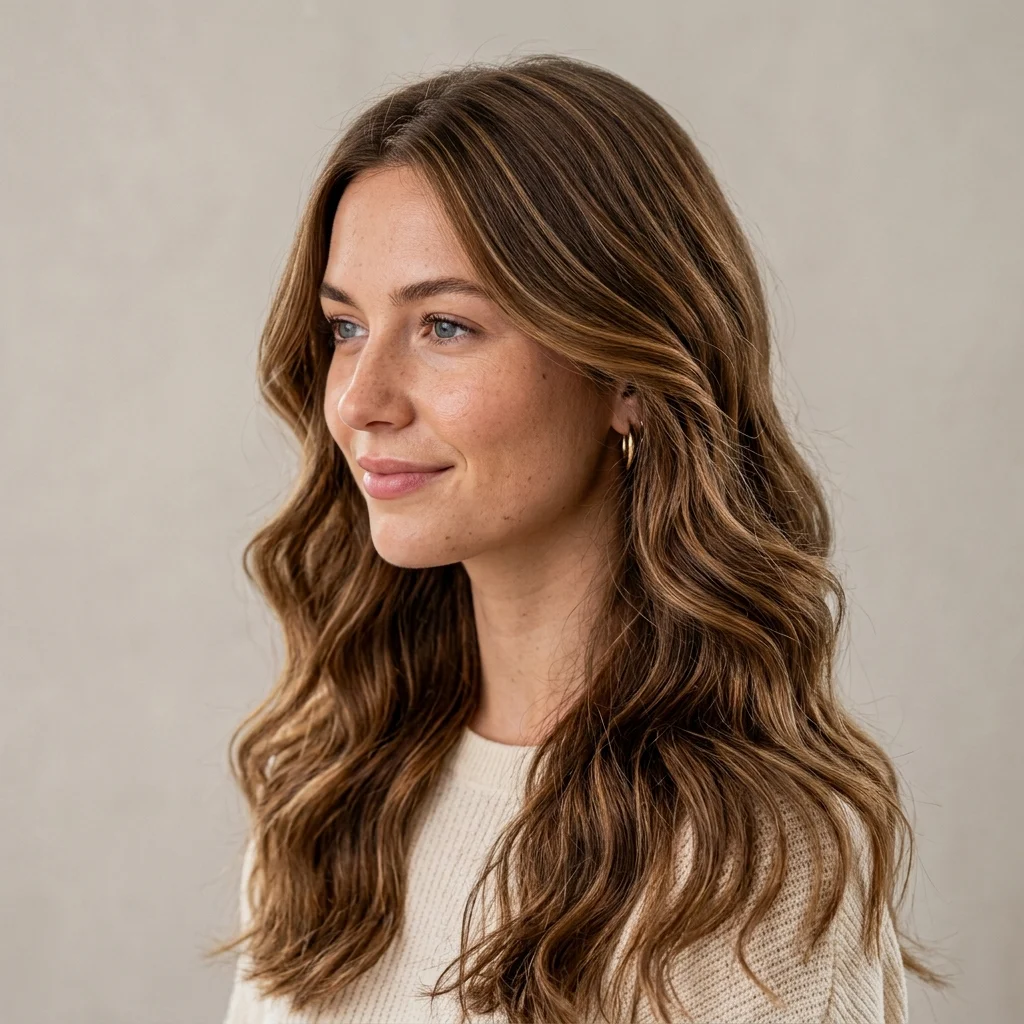
Vibe: Airy and dimensional, with fullness spread evenly rather than concentrated.
Why it works: Highlights placed at consistent, close intervals throughout the whole head create repetitive visual texture, a pattern the eye interprets as increased density because it can no longer track individual strands as easily. This differs from balayage’s sectioned approach by prioritizing even coverage over painterly placement.
How to get it: Ask your colorist for fine foil highlights placed no more than a half-inch apart throughout the whole head, kept subtle at one level lighter than your base to avoid looking like chunky streaks.
Shop the Look
| Purple-toning shampoo for highlighted hair |
| Bond-repair conditioner |
| Glossing hair oil |
| UV protection hair spray |
| Wide-tooth detangling comb |
13. Texturizing Spray for Grip
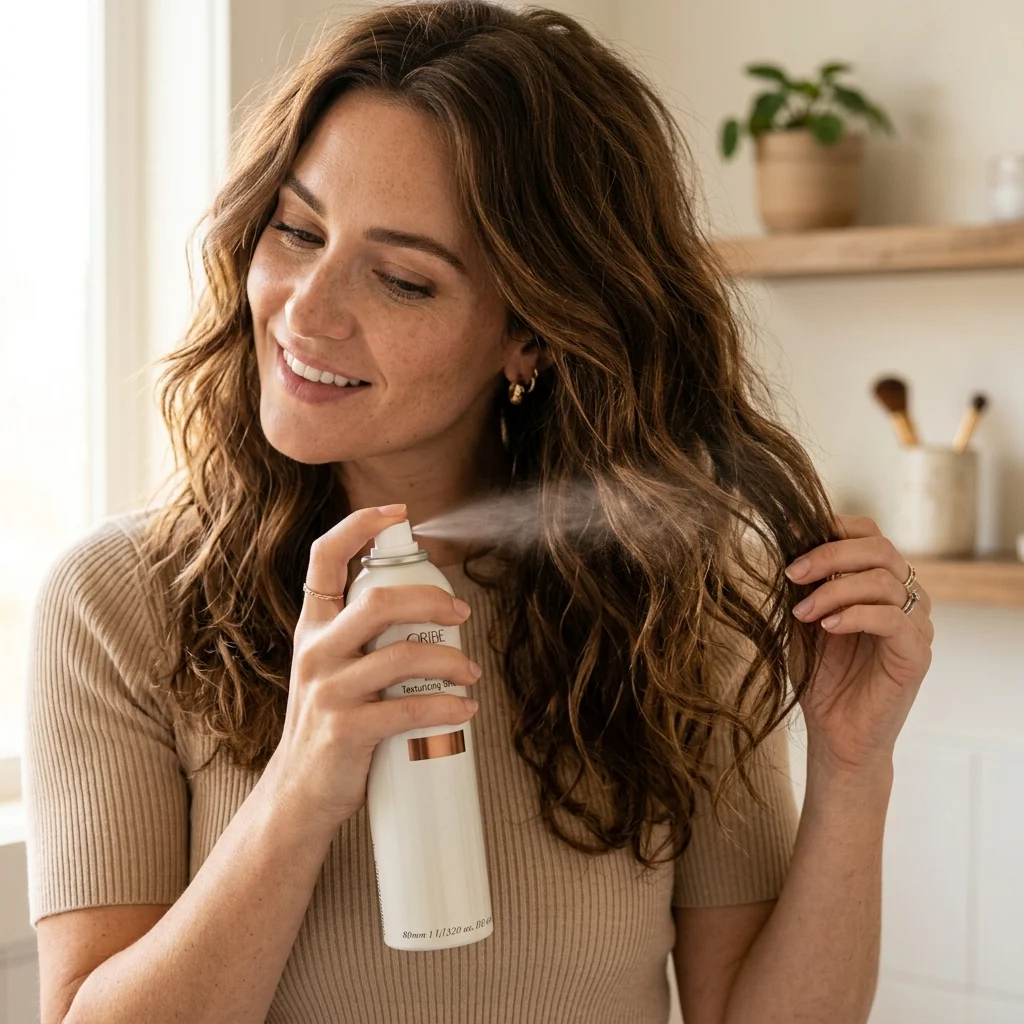
Vibe: Tousled and lived-in, the opposite of flat and slick.
Why it works: Texturizing sprays coat strands with a light, matte residue that increases friction between hairs, preventing them from sliding into a smooth, thin-looking sheet. This is the same principle as dry shampoo but focused on the mid-lengths and ends rather than the root.
How to get it: Spray texturizing product directly onto dry mid-lengths and ends, then scrunch upward with your hands to encourage separation and grip before any curling or waving.
Shop the Look
| Sea salt texturizing spray |
| Matte finishing paste for ends |
| Wide barrel curling wand |
| Flexible-hold texturizing hairspray |
| Wide-tooth comb for gentle styling |
14. Curtain Bangs for Face-Framing Fullness

Vibe: Soft and flattering, extra fullness concentrated exactly at the face.
Why it works: Curtain bangs add a second layer of hair directly over the widest part of the face, which increases the perceived volume in the area viewers focus on most. This is targeted density, adding visual weight strategically rather than trying to thicken the entire head evenly.
How to get it: Ask your stylist to cut curtain bangs that begin at the arch of your brow and taper to cheekbone length, giving you two visible layers of hair framing your face instead of one.
💡 Quick Win: A round brush and low heat setting can recreate the bang’s soft curve daily in under two minutes.
Shop the Look
| Small round brush for bang styling |
| Mini flat iron for fringe touch-ups |
| Lightweight hairspray for hold |
| Heat protectant travel spray |
| Bang-taming pomade |
15. Velcro Roller Set
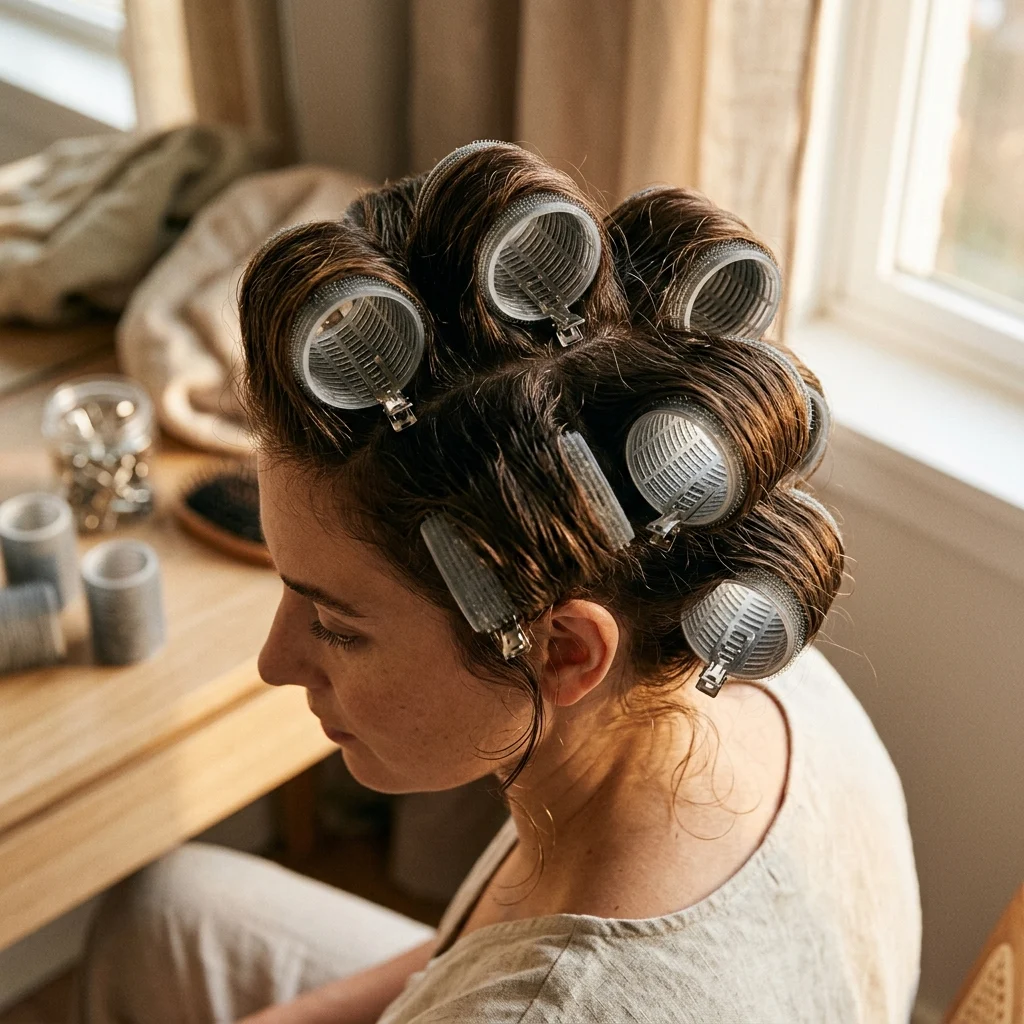
Vibe: Polished and retro, volume that lasts through an entire event.
Why it works: Velcro rollers use both heat, if warmed first, and tension to reshape the hair’s memory as it cools and sets, unlike mousse or spray which only coat the surface. This creates a longer-lasting structural lift because the strand itself holds a new shape rather than relying on product alone.
How to get it: Set large velcro rollers at the crown and root sections of slightly damp or blow-dried hair, leave in for fifteen to twenty minutes, then remove gently and finger-comb rather than brushing through.
Shop the Look
| Item |
|---|
| Large velcro hair rollers set |
| Root-lifting spray for pre-roller application |
| Styling sectioning clips |
| Finishing hairspray for hold |
| Silk scarf to protect rollers while setting |
16. Cold Rinse for Cuticle Lift
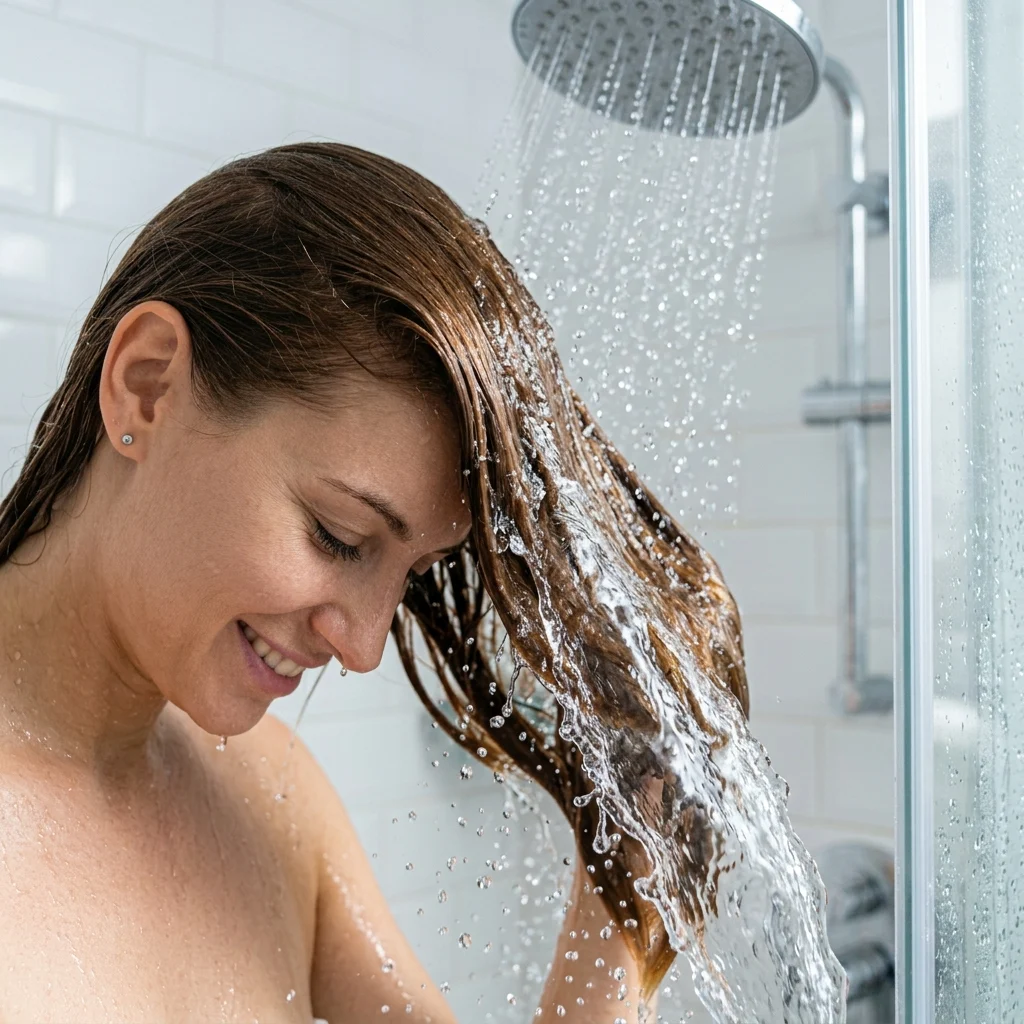
Vibe: Clean and fresh, a small habit with a compounding effect.
Why it works: A cool water rinse at the end of a shower closes the hair cuticle, the outer layer of each strand, which increases light reflection and gives strands a slightly rougher surface texture. Rougher cuticles create more friction between hairs, which is the same separation effect that prevents fine hair from clumping flat.
How to get it: Finish your shower with thirty seconds of cool, not ice-cold, water focused on your hair, then avoid rubbing hair dry with a towel, which roughens the cuticle in the wrong direction and causes frizz instead.
Shop the Look
| Item |
|---|
| Microfiber hair towel for gentle drying |
| Shower filter to reduce hard water buildup |
| Leave-in shine treatment |
| Wide-tooth detangling comb |
| Cool-setting attachment blow dryer |
17. Volumizing Headband Insert
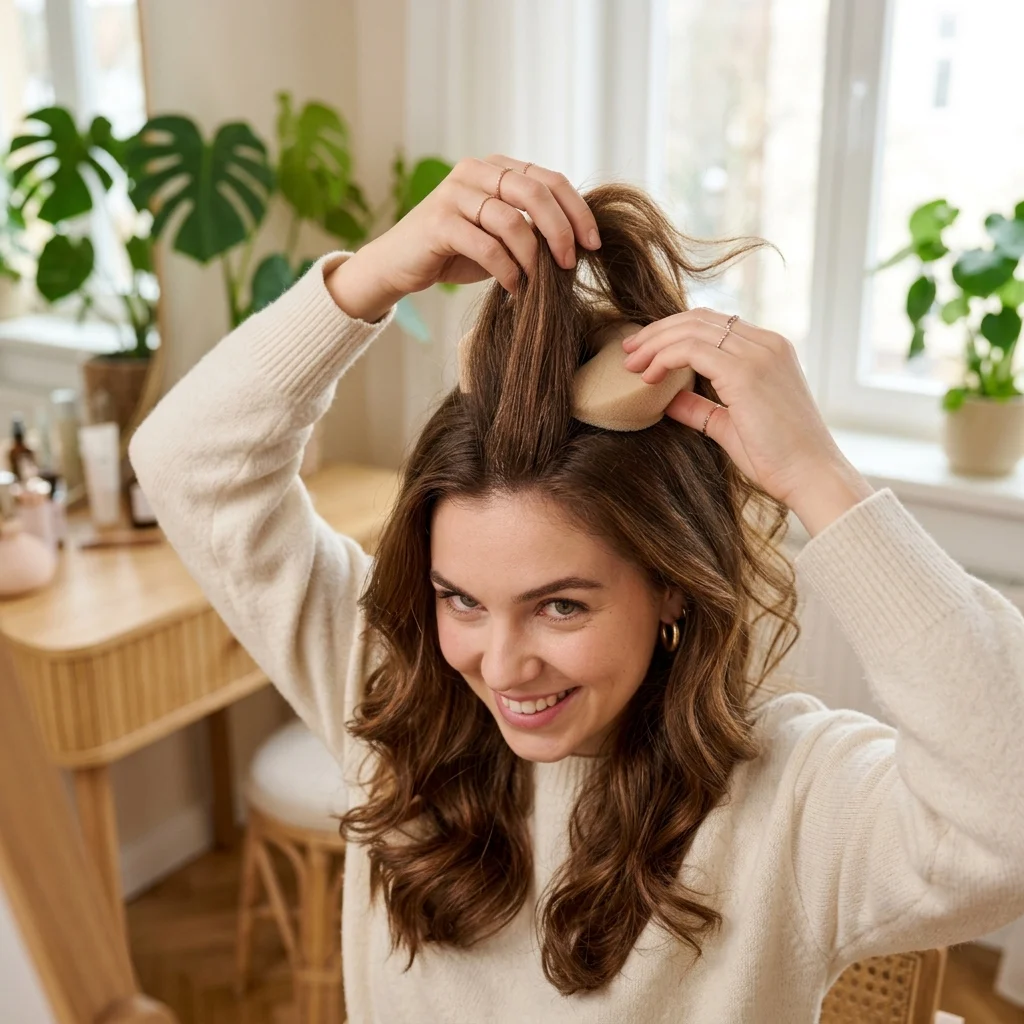
Vibe: Playful and practical, an old bridal trick repurposed for everyday wear.
Why it works: A small foam insert physically raises the crown section of hair above the scalp, adding structural height that no product alone can replicate. This is a mechanical solution rather than an optical one, most useful for updos or half-up styles where the crown needs to hold shape for hours.
How to get it: Place a small foam volumizing insert at the crown before pulling hair back into a half-up style or ponytail, then smooth the top layer of hair over it and pin to secure.
Shop the Look
| Item |
|---|
| Foam crown volumizing insert |
| Bobby pins for securing hair over insert |
| Smoothing brush for seamless coverage |
| Flexible-hold hairspray |
| Fine-tooth comb for clean sectioning |
18. Reverse Ombre for Base Density
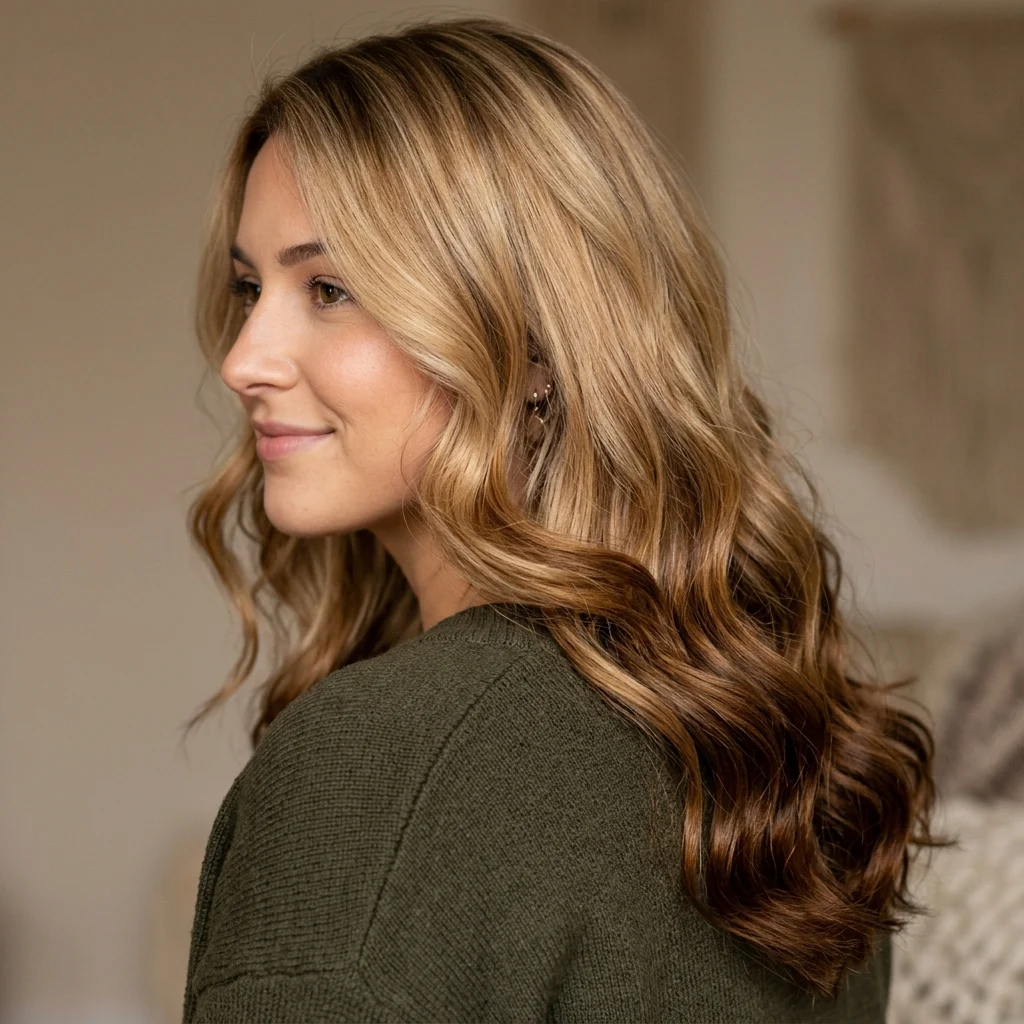
Vibe: Rich and grounded, ends that read heavier instead of fading out.
Why it works: Very light or over-processed ends often look thin because pale color reflects less contrast and appears to visually disappear against skin or background. Painting a deeper tone back over the ends restores visual weight, using darker pigment the same way a darker paint color makes a wall feel more substantial.
How to get it: If your ends are heavily lightened, ask your colorist for a reverse ombre using a demi-permanent caramel or brown glaze painted from the mid-shaft down, which adds richness without additional lightening damage.
Shop the Look
| Item |
|---|
| Color-depositing brown glaze treatment |
| Bond-repair mask for previously lightened ends |
| Deep conditioning hair oil |
| Gentle sulfate-free color-safe shampoo |
| Heat protectant spray |
19. Root-Lifting Spray Before Blowout
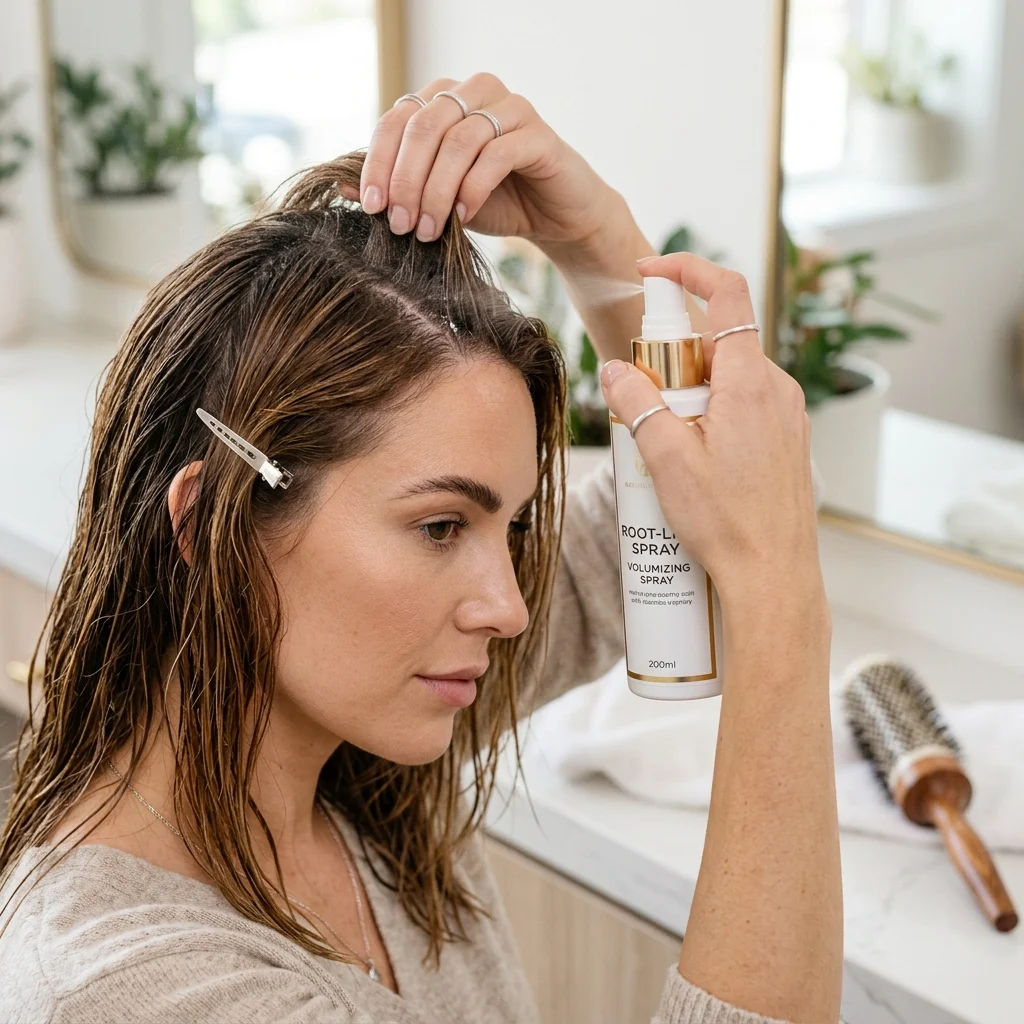
Vibe: Fresh and prepped, the setup step most people skip.
Why it works: Root-lifting sprays typically contain a light polymer and a small amount of alcohol that evaporates quickly, leaving behind a stiffening film exactly at the root before heat is applied. Unlike mousse, its lighter formula won’t weigh down fine hair while still holding the lift created during blow-drying.
How to get it: Section hair into four parts, spray root lifter directly onto the scalp of each section on damp hair, then blow-dry each section upward and away from the head using a round brush before moving to the next.
Shop the Look
| Item |
|---|
| Root-lifting spray |
| Round brush set multiple sizes |
| Sectioning clips for blowout prep |
| Ionic blow dryer |
| Finishing shine spray |
20. Braid-Out Overnight Texture
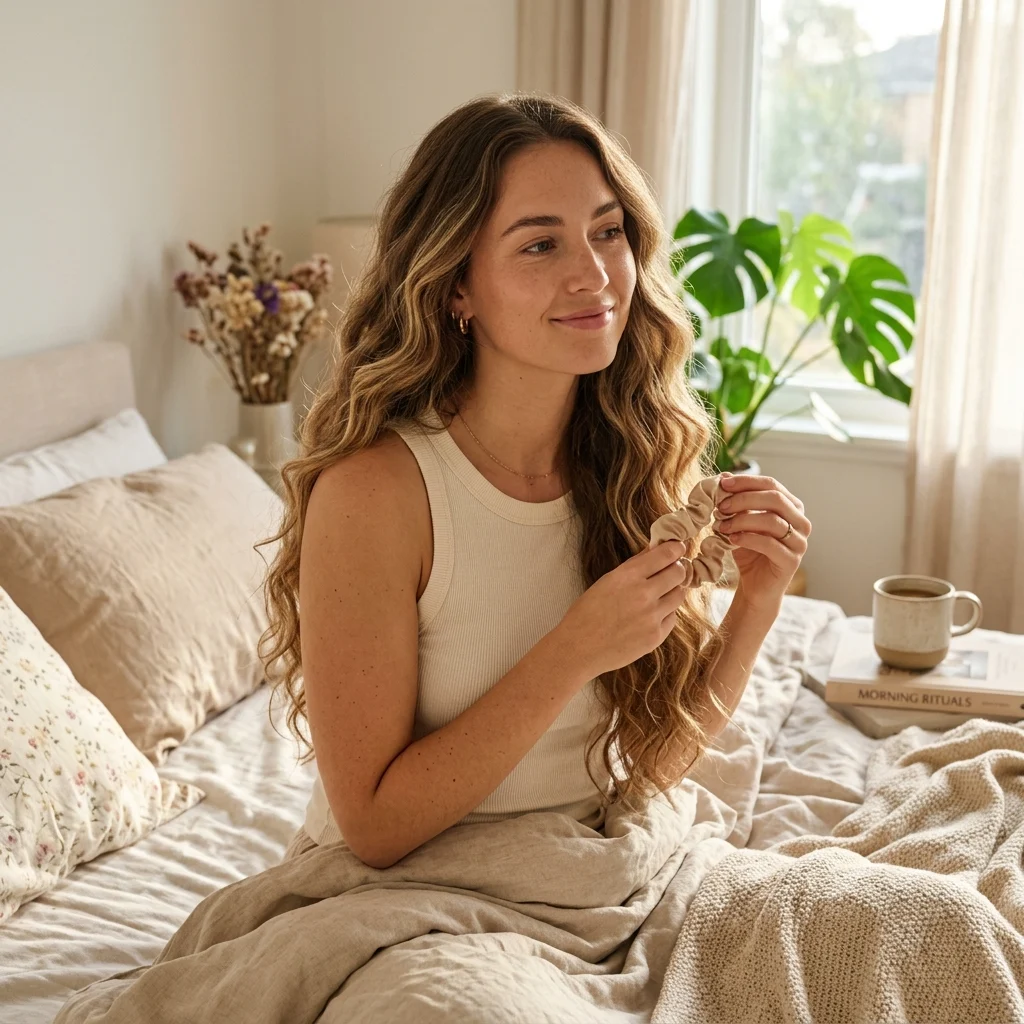
Vibe: Relaxed and effortless, volume built while you sleep.
Why it works: A loose overnight braid reshapes the hair’s structure using tension and time rather than heat, creating a soft wave pattern that adds texture and perceived thickness without any styling tools. This is a no-damage volumizing method, relying entirely on mechanical shaping instead of heat or chemical processing.
How to get it: Braid damp, product-free hair into two loose braids before bed, secure with silk scrunchies, and in the morning unravel gently and finger-comb rather than brushing, which would remove the wave pattern.
💡 Quick Win: This costs nothing beyond a hair tie and takes less than two minutes before bed, making it the lowest-effort option on this list.
Shop the Look
| Item |
|---|
| Silk scrunchies set |
| Leave-in texturizing cream for pre-braid prep |
| Wide-tooth comb for gentle morning detangling |
| Silk pillowcase for overnight texture retention |
| Lightweight finishing spray for morning touch-ups |
How to Start Making Thin Hair Look Thick
The single best first move is switching to a root-lifting spray or mousse used correctly, applied only at the scalp and blow-dried upward, rather than buying a cabinet full of products at once. Root lift is the foundation every other technique builds on, since a flat root undermines even a great haircut or color.
The most common mistake is over-layering fine hair, cutting short, choppy layers that remove weight exactly where thin hair needs density most. This breaks the look because it thins out the perimeter, the part of the hair that carries the most visual mass. The fix is requesting only long, interior layers, or skipping layers altogether in favor of a blunt cut.
Three items under fifty dollars that create immediate impact: a root-lifting spray applied to damp hair before blow-drying, a silicone scalp massaging brush used during regular shampooing, and a set of silk scrunchies to protect texture built from overnight braiding or rollers.
A full routine reset, new cut, color, and product habits together, typically takes one to two salon visits over a month and can range from $150 for a cut and gloss to $400 or more with color. A single root-lifting technique can be tested and mastered in a single morning, while structural changes like a reverse ombre or layer removal take a full salon appointment to complete.
Frequently Asked Questions About Making Thin Hair Look Thick
What is the fastest way to make thin hair look thick?
A root-lifting spray or mousse applied to damp hair at the scalp, followed by an upside-down blow-dry with a round brush, is the fastest method and can be done in under fifteen minutes. Dry shampoo massaged into the roots on already-dry hair works even faster for a midday refresh. Both methods work by lifting hair away from the scalp rather than adding actual mass.
What color makes thin hair look thicker?
Low-contrast balayage or evenly spaced fine highlights, kept within one to two shades of your base color, create the most convincing illusion of thickness by adding dimensional layering the eye reads as more strands. Flat, single-process color tends to make thin hair look even flatter since there’s no tonal variation to suggest depth. A shadow root in a deeper brown than your overall color also adds visual mass right at the scalp.
How much does it cost to get a haircut and color for thin hair?
A cut alone with a stylist experienced in fine hair typically runs $50 to $100, while adding a low-contrast balayage or shadow root brings the total to $200 to $400 depending on salon and location. Root-focused products like lifting sprays and mousses generally cost $15 to $30 each and last several months with regular use. A full reset combining cut, color, and new product habits can realistically run $250 to $450 for the first visit.
Do volumizing techniques work on all hair textures, including curly or wavy thin hair?
Yes, though the specific technique shifts by texture. Straight thin hair benefits most from root sprays and blunt cuts, while wavy or curly thin hair often gets more visible results from diffusing and scrunching methods that build on the hair’s natural texture rather than smoothing it out. Backcombing and rollers work across all textures but require gentler handling on curl patterns to avoid disrupting curl definition.
What is a shadow root and how does it help thin hair look fuller?
A shadow root is a technique where a colorist applies a soft, blended deeper tone directly at the scalp before transitioning into a lighter overall color. It works for thin hair specifically because the darker value creates a shadow effect at the root, the exact spot where scalp show-through makes hair look thinnest. It typically costs $30 to $60 as an add-on to a full color service and lasts three to four months before needing a refresh.
Ready to Make Your Thin Hair Look Thick?
These 20 ways to make thin hair look thick cover color placement, root-focused products, structural cuts, and quick overnight fixes, so there’s an entry point no matter your budget or time. You don’t need to overhaul your entire routine at once, picking just one technique, like a root-lifting spray or a single crown weft, is a legitimate way to start and see real results.
Try a root-lifting spray with an upside-down blow-dry the next time you wash your hair, and pay attention to how much longer the lift holds. Once the root stays lifted and the ends stop looking wispy, the whole style settles into something that finally matches how full you want your hair to feel. Save your favorite two or three techniques from this list, especially the ones that fit your current cut and color, so you’re ready to try them on wash day.