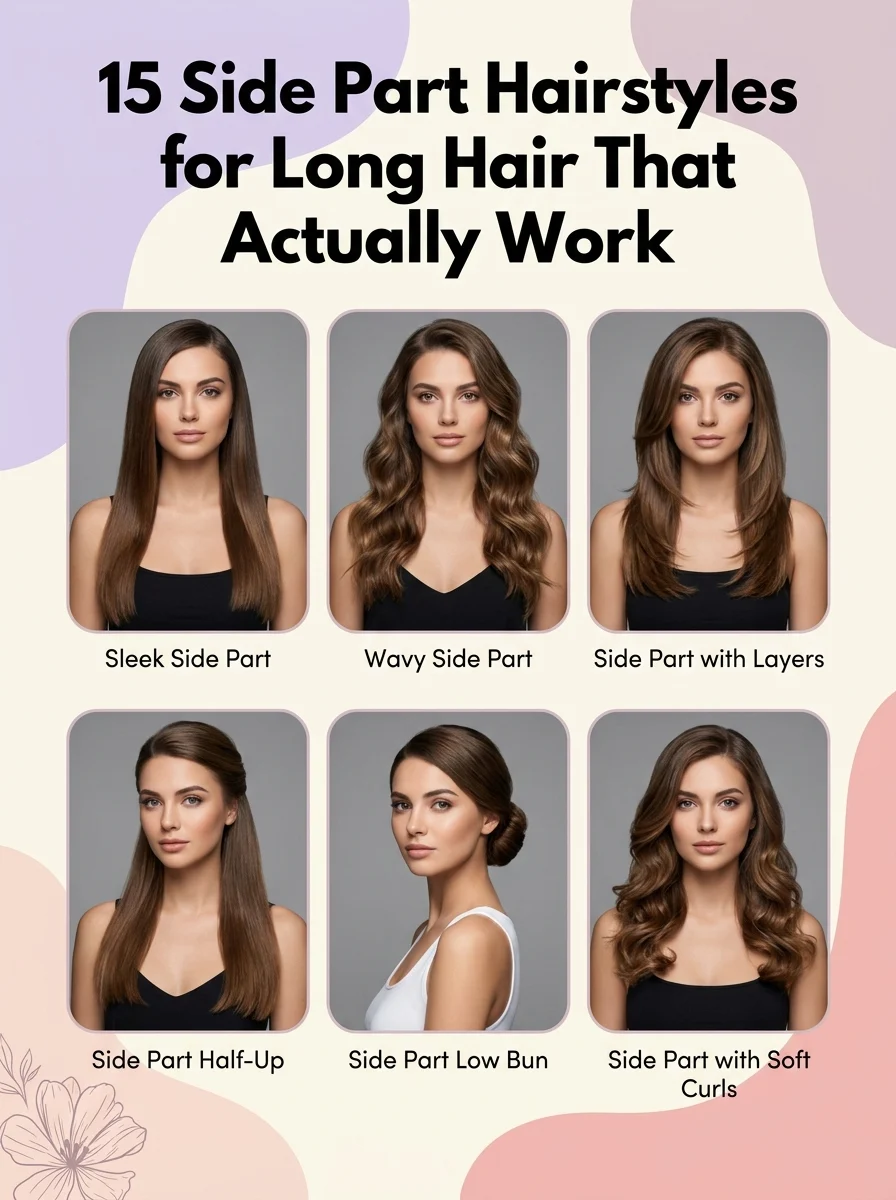
15 Side Part Hairstyles for Long Hair That Actually Work

A side part hairstyle simply means shifting your hair’s natural break away from the center, usually to a 70/30 or 80/20 ratio, to soften your face shape and add instant volume. This article gives you 15 side part hairstyles for long hair from deep-part glam to five-minute second-day fixes. That you can recreate at home.
There’s a quiet confidence to a well-placed side part. It frames the face without trying too hard, catches light along the crown, and turns even second-day hair into something that looks intentional. Long hair especially rewards this small shift; the extra length gives the part room to cascade, sweep, or fall into soft waves on either side. Here are 15 ideas worth saving and stealing.
Why Side Part Hairstyles Work So Well
A side part hairstyle repositions your hair’s natural fall line away from the center, typically along the arc where your cowlick already wants to go. It draws from the classic Hollywood glamour styling of the 1930s–40s, when deep side parts and finger waves were used specifically to elongate rounder faces, and it remains distinct from a center part because it introduces asymmetry: one side falls fuller, and one side falls closer to the head, creating visual movement instead of a flat, symmetrical curtain.
The core tools are a fine-tooth comb, a boar-bristle brush for smoothing the crown, and a lightweight shine serum rather than heavy pomade, which can weigh long hair down at the root. Popular finishes right now lean toward “glass hair” glossiness or soft, undone waves rather than rigid, sprayed-in-place styling. Search interest in side-part hairstyles has climbed steadily as the center-part-only era of the 2010s fades. Pinterest and TikTok data both show a swing back toward face-framing, volume-driven looks that photograph better in motion.
Long hair adapts to a side part with almost no limitations, since the extra length naturally disguises the transition point where the part shifts. The only real consideration is hair density. Very fine hair may need a root-lifting spray at the part line to prevent it from looking flat by midday.
| Element | Classic Deep Side Part | Soft Swept Side Part |
| Philosophy | Dramatic, face-slimming asymmetry | Effortless, everyday movement |
| Key Techniques | Blow-dry with round brush against the part | Air-dry with sea salt spray, finger tousled. |
| Best Hair Types | Medium to thick, straight to wavy | Fine to medium, any texture |
15 Side Part Hairstyles for Long Hair
1. Money Piece Highlights Along the Part
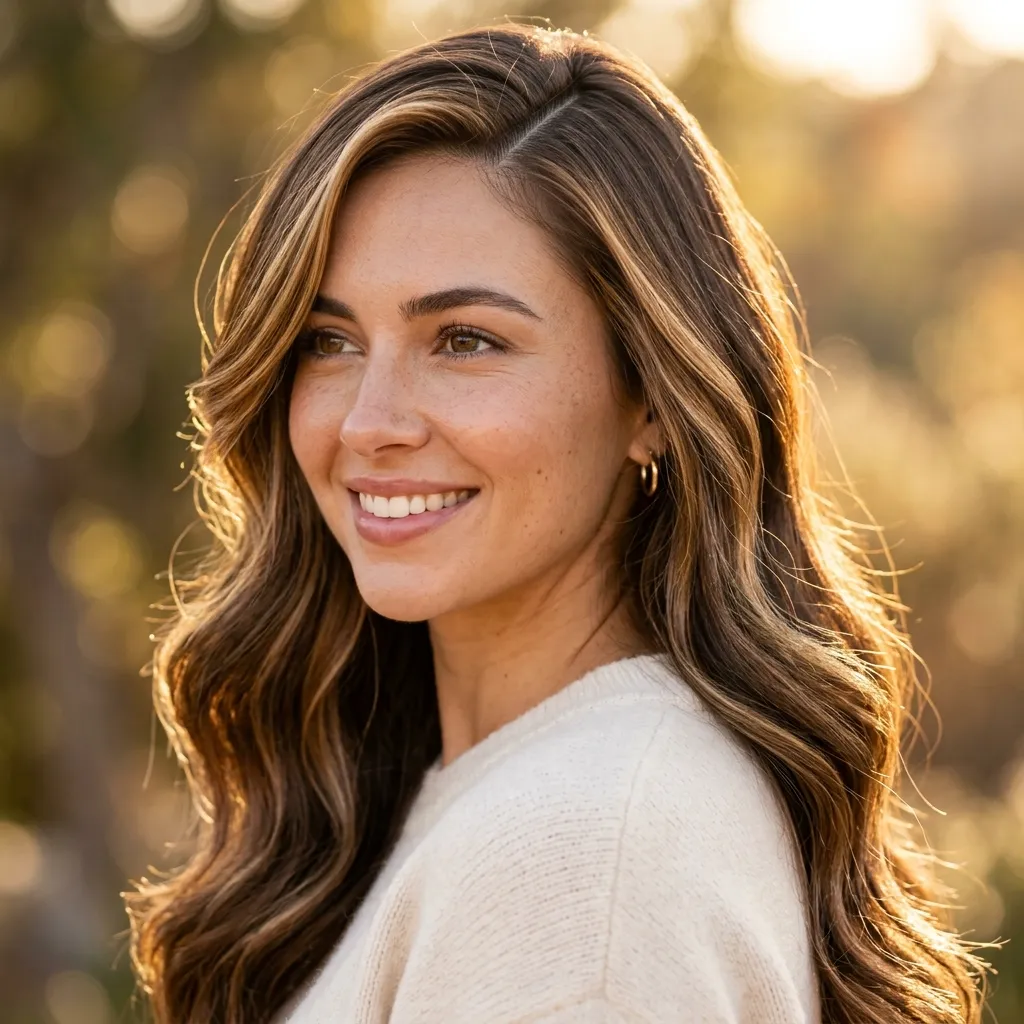
This look feels sun-warmed the moment it catches light.
The color placement follows the exact geometry of a deep side part, so the brightest highlights sit right where the eye lands first along the part and around the face. This uses a design principle stylists call “money piece” placement: concentrating lightener where it does the most visual work instead of highlighting the whole head evenly, which saves both money and processing time. Ask your colorist for face-framing balayage that starts about an inch from the part and feathers toward the temples.
Quick Win: A honey-toned root touch-up spray between salon visits keeps the part line from looking harsh as regrowth comes in.
Shop the Look
- Root touch-up spray, honey blonde shade
- Boar-bristle round brush, 2-inch barrel
- Lightweight glossing hair serum
- Wide-tooth detangling comb
- Heat protectant spray, fine mist
2. Glass Hair Sleek Side Part
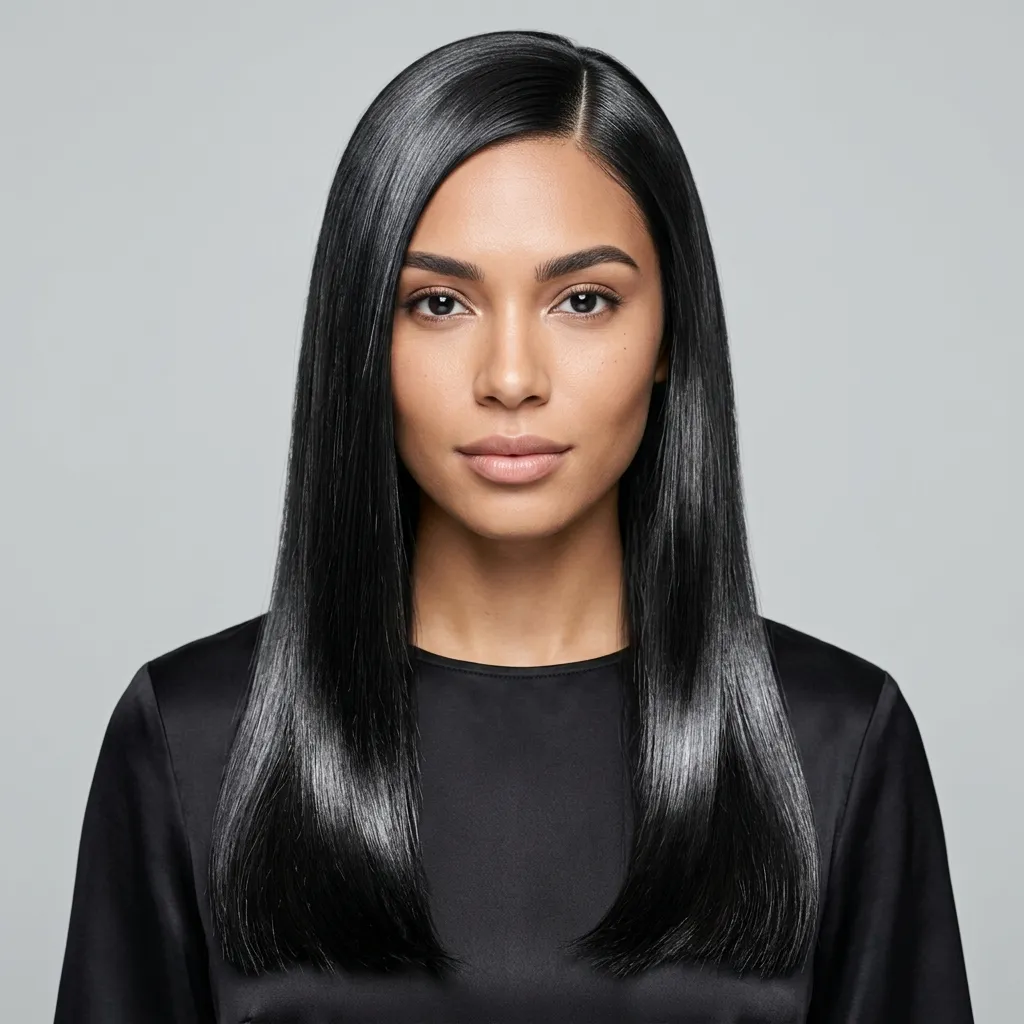
This style is sleek to the point of looking almost liquid.
Glass hair works through light reflection rather than color, a flat cuticle bounces light in one clean line down the strand, which is why the part itself needs to be razor-straight to read as intentional. The technique relies on a ceramic flat iron run in small, slow sections rather than one fast pass, since heat evenness is what actually creates the mirror effect, not the product alone.
Section hair into four parts, apply a silicone-based smoothing serum before flat ironing, and comb the part with a fine-tooth comb dipped in serum for a razor-clean line that lasts through the day.
Shop the Look
- Ceramic flat iron, titanium plates
- Silicone smoothing hair serum
- Fine-tooth rat-tail comb
- Anti-frizz finishing spray
- Silk pillowcase, standard size
3. Pearl Clip Accent at the Crown
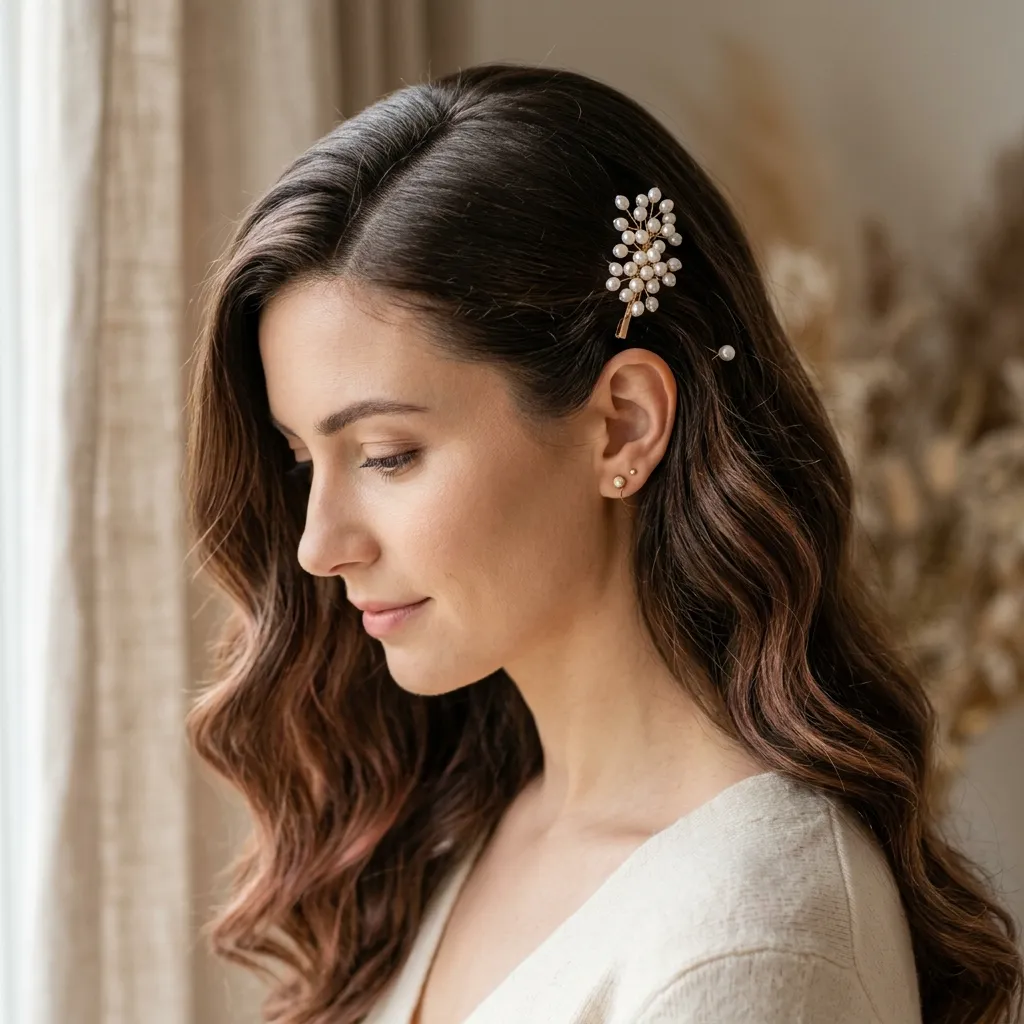
There’s a quiet romance to this style, almost bridal in its restraint.
A single accent clip pinned an inch above the part does more visual work than a full clip row would because it draws the eye to one focal point instead of scattering attention across several pins, a principle designers call “visual weight.” The asymmetry of the side part actually helps here, since one side of the crown naturally has more volume to pin against.
Pin the clip at a slight diagonal, following the direction the hair already falls, and back-comb just the root section beneath it for lift that holds without teasing the whole crown.
Quick Win: A three-pack of small pearl clips under $15 works across a dozen different hairstyles, not just this one.
Shop the Look
- Pearl-embellished hair clip set
- Volumizing root powder
- Fine-tooth teasing comb
- Bobby pins, blonde and brunette mix
- Flexible-hold hairspray
4. Melted Gloss Finish
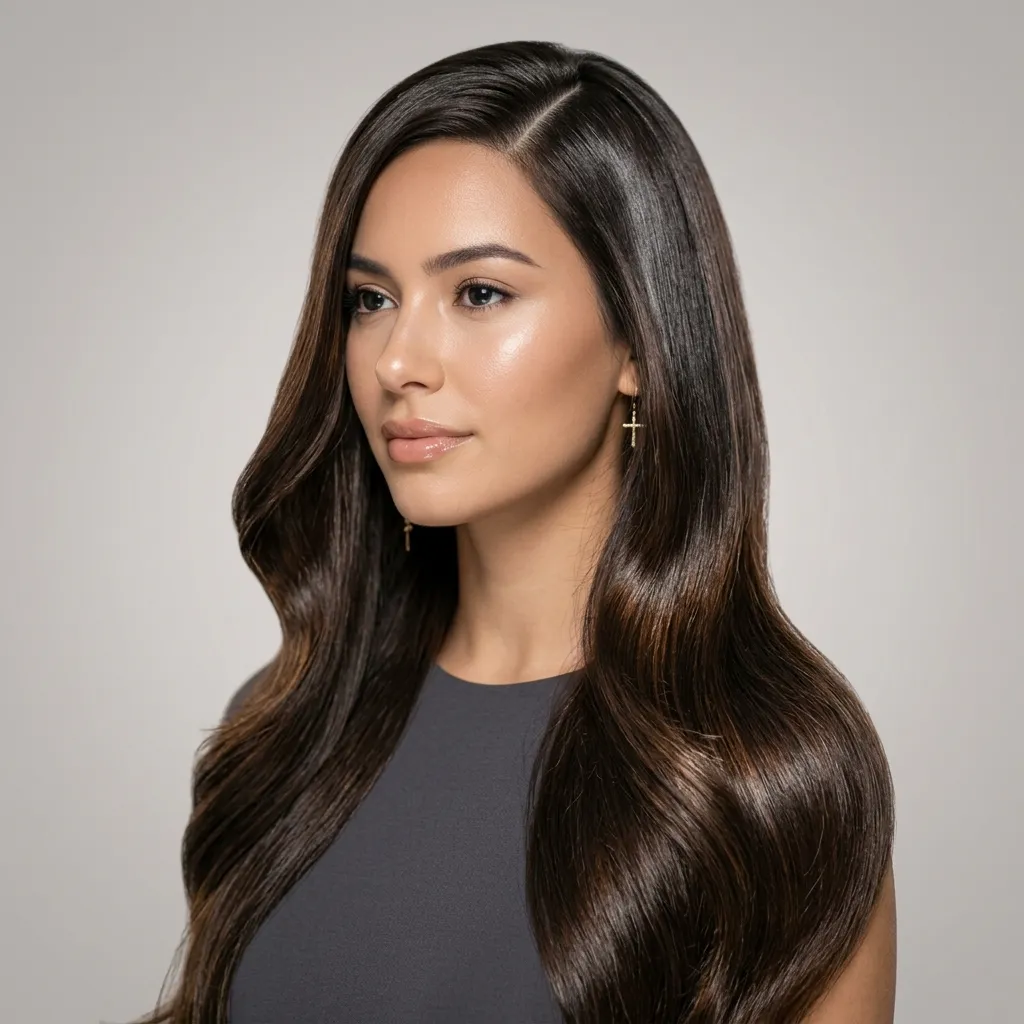
This finish looks almost wet, in the best way, luminous rather than damp.
A gloss treatment coats the hair shaft with a clear or semi-translucent polymer that flattens the cuticle, which is what creates that intense shine without changing your base color. Unlike a color gloss, a clear glaze can be applied at home and rinsed after ten minutes, making it one of the lowest-commitment ways to upgrade a side part instantly.
Apply the gloss from mid-shaft to ends only, avoiding the roots where it can look greasy, and then blow-dry with a round brush pointed downward along the part to lock in the reflective finish.
Shop the Look
- Clear hair gloss treatment kit
- Round brush, ceramic barrel
- Microfiber hair towel
- Leave-in glossing drops
- Ionic hair dryer with concentrator nozzle
5. Side-Swept Low Ponytail
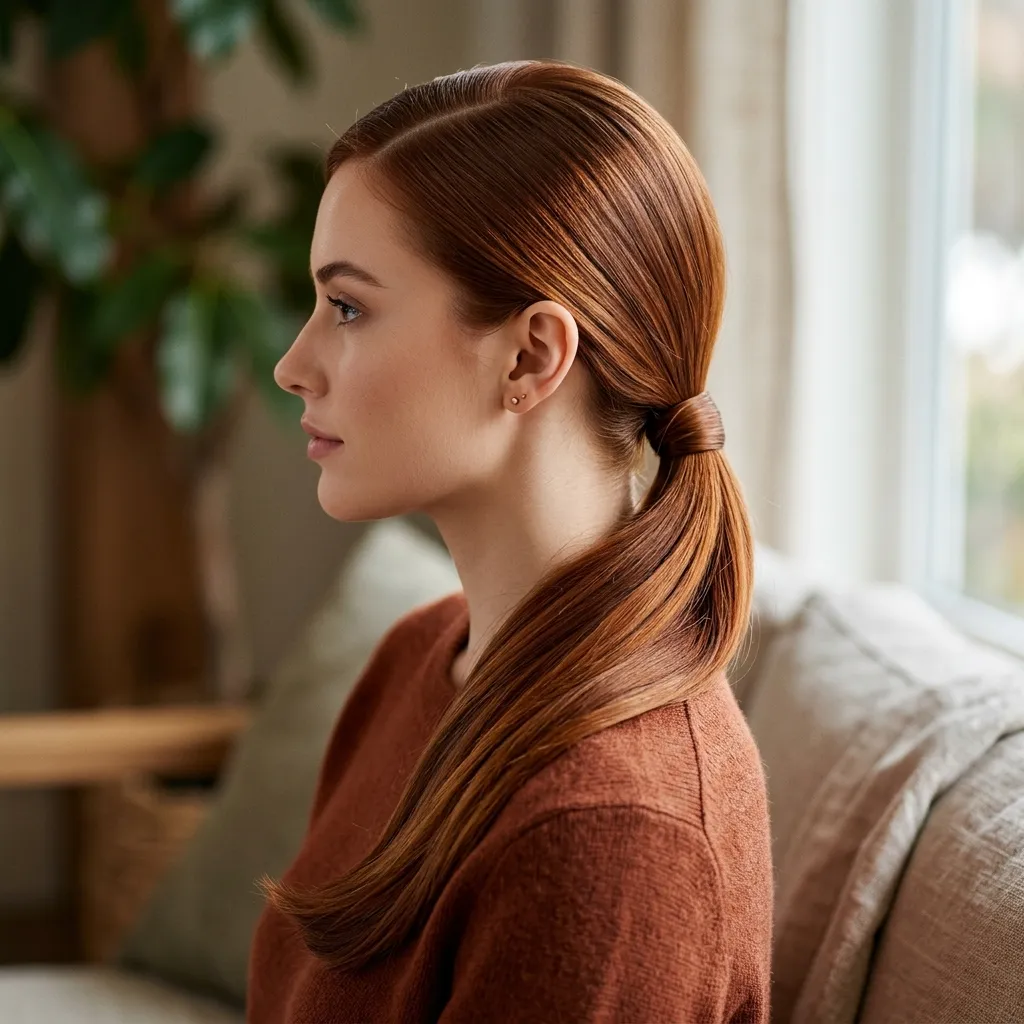
This silhouette feels grounded and deliberate, like it took no effort at all.
The low ponytail works because it keeps negative space at the crown instead of pulling hair tight and flat, which is what usually makes low ponytails look severe. Starting from a deep side part means one side of the garter has more volume than the other, and that imbalance is exactly what keeps the shape from reading as stiff or symmetrically boring.
Smooth the crown with a boar-bristle brush toward the low nape, secure with a thin elastic, then wrap a one-inch strand of hair around the base and pin it underneath to hide the tie completely.
Quick Win: A slim silicone-grip elastic under $10 prevents the dent that thicker scrunchies leave in fine hair.
Shop the Look
- Silicone-grip thin hair elastics
- Boar-bristle smoothing brush
- Edge control gel, light hold
- Bobby pins, tone-matched
- Shine spray, alcohol-free
6. Sun-Kissed Balayage Following the Part
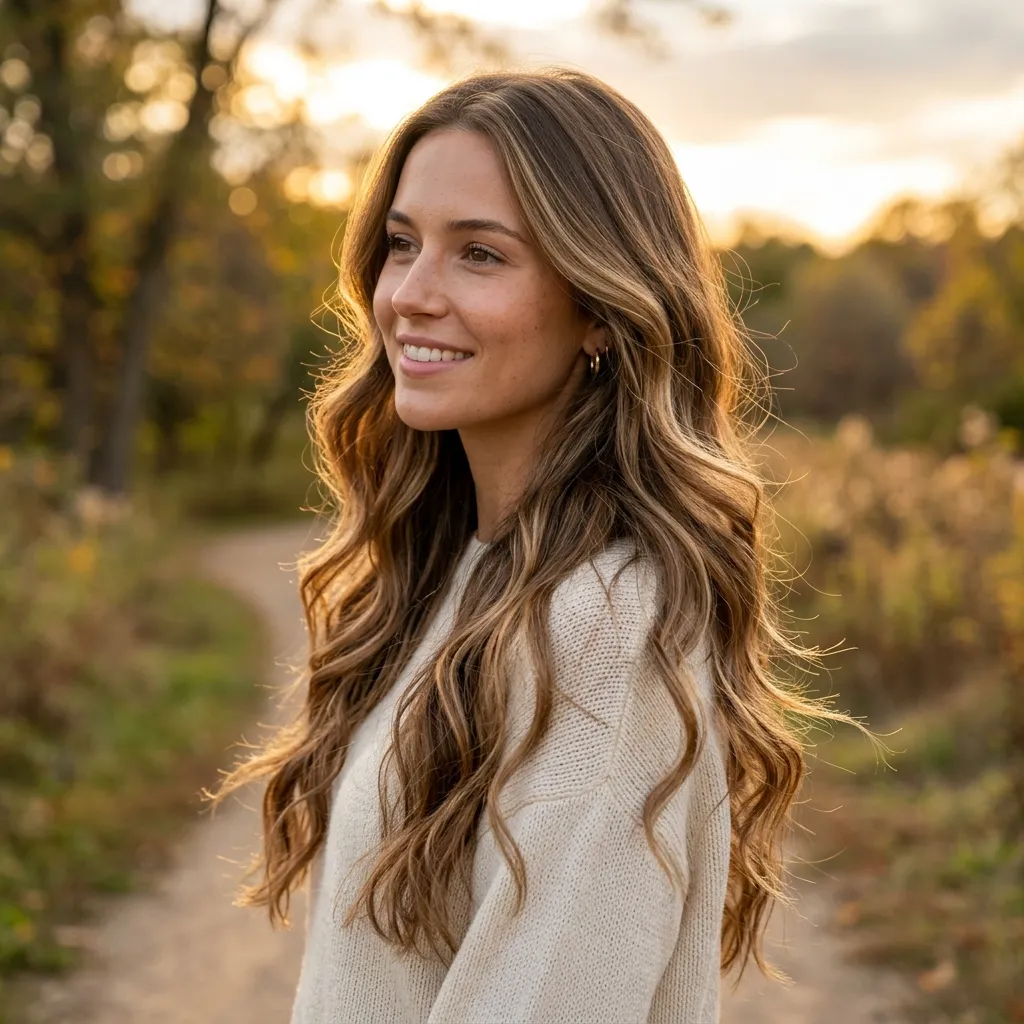
This color feels sun-warmed and lived-in, never flat.
Balayage is hand-painted rather than foiled, which lets the colorist follow the actual direction hair falls from a side part instead of applying color in uniform horizontal sections. That distinction matters because a deep side part exposes more of the underlayer on the heavier side, so a skilled colorist paints lighter there specifically to balance the visual weight between both sides.
Request “root smudge” balayage, where the colorist blends color close to the scalp along the part line only, keeping the rest of the base darker for a low-maintenance grow-out.
Shop the Look
- Purple-toning shampoo for balayage
- Bond-repair hair mask
- UV-protection hair mist
- Wide-tooth detangling comb
- Color-safe leave-in conditioner
7. Beachy Waves with Sea Salt Texture
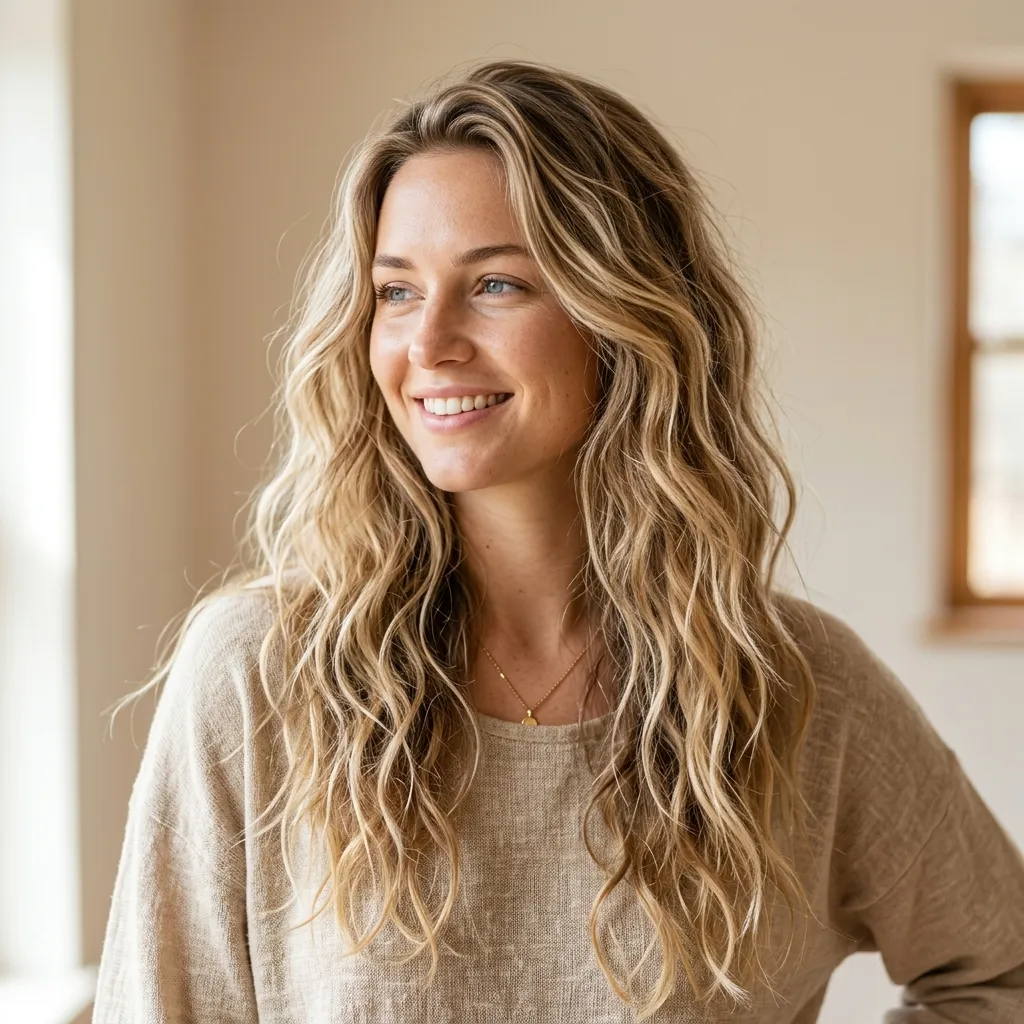
This texture feels relaxed, the opposite of overworked.
Sea salt spray works by drawing moisture out of the hair shaft to roughen the cuticle slightly, which is what creates grip and texture instead of the slick fall of untreated hair. Applied along a side part, that texture reads as intentional undone-ness rather than messiness because the clean part line anchors the rest of the look.
Spray sea salt texturizer onto damp hair, scrunch from ends to root, and air-dry or diffuse on low heat, then finger-comb the part into place once fully dry rather than brushing it smooth.
Quick Win: A travel-size texturizing spray under $12 refreshes second-day waves without a full restyle.
Shop the Look
- Sea salt texturizing spray
- Diffuser attachment for blow dryer
- Curl-defining cream, lightweight
- Wide-tooth detangling comb
- Texturizing sea salt scalp scrub
8. Finding Your Natural Part Line
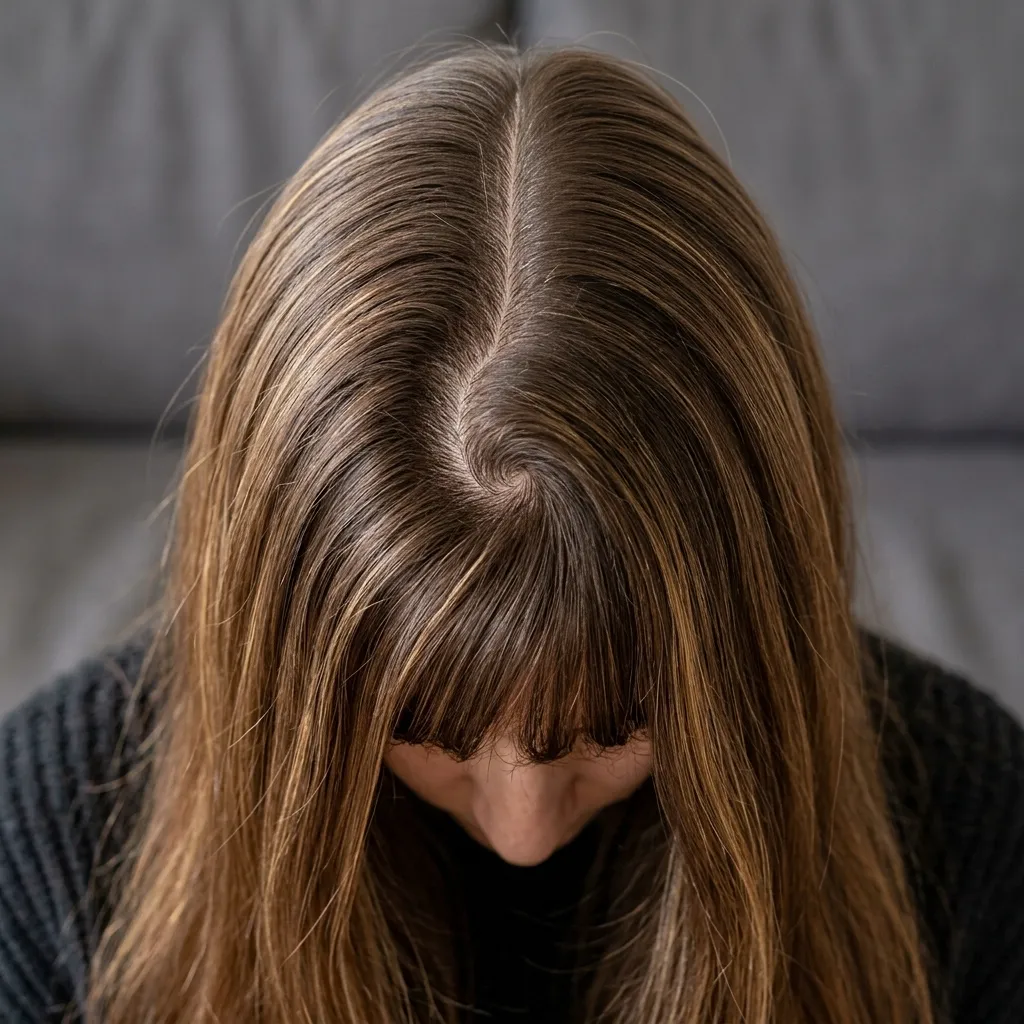
This starting point feels grounding. It’s the one step everything else depends on.
Every head has a natural growth pattern at the crown, usually a slight clockwise or counterclockwise whorl, and hair falls most naturally when the part follows that direction instead of fighting it. Forcing a part against your natural whorl is the single biggest reason side parts look flat or refuse to hold, since you’re working against the direction the follicles actually grow.
Wet your hair completely; let it air-dry without touching it, and note exactly where it splits on its own. That’s your natural part, and working within an inch of it on either side will always hold better than one forced further over.
Shop the Look
- Rat-tail parting comb
- Root-lift volumizing mousse
- Ionic blow dryer
- Alcohol-free holding spray
- Wide-tooth detangling comb
9. Silk Headscarf Wrapped at the Part
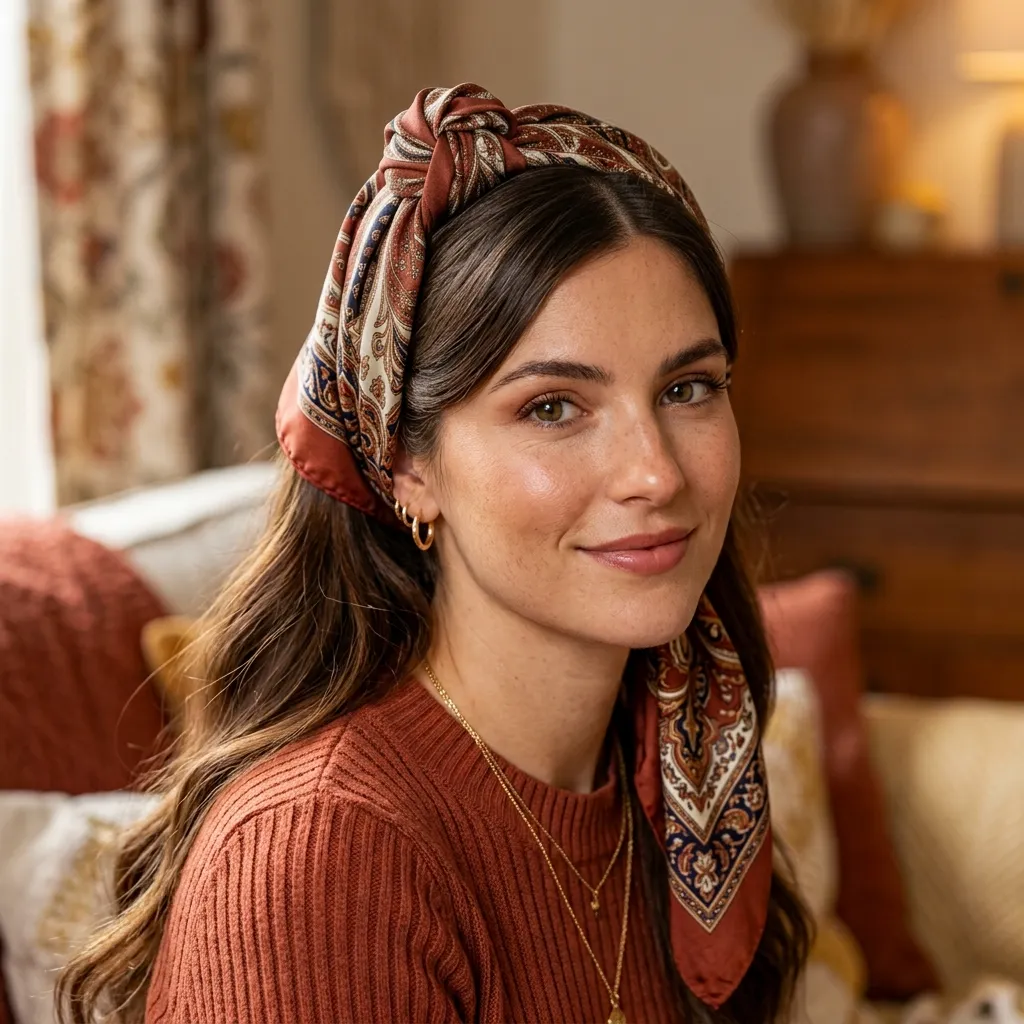
This look feels layered and a little worldly, never plain.
A scarf tied along the part line acts as a soft accessory anchor rather than a full head covering, following the same visual weight principle as a single hair clip. One intentional accent reads as styled, while scattered accessories read as cluttered. Silk specifically glides over hair without creating friction, so it won’t disturb the smoothness of the part underneath.
Fold a silk scarf into a two-inch band, position it just behind the part line, and knot it loosely at the nape or to one side, letting the ends hang rather than tucking them away completely.
Shop the Look
- Silk headscarf, printed pattern
- Bobby pins, scarf-anchor set
- Smoothing hair serum
- Satin-lined hair tie
- Edge control gel, light hold
10. Soft Matte Editorial Finish
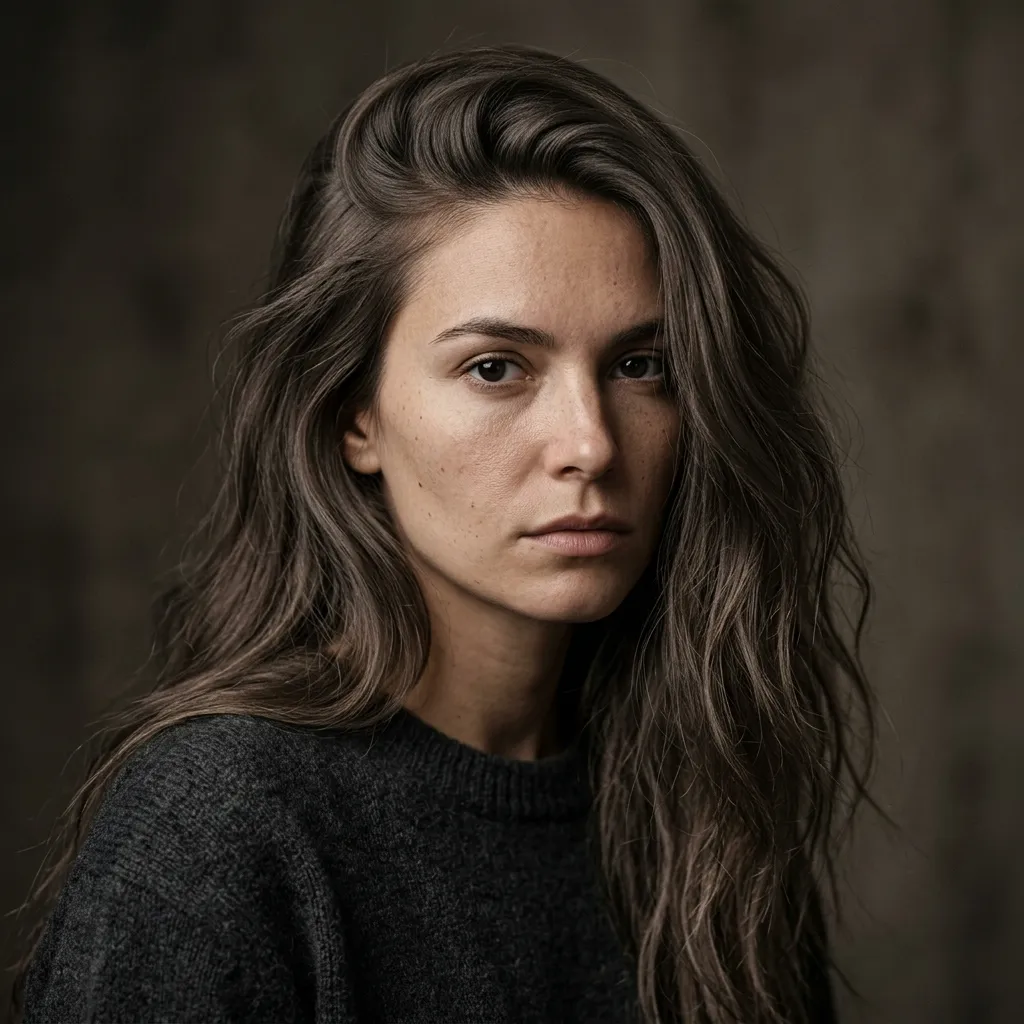
This finish feels quiet and grounded, the opposite of glossy.
A matte finish comes from a texturizing powder or clay rather than a serum, since powder products absorb light instead of reflecting it, which is the opposite mechanism from a gloss treatment. On a side part, matte texture is particularly forgiving because it hides the slight sheen that oily roots can develop by midday.
Work a small amount of texturizing clay between your palms and press it into the mid-lengths only, avoiding the root and part line where matte products can look chalky instead of soft.
Quick Win: A pea-sized amount of clay goes further than expected. Start with less than you think you need.
Shop the Look
- Matte texturizing clay
- Volumizing dry shampoo powder
- Wide-tooth detangling comb
- Flexible-hold matte hairspray
- Boar-bristle smoothing brush
11. Half-Up Side Part with Twisted Crown
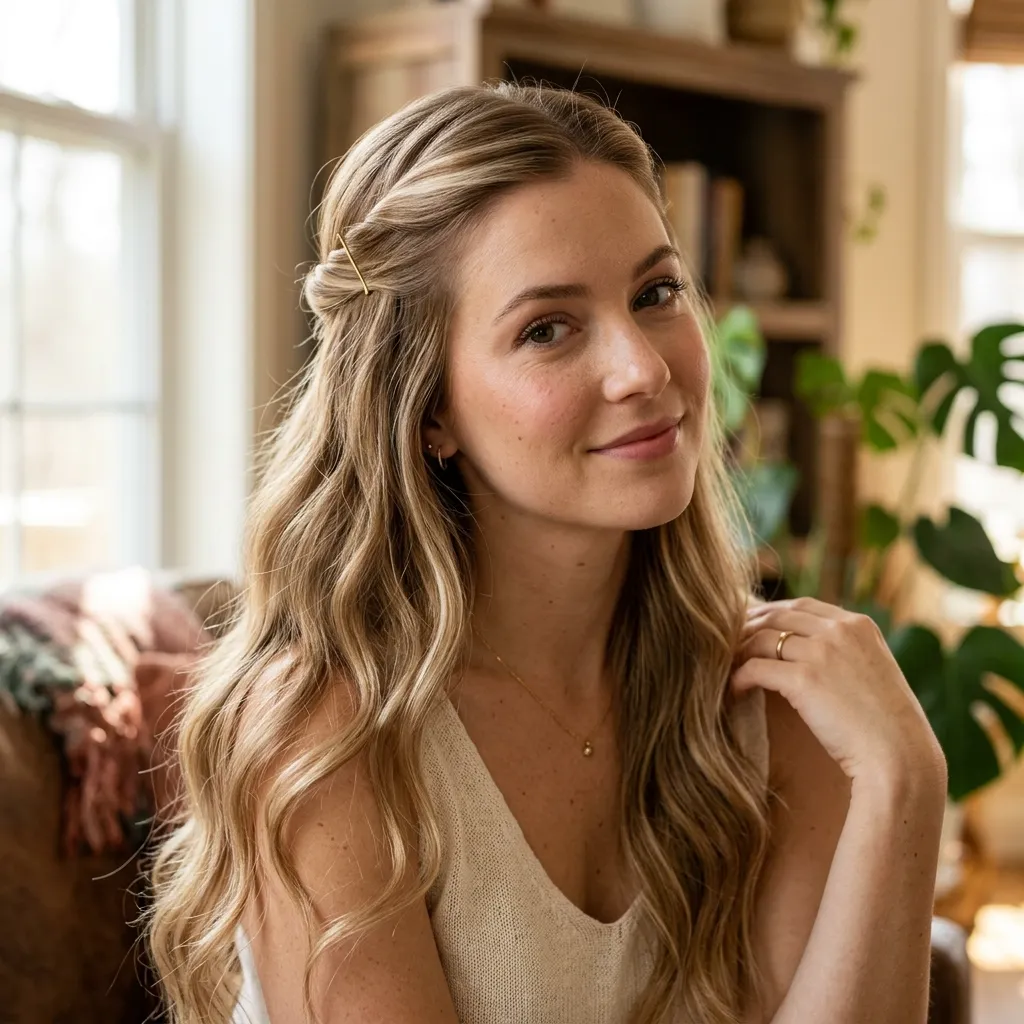
This shape feels effortless, like it happened in under a minute.
Half-up styles rely on negative space, leaving the lower two-thirds of the hair untouched creates contrast against the gathered top section, and starting that gather from a side part means the twist naturally sits off-center instead of dead-center, which reads as more relaxed. This asymmetry is the same principle stylists use to keep symmetrical faces from looking too formal.
Take two one-inch sections from either side of the part, twist each loosely toward the back, cross them over each other, and pin at the center-back with two crossed bobby pins.
Shop the Look
- Bobby pins, crossed-pin pack
- Texturizing sea salt spray
- Small claw clip, tortoiseshell
- Shine serum, lightweight
- Curling wand, 1-inch barrel
12. Chocolate Base with Caramel Part Ribbon
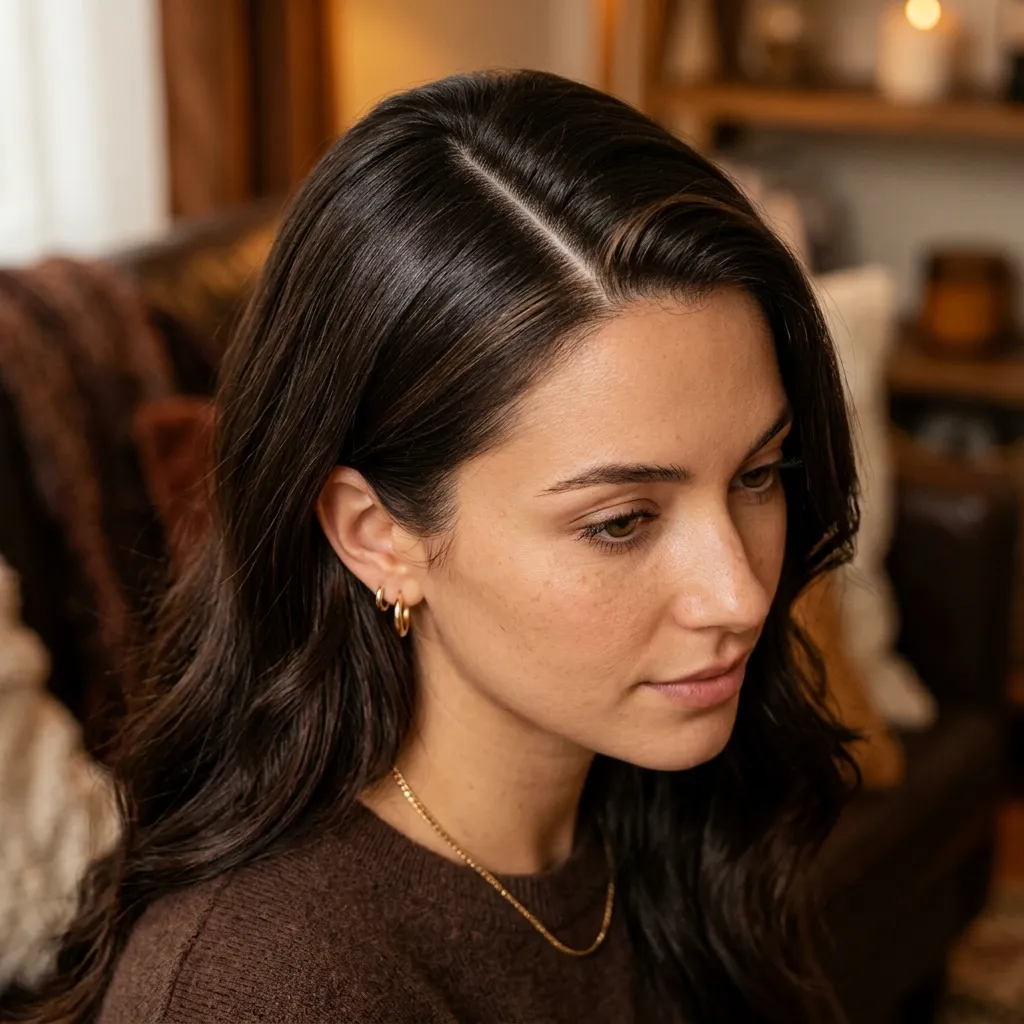
This color feels rich and warm, like it’s lit from within.
Rather than full balayage, this technique places a narrow ribbon of lighter color directly along the part itself, which uses contrast in the smallest possible area to draw maximum attention to the part’s shape. It’s a lower-commitment, lower-cost alternative to full highlights since only a thin section needs lightening.
Ask your colorist for a single half-inch foil placed exactly along the part line in a caramel or golden tone two shades lighter than your base, refreshed only every four to five months as it grows out gently.
Quick Win: A root concealer powder in caramel can extend this look between colorist visits for under $20.
Shop the Look
- Root touch-up powder, caramel shade
- Color-safe glossing shampoo
- Bond-repair leave-in treatment
- Fine-tooth parting comb
- UV protectant hair mist
13. Voluminous Blowout Off the Part
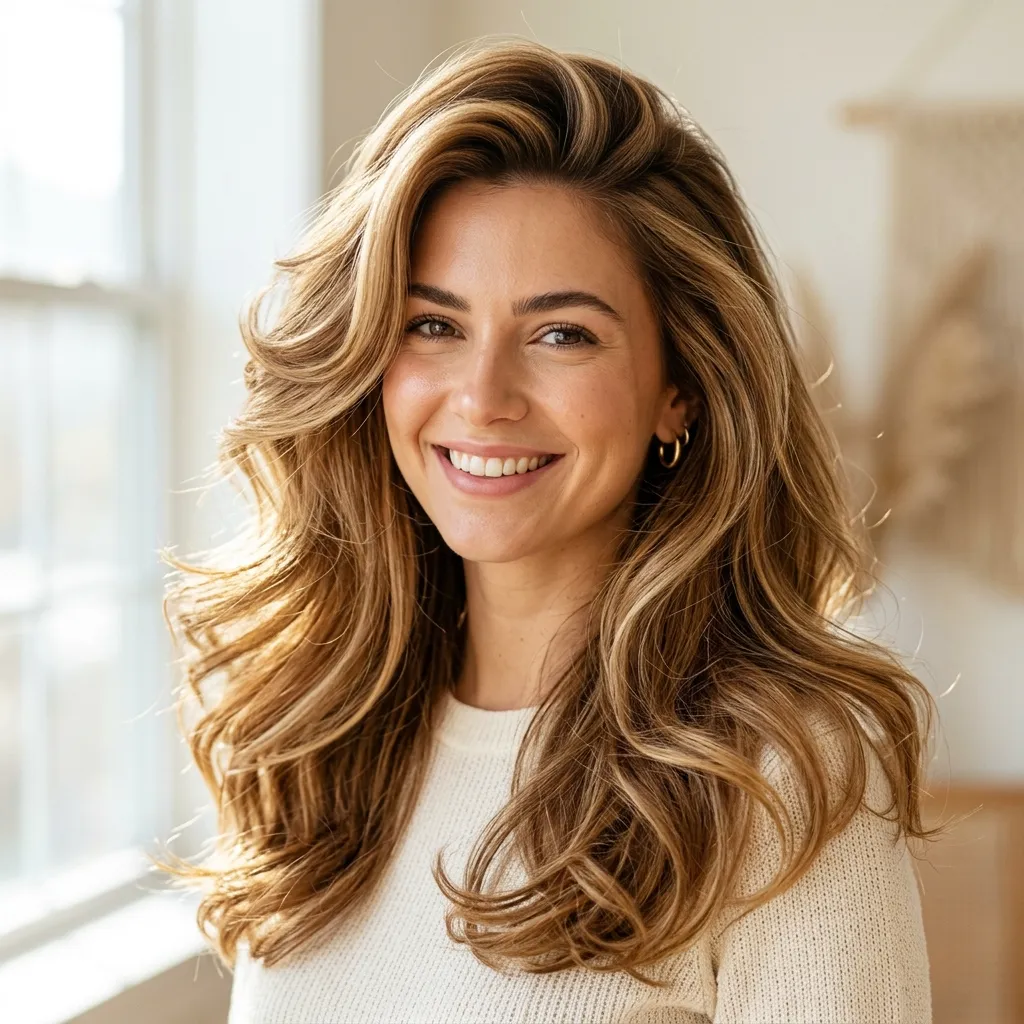
This style feels energetic and full, never flat at the crown.
Volume at the root comes from directing airflow against the direction of hair growth while it’s still damp, which lifts the cuticle layer at the base before it dries in place. A technique that matters even more on a side part, since the heavier side needs extra lift to avoid looking weighed down. A large round brush, at least two inches in diameter, gives enough tension to create that lift without over-curling the ends.
Blow-dry the root section on the heavier side of the part first, pulling the brush upward and away from the head, then finish the ends with a cool-shot blast to lock the shape in place.
Shop the Look
- Large round brush, 2.5-inch barrel
- Root-lift volumizing spray
- High-heat ionic blow dryer
- Flexible-hold finishing spray
- Velcro rollers, jumbo size
14. Five-Minute Second-Day Part Refresh
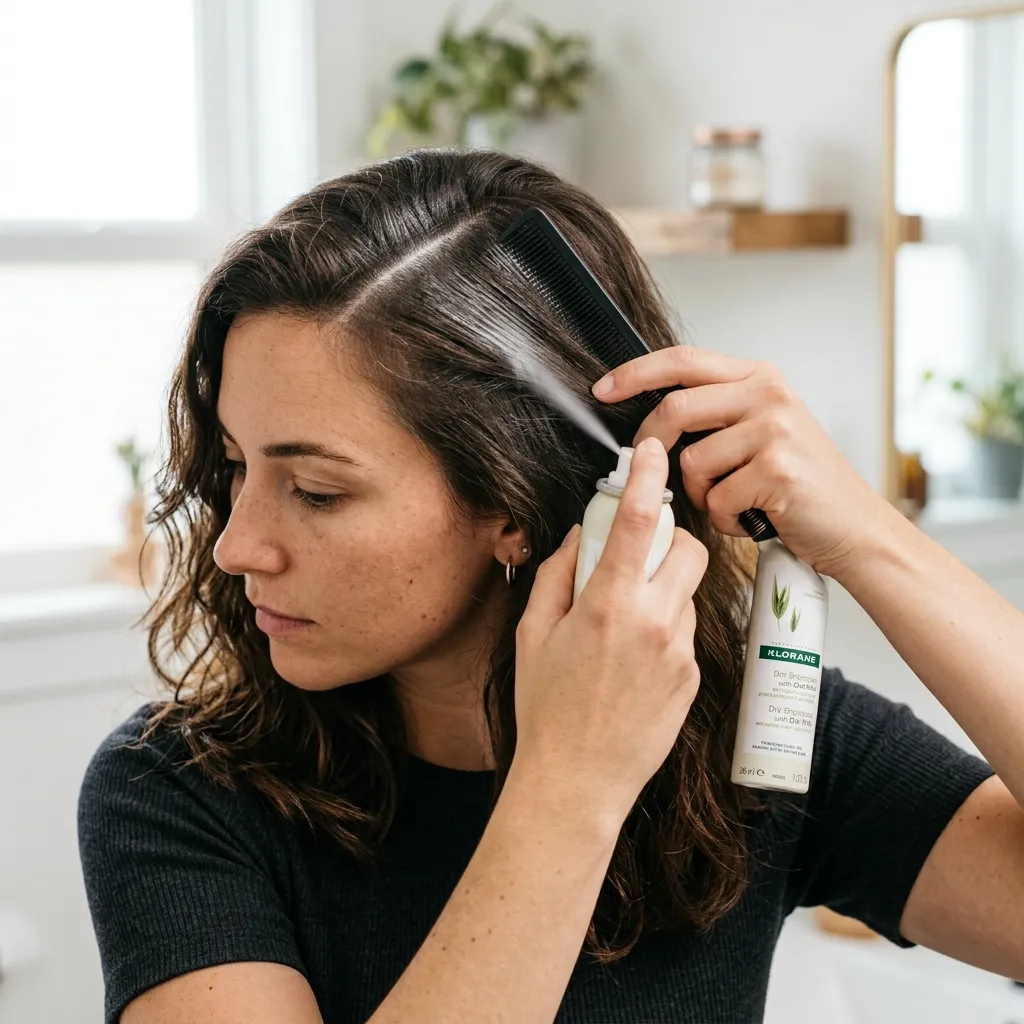
This fix feels fast and forgiving, built for real mornings.
Second-day hair usually looks worst right at the part, where oil collects fastest, so targeting just that half-inch strip solves most of the problem without a full restyle. This is a small-space equivalent for hair working within a tight, specific area for maximum visual return instead of redoing the whole head.
Spray dry shampoo directly into the part line, wait sixty seconds for it to absorb oil, then use a fine-tooth comb to redraw a crisp line and smooth flyaways with a spritz of finishing spray.
Quick Win: Keep a travel-size dry shampoo in your bag. A full refresh takes under two minutes.
Shop the Look
- Travel-size dry shampoo spray
- Fine-tooth parting comb
- Anti-frizz finishing spray, small size
- Boar-bristle mini detangling brush
- Flyaway taming stick
15. Gold Barrette Braid Along the Part
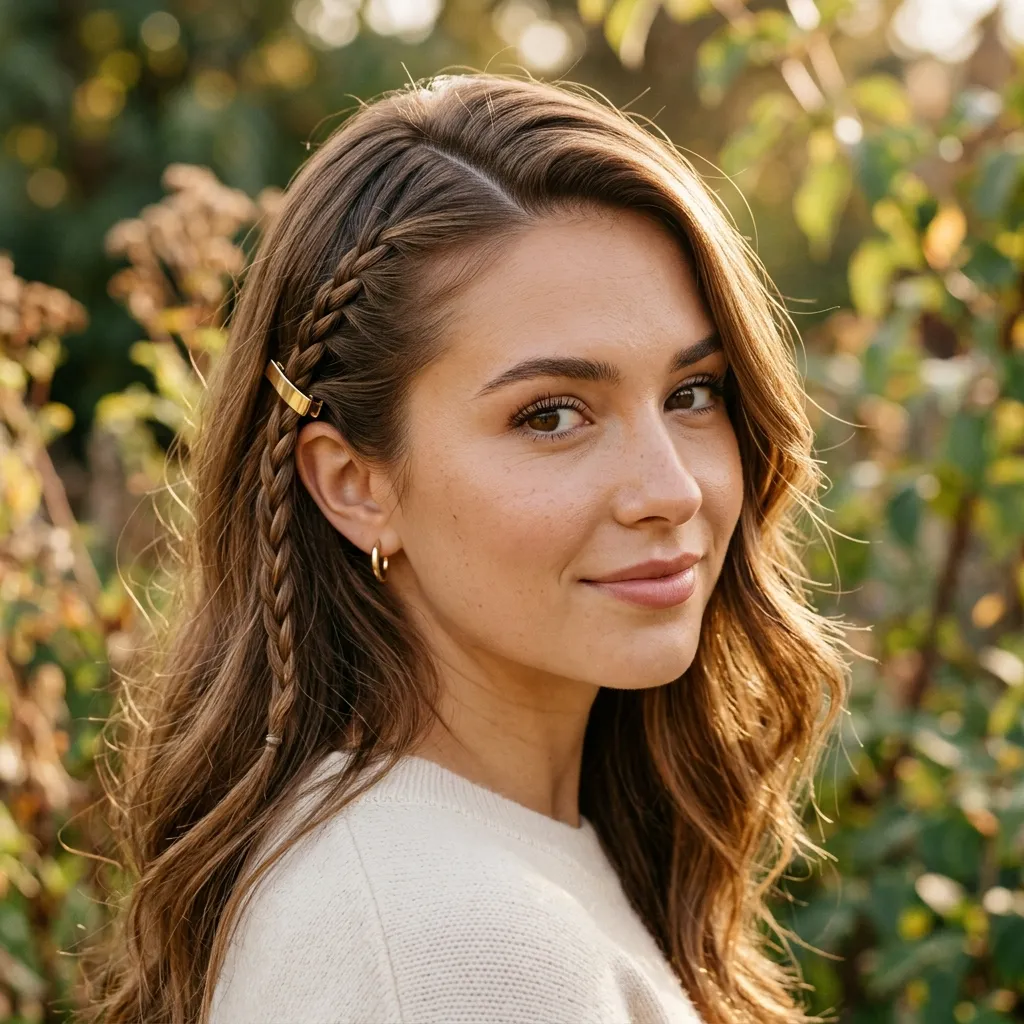
This detail feels delicate, the kind of thing people notice up close.
A single thin braid running parallel to the part line uses repetition of line to reinforce the part’s direction instead of competing with it, which is why it reads as cohesive rather than busy. Securing it with one small metal barrette instead of an elastic keeps the accent visible instead of hidden inside the hair.
Take a half-inch section from the heavier side of the part, braid loosely for about three inches, and clip a small gold barrette at the end where the braid stops, letting the rest of the hair fall naturally past it.
Shop the Look
- Small gold hair barrette, minimalist
- Lightweight shine serum
- Fine-tooth sectioning comb
- Clear elastic hair ties, mini
- Texturizing sea salt spray
How to Start Your Side Part Transformation
Start with the part itself, not a product or a cut. Wash your hair, let it air-dry untouched, and mark where it naturally splits. That single line determines whether every style above will hold or fight you all day, so it’s worth getting right before spending on anything else.
The most common mistake is forcing a part too far to one side against the hair’s natural whorl direction. This breaks the look because hair trained against its growth pattern will slowly creep back to center within hours, no matter how much product is used. The fix is simply working within an inch of your natural part rather than three inches over.
Three items under $50 create immediate impact: a fine-tooth rat-tail comb for clean part lines, a travel-size dry shampoo for root refreshes, and a small gold or pearl hair clip for instant polish on unwashed days.
A full color-based transformation, like balayage or a money piece, realistically takes two to three salon visits over several months and runs $150–$400 depending on hair length. A styling-only refresh (new part, new tools, new finish) can be done in a single weekend for under $75.
Frequently Asked Questions About Side Part Hairstyles for Long Hair
What’s the difference between a side part and a deep side part?
A standard side part sits close to a 60/40 ratio, with a small but noticeable shift away from center. A deep side part pushes closer to 80/20, sometimes further, creating much more dramatic asymmetry and volume on the heavier side. Deep parts tend to suit rounder or heart-shaped faces best, since the extra volume elongates the face, while a standard side part works across nearly every face shape.
What hair color works best with a side part?
Warm tones like caramel, honey, and chestnut tend to photograph especially well along a side part because the color catches light differently on each side, emphasizing the asymmetry. Cooler ash tones work too, but they show less dimensional contrast. Money-piece highlighting, where lighter color is concentrated near the part and face, is currently one of the most requested placements for exactly this reason.
How much does it cost to maintain a side-part color style?
A money piece or root-ribbon technique typically costs $80–$150 per visit since it uses less lightener than full highlights, with touch-ups needed every three to four months. Full balayage runs closer to $200–$350 per session but can go five to six months between visits. Budget-conscious readers can extend either look with a $10–$15 root touch-up spray in a matching shade.
Can a side part work with bangs or fringe?
Yes, though curtain bangs blend far more naturally with a side part than a blunt, straight-across fringe does, since curtain bangs already split and sweep to either side. A blunt fringe can still work with a subtle part, but it needs to stay above a 70/30 ratio to avoid looking mismatched with the rest of the style.
What’s the most requested side part hairstyle right now?
Glass hair with a deep side part is currently the most searched combination, driven largely by Pinterest and TikTok content favoring high-shine, low-texture finishes. Beachy, textured waves remain a close second for those who want movement over polish. Both styles work equally well on long hair, so the choice comes down to whether sleek or tousled fits your day-to-day maintenance preference.
Ready to Create Your Side Part Look?
From dimensional color placements to five-minute refreshes and delicate braided accents, these 15 ideas cover far more ground than a single “how to part your hair” tutorial ever could. You don’t need to overhaul your entire routine tonight; finding your natural part line this week is a real, complete first step on its own.
Start there: wash, air-dry, and note exactly where your hair wants to fall. Once that part is working with your hair instead of against it, everything else, the shine, the volume, the little gold clip, starts to feel less like styling and more like how your hair was always meant to sit. Save the ideas that caught your eye, especially any color placements, and come back to them the next time you’re due for a fresh cut.